crwdns2915892:0crwdne2915892:0
Follow these steps to replace the battery in one of your Samsung Galaxy Buds earbuds. The photos for this guide were taken with the right earbud, but the procedure is the same for both buds.
Galaxy Buds are rated IPX2 for ingress-resistance, meaning they are splash resistant. After this repair, they will be less splash-resistant, so sweat carefully!
crwdns2942213:0crwdne2942213:0
-
-
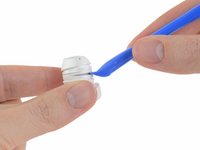
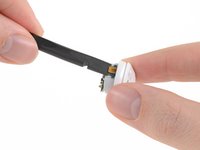
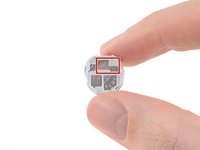
Begin by taking off the earbud's rubber wingtip:
-
Grab the tip (where the "R" label is) and gently pull upward on it while slipping it off the bud.
-
-
-
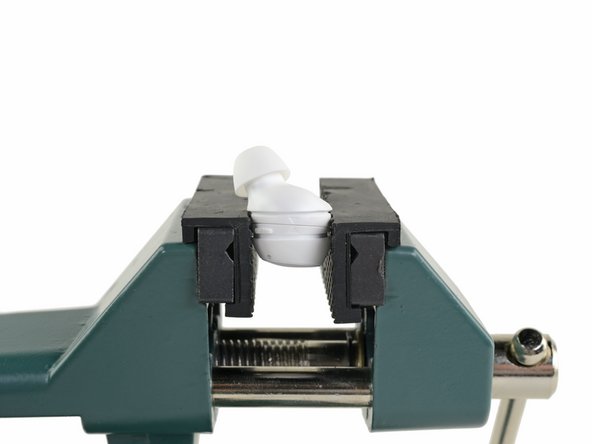
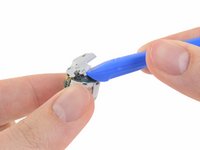
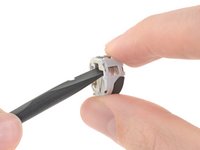
Place the bud horizontally into a rubber-guarded vice or a pair of blunt pliers.
-
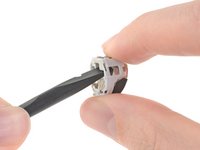
Apply steady, even pressure to either side of the bud along the main housing seam (the seam between the two arrows). The pressure should break the seal.
-
-
-
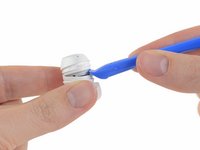
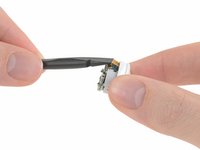
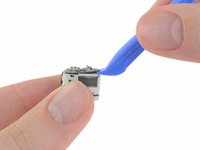
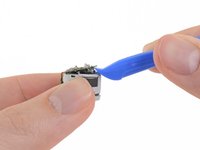
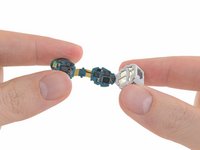
Once you have created a gap between the two halves of the bud, gently pry them apart with a plastic opening tool.
-
You may need to work your way around the entire earbud with the opening tool. Take your time and do your best not to deform the plastic.
-
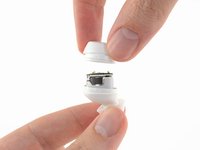
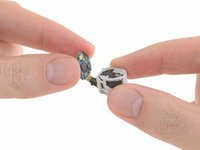
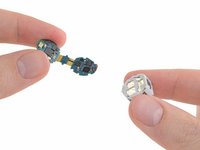
Carefully remove the top half of the bud.
-
-
-
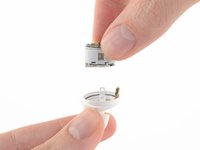
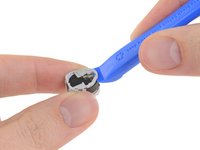
Use a spudger to lift up and disconnect the press connector connecting the battery/board assembly to the speaker drivers and the other sensors in the case.
-
Once the cable is disconnected, remove the assembly from the bud.
-
-
-
-
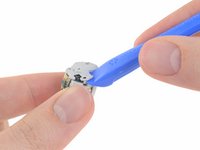
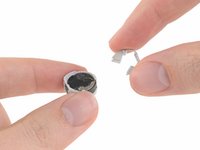
Pry up and remove the plastic cap from the bottom of the battery/board assembly.
-
-
-
Use an opening tool to gently pry up one of the boards along its edge, away from the flex cable.
-
-
-
Carefully unwrap and remove the motherboard from the battery housing.
-
-
-
Use a plastic opening tool to pry up and remove the crescent-shaped cap on the top side of the battery housing.
-
-
-
The bottom of the battery housing has holes, which allow you to push the battery out. The flat side of a spudger fits perfectly through the widest opening, marked here in red.
-
Insert the flat end of a spudger (or another plastic prying tool) into the bottom of the battery housing and push the battery out the other side.
-
-
-
Remove the battery from the battery housing.
-


To reassemble your device, follow the above steps in reverse order. Use Tesa tape to re-adhere parts that won’t re-adhere with the residual original adhesive.
For optimal performance, calibrate your newly installed battery: Charge it to 100% and keep charging it for at least 2 more hours. Then use your device until it shuts off due to low battery. Finally, charge it uninterrupted back to 100%.
Take your e-waste to an R2 or e-Stewards certified recycler.
Repair didn’t go as planned? Check out our Galaxy Buds Answers community for troubleshooting help.
crwdns2935221:0crwdne2935221:0
crwdns2935229:046crwdne2935229:0

crwdns2947412:021crwdne2947412:0
How to fix not working mic on my galaxy bud
Requiere un cambio de pieza electronica correspondiente al microfono, ya que pudo haberse mojado
My Galaxy buds had the newer CP1254 A3 battery. My Buds were purchased new in August 2019.
My earbuds touchpad is not working after take shower , can you help how can i repair it
Can this battery replacement be done on the new Galaxy Bud+?