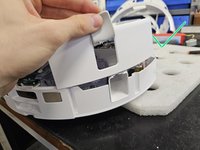
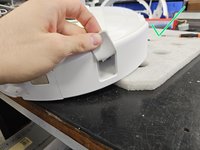
crwdns2933423:0crwdne2933423:0

Roborock Q Revo: Laser Distance Sensor Replacement

crwdns2942213:0crwdne2942213:0

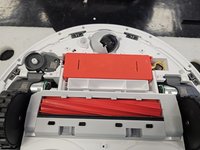
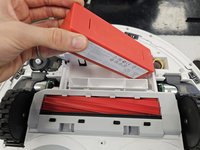
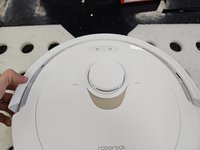
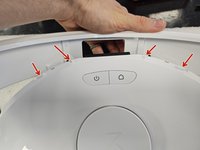
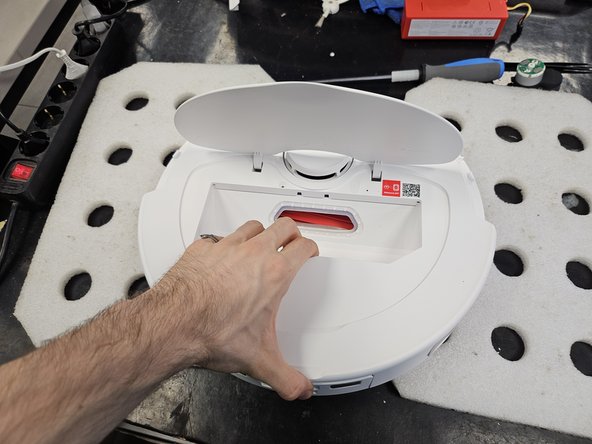
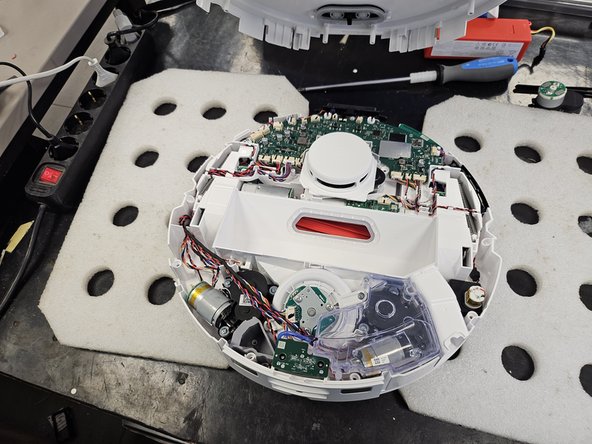
  1. Roborock Q Revo: Laser Distance Sensor Replacement, Remove the dustbin.: crwdns2935265:01crwdnd2935265:01crwdnd2935265:03crwdne2935265:0 Roborock Q Revo: Laser Distance Sensor Replacement, Remove the dustbin.: crwdns2935265:01crwdnd2935265:02crwdnd2935265:03crwdne2935265:0 Roborock Q Revo: Laser Distance Sensor Replacement, Remove the dustbin.: crwdns2935265:01crwdnd2935265:03crwdnd2935265:03crwdne2935265:0
    • Open the back.

    • Remove the dustbin.

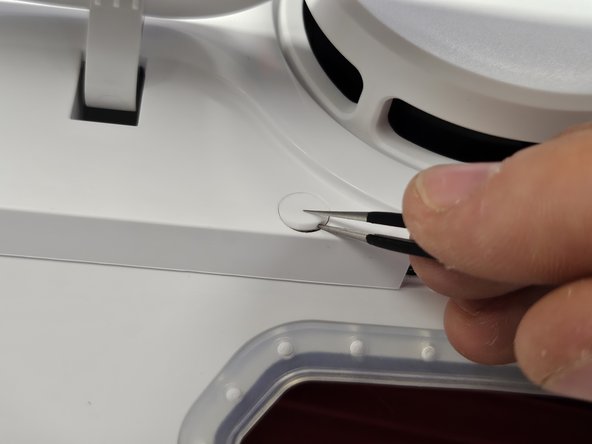
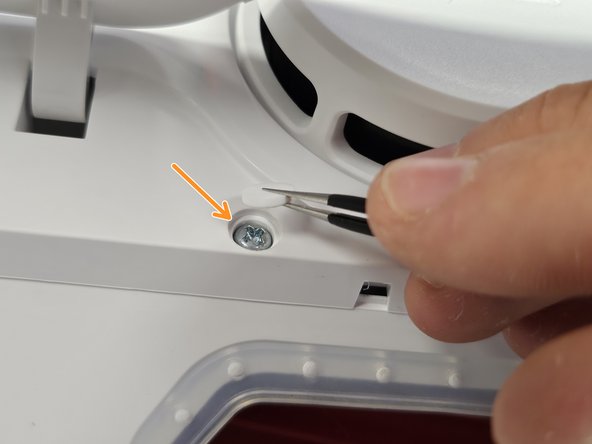
  2. Roborock Q Revo: Laser Distance Sensor Replacement, Remove the rubber cap covering a screw.: crwdns2935265:02crwdnd2935265:01crwdnd2935265:03crwdne2935265:0 Roborock Q Revo: Laser Distance Sensor Replacement, Remove the rubber cap covering a screw.: crwdns2935265:02crwdnd2935265:02crwdnd2935265:03crwdne2935265:0 Roborock Q Revo: Laser Distance Sensor Replacement, Remove the rubber cap covering a screw.: crwdns2935265:02crwdnd2935265:03crwdnd2935265:03crwdne2935265:0
    • This rubber cap has a layer of adhesive and is stuck to the screw. The adhesive doesn't hold it in place firmly.

    • Remove the cap, then save it somewhere. It's purely cosmetic, so don't worry too much if you do lose it.

    • Once you remove the cap, remove the screw using a PH2 screwdriver.

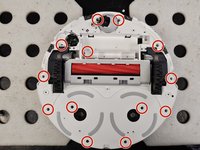
  3. Roborock Q Revo: Laser Distance Sensor Replacement, Remove the bottom cover.: crwdns2935265:03crwdnd2935265:01crwdnd2935265:01crwdne2935265:0
    • Flip it over.

    • I use some padding underneath to prevent it sitting solely on the LDS cage.

    • Remove the side brush using a PH2 screwdriver.

    • Remove the marked screws using a PH2 screwdriver.

  4. Roborock Q Revo: Laser Distance Sensor Replacement, Remove the battery.: crwdns2935265:04crwdnd2935265:01crwdnd2935265:03crwdne2935265:0 Roborock Q Revo: Laser Distance Sensor Replacement, Remove the battery.: crwdns2935265:04crwdnd2935265:02crwdnd2935265:03crwdne2935265:0 Roborock Q Revo: Laser Distance Sensor Replacement, Remove the battery.: crwdns2935265:04crwdnd2935265:03crwdnd2935265:03crwdne2935265:0
    • Remove the battery by lifting the left side until you can reach the connector, then disconnecting the connector by squeezing it's release tab.

    • Do not just yank the battery out. You will tear the connector off the motherboard.

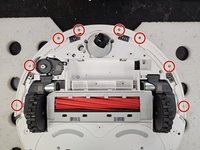
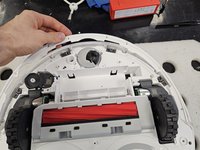
  5. Roborock Q Revo: Laser Distance Sensor Replacement, Remove the bumper.: crwdns2935265:05crwdnd2935265:01crwdnd2935265:02crwdne2935265:0 Roborock Q Revo: Laser Distance Sensor Replacement, Remove the bumper.: crwdns2935265:05crwdnd2935265:02crwdnd2935265:02crwdne2935265:0
    • Remove the screws using a PH1 screwdriver.

    • Lift the bumper's lid off.

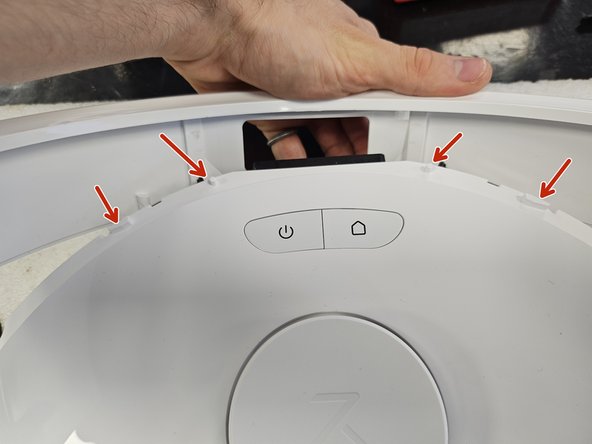
  6. Roborock Q Revo: Laser Distance Sensor Replacement, Remove the bumper.: crwdns2935265:06crwdnd2935265:01crwdnd2935265:02crwdne2935265:0 Roborock Q Revo: Laser Distance Sensor Replacement, Remove the bumper.: crwdns2935265:06crwdnd2935265:02crwdnd2935265:02crwdne2935265:0
    • Flip the robot over.

    • Remove the bumper by tilting it forwards to get it off the little tabs on the front.

  7. Roborock Q Revo: Laser Distance Sensor Replacement, Remove the side brush motor.: crwdns2935265:07crwdnd2935265:01crwdnd2935265:01crwdne2935265:0
    • Unscrew the screws using a PH2 screwdriver.

    • Simply lift it out.

  8. Roborock Q Revo: Laser Distance Sensor Replacement, Open it up!: crwdns2935265:08crwdnd2935265:01crwdnd2935265:03crwdne2935265:0 Roborock Q Revo: Laser Distance Sensor Replacement, Open it up!: crwdns2935265:08crwdnd2935265:02crwdnd2935265:03crwdne2935265:0 Roborock Q Revo: Laser Distance Sensor Replacement, Open it up!: crwdns2935265:08crwdnd2935265:03crwdnd2935265:03crwdne2935265:0
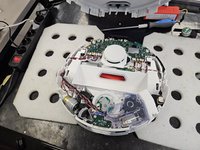
    • Remove the remaining screws that hold the chassis together. Use a PH2 screwdriver.

    • Flip it over, then pull it apart.

  9. Roborock Q Revo: Laser Distance Sensor Replacement, Screeeews.: crwdns2935265:09crwdnd2935265:01crwdnd2935265:01crwdne2935265:0
    • Screws organised by type and steps used in.

    • Use this during reassembly if needed.

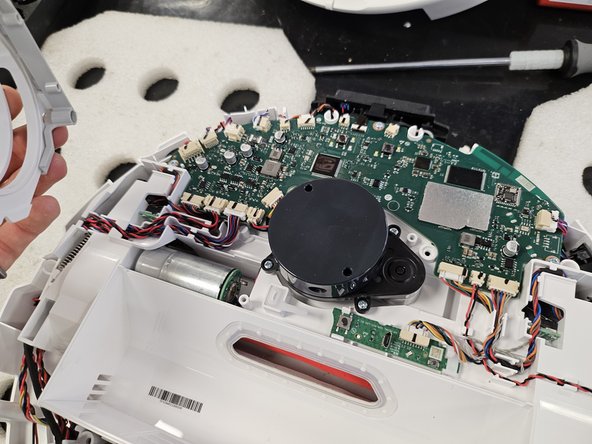
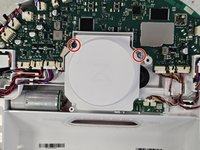
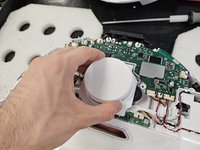
  10. Roborock Q Revo: Laser Distance Sensor Replacement, Remove the LDS cage.: crwdns2935265:010crwdnd2935265:01crwdnd2935265:03crwdne2935265:0 Roborock Q Revo: Laser Distance Sensor Replacement, Remove the LDS cage.: crwdns2935265:010crwdnd2935265:02crwdnd2935265:03crwdne2935265:0 Roborock Q Revo: Laser Distance Sensor Replacement, Remove the LDS cage.: crwdns2935265:010crwdnd2935265:03crwdnd2935265:03crwdne2935265:0
    • Remove the 2 screws using a PH2 screwdriver.

    • Remove the cage itself by lifting it out.

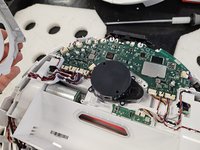
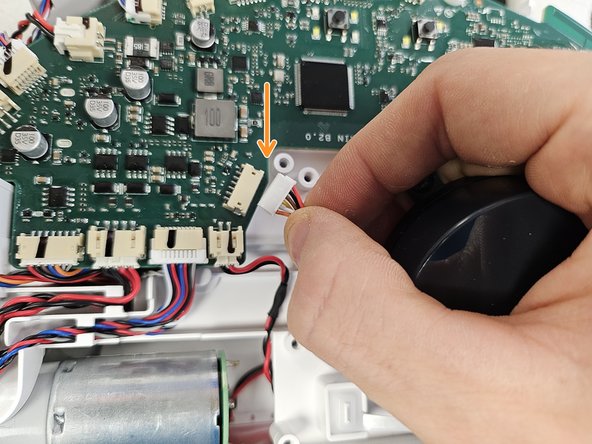
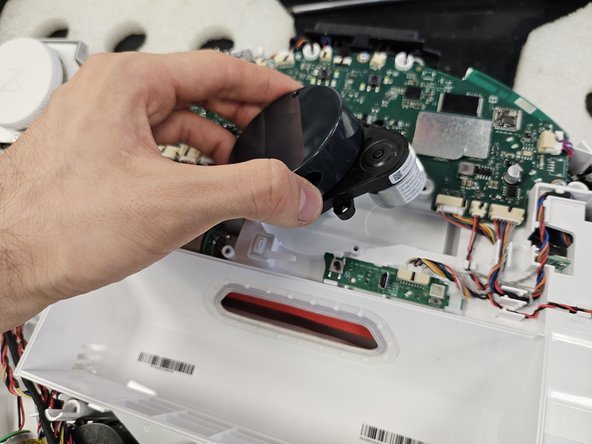
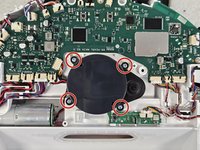
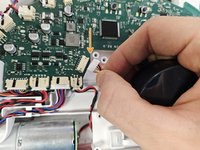
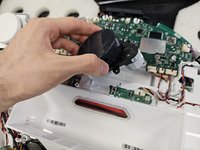
  11. Roborock Q Revo: Laser Distance Sensor Replacement, Remove the LDS.: crwdns2935265:011crwdnd2935265:01crwdnd2935265:03crwdne2935265:0 Roborock Q Revo: Laser Distance Sensor Replacement, Remove the LDS.: crwdns2935265:011crwdnd2935265:02crwdnd2935265:03crwdne2935265:0 Roborock Q Revo: Laser Distance Sensor Replacement, Remove the LDS.: crwdns2935265:011crwdnd2935265:03crwdnd2935265:03crwdne2935265:0
    • Remove the 4 screws using a PH2 screwdriver.

    • Disconnect the connector on the motherboard.

    • Remove the LDS.

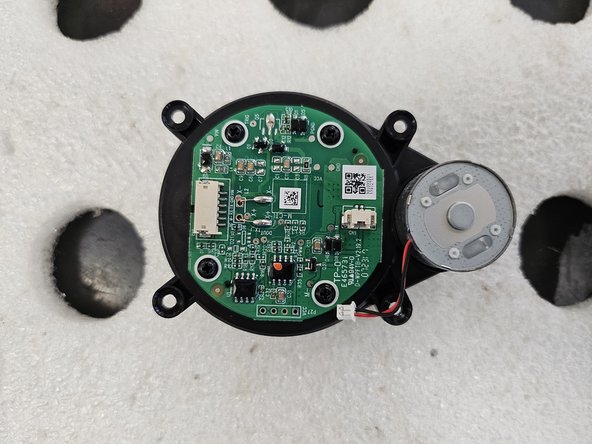
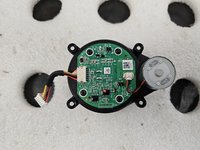
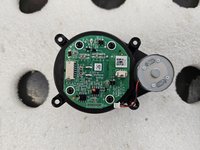
  12. Roborock Q Revo: Laser Distance Sensor Replacement, Remove the cable from the LDS.: crwdns2935265:012crwdnd2935265:01crwdnd2935265:02crwdne2935265:0 Roborock Q Revo: Laser Distance Sensor Replacement, Remove the cable from the LDS.: crwdns2935265:012crwdnd2935265:02crwdnd2935265:02crwdne2935265:0
    • Remove the cable.

    • I recommend reattaching it to the motherboard for now, to avoid misplacing it.

    • If you are replacing the entire LDS, replace it now and continue from step 9 backwards to reassemble your device.

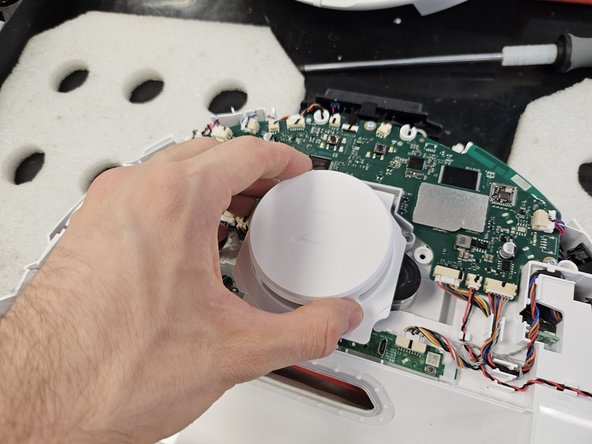
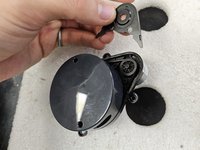
  13. Roborock Q Revo: Laser Distance Sensor Replacement, Remove the plastic cover.: crwdns2935265:013crwdnd2935265:01crwdnd2935265:03crwdne2935265:0 Roborock Q Revo: Laser Distance Sensor Replacement, Remove the plastic cover.: crwdns2935265:013crwdnd2935265:02crwdnd2935265:03crwdne2935265:0 Roborock Q Revo: Laser Distance Sensor Replacement, Remove the plastic cover.: crwdns2935265:013crwdnd2935265:03crwdnd2935265:03crwdne2935265:0
    • Depending on the iteration of the LDS you have, you might not need to do this. One has it, another doesn't.

    • If yours doesn't have a cover, please check: Roborock Q5 Pro: Laser Distance Sensor Replacement And skip to step 12.

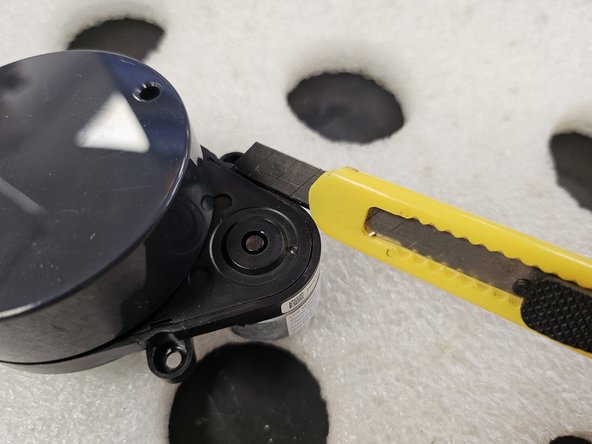
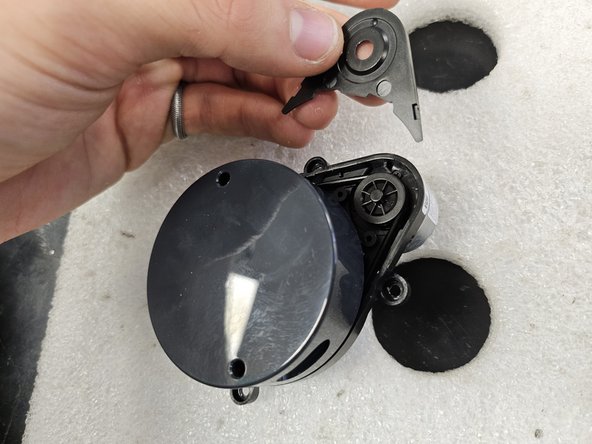
    • Slip something thin (or sharp) between the cover and the housing. Then remove the cover.

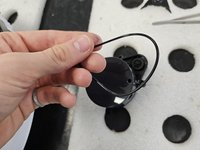
  14. Roborock Q Revo: Laser Distance Sensor Replacement, Remove the rubber band connecting the LDS and the motor.: crwdns2935265:014crwdnd2935265:01crwdnd2935265:02crwdne2935265:0 Roborock Q Revo: Laser Distance Sensor Replacement, Remove the rubber band connecting the LDS and the motor.: crwdns2935265:014crwdnd2935265:02crwdnd2935265:02crwdne2935265:0
    • Remove the rubber band.

    • If you have the other iteration of the LDS, this is not necessary. If you have the other iteration, please check: Roborock Q5 Pro: Laser Distance Sensor Replacement And skip to step 12.

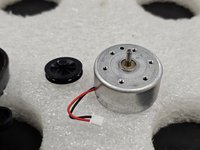
    • Remove the wheel that the rubber band slots into from the motor.

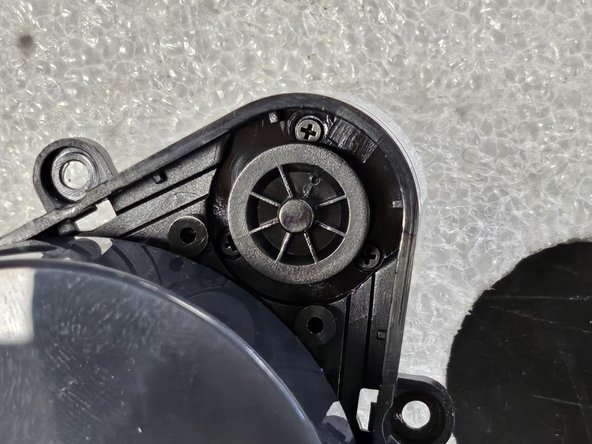
    • I use a hemostat clamp to do so. Do note that it will cause some minor cosmetic damage.

    • If you use a hemostat as well, do not grab it by the groove. You will deform it and the rubber band may not fit within it properly anymore.

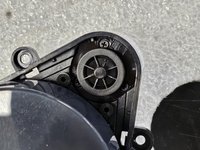
  15. Roborock Q Revo: Laser Distance Sensor Replacement, The damage.: crwdns2935265:016crwdnd2935265:01crwdnd2935265:01crwdne2935265:0
    • This is the damage left by using a hemostat.

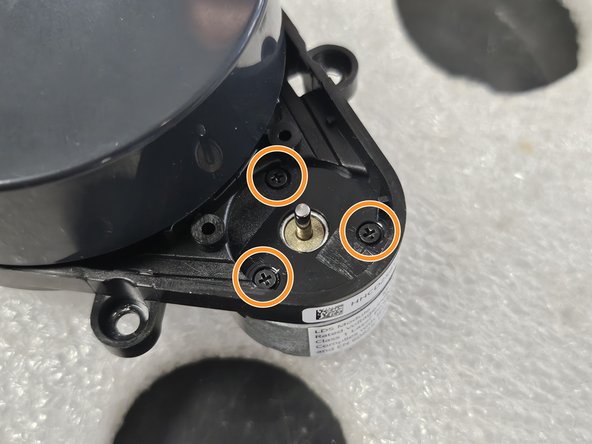
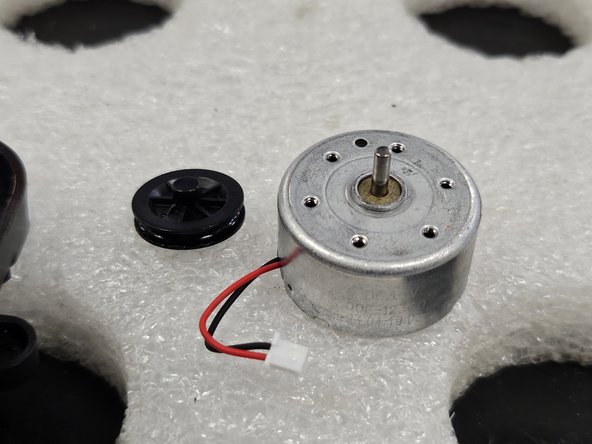
  16. Roborock Q Revo: Laser Distance Sensor Replacement, Remove the LDS motor.: crwdns2935265:017crwdnd2935265:01crwdnd2935265:03crwdne2935265:0 Roborock Q Revo: Laser Distance Sensor Replacement, Remove the LDS motor.: crwdns2935265:017crwdnd2935265:02crwdnd2935265:03crwdne2935265:0 Roborock Q Revo: Laser Distance Sensor Replacement, Remove the LDS motor.: crwdns2935265:017crwdnd2935265:03crwdnd2935265:03crwdne2935265:0
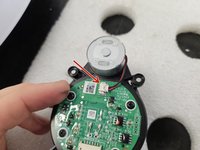
    • Disconnect the motor from the LDS. If you have a different LDS, it may be soldered to the PCBA.

    • Unscrew the motor using a PH00 Screwdriver, then remove it.

    • Now you can replace or clean the motor.

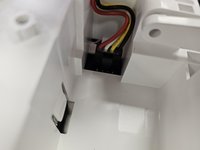
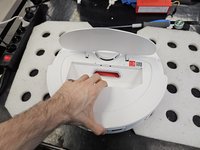
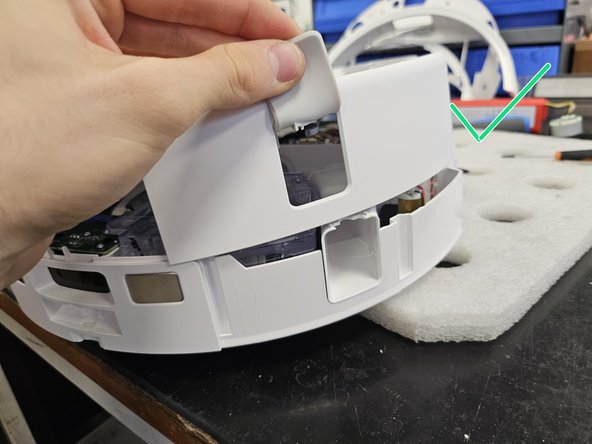
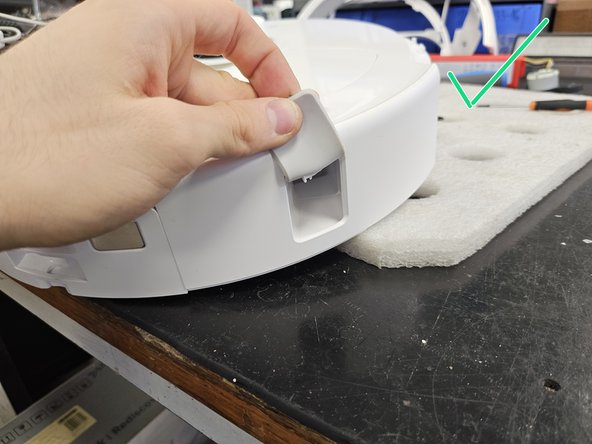
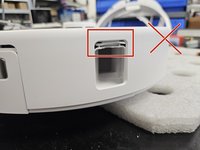
  17. Roborock Q Revo: Laser Distance Sensor Replacement, Watch for this flap during reassembly.: crwdns2935265:018crwdnd2935265:01crwdnd2935265:03crwdne2935265:0 Roborock Q Revo: Laser Distance Sensor Replacement, Watch for this flap during reassembly.: crwdns2935265:018crwdnd2935265:02crwdnd2935265:03crwdne2935265:0 Roborock Q Revo: Laser Distance Sensor Replacement, Watch for this flap during reassembly.: crwdns2935265:018crwdnd2935265:03crwdnd2935265:03crwdne2935265:0
    • Make sure that during reassembly, you do not accidentally squish this flap that closes the auto-empty gap.

    • If you do squish it, your chassis won't properly close during reassembly.

crwdns2915888:0crwdne2915888:0

To reassemble your device, follow these instructions in reverse order.

crwdns2935229:05crwdne2935229:0

DegenFixer

crwdns2935283:009/18/24crwdne2935283:0

4,537 crwdns2915208:0crwdne2915208:0

crwdns2935297:024crwdne2935297:0

crwdns2947412:05crwdne2947412:0

Thank you very much.

detailed and easy explanation,

helped me a lot.

In my case, I only had to dismantle the plastic cover that hides the rubber band on the laser, and the laser started rotating easily again, reassembled it and the device came back to life,

thank you very much, excellent explanation

Shlomi Vatman - crwdns2934203:0crwdne2934203:0

Thanks so much for this. Was very helpful and gave me the confidence to tackle getting to the lidar. Had Error 1. Tested the motor with a battery and it spun just fine so reassembled enough to see if it spun when powering on and it had fixed itself. Frustrating they make it so hard to get to when it seems to be a common failure point. Have loved the vacuum overall though! Thanks again.

Carl Williams - crwdns2934203:0crwdne2934203:0

Thank you very much for your help! At the beginning I had great respect for the effort involved and the many screws that had to be removed, but thanks to your instructions everything worked out. The robot hoover is now running perfectly.

Sebastian - crwdns2934203:0crwdne2934203:0

Great step-by-step! Pictures were very helpful in resolving the Lidar not functioning error.

Only problem I had was removing the drive wheel from the LDS motor. That wheel just wouldn't come off. After numerous tries, I gave up and cleaned the inside of that cavity (where the rubber belt routes) with compressed air to remove any debris impeding rotation of the LDS unit itself.

The LDS rotated much better afterward so I reassembled, and everything works fine again! Thank you (and my wife thanks you even more!!)

Eric - crwdns2934203:0crwdne2934203:0

Excellent breakdown, thank you. I misplaced the 6 pin cable from the LDS board to the Mainboard. Does anyone know what the connectors are? I think JST maybe SH style?

bill lasage - crwdns2934203:0crwdne2934203:0

crwdns2917038:0crwdne2917038:0

crwdns2936625:0crwdne2936625:0:

crwdns2936751:024crwdne2936751:0 10

crwdns2936753:07crwdne2936753:0 118

crwdns2936753:030crwdne2936753:0 424

crwdns2942667:0crwdne2942667:0 1,991