crwdns2915892:0crwdne2915892:0
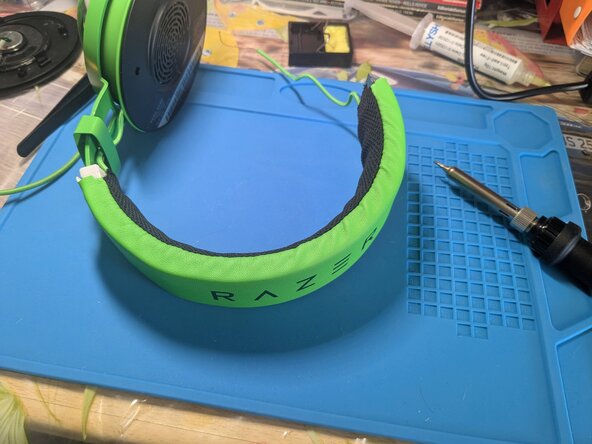
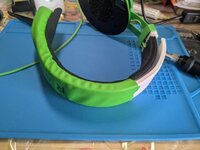
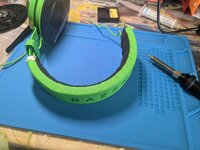
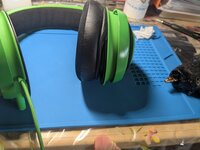
Replacement of the leatherette headband of the Razer Kraken headset, probably due to wear and tear.
Applies to all Razer Kraken headphones from 2019 onward since the steps are nearly identical.
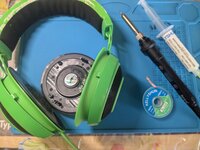
In this guide I repaired my Razer Kraken Tournament Edition headphones.
Throughout the procedure, it is recommended to fully extend the adjustable rods of the pavilions. This will facilitate operations.
A small soldering step is required. Stand on a suitable surface, wear goggles and a face mask if there is insufficient aeration.
crwdns2942213:0crwdne2942213:0
-
-
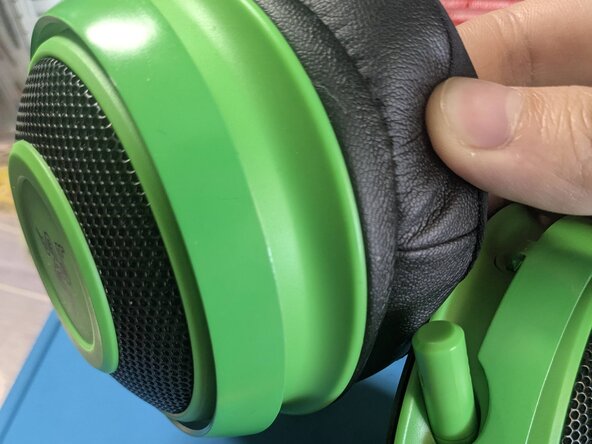
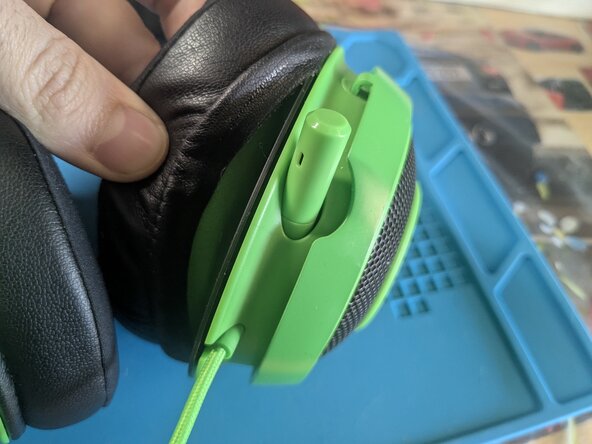
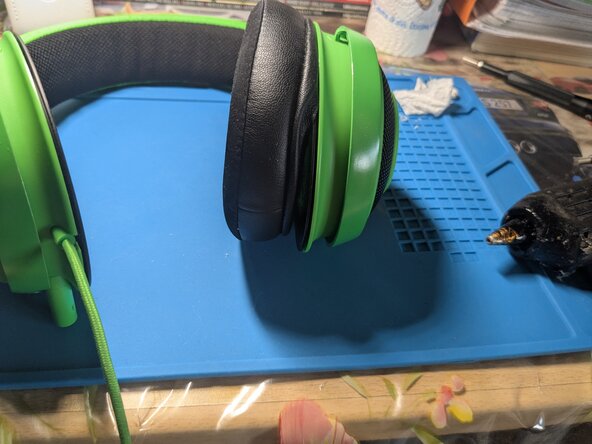
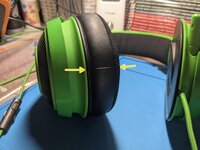
Remove the right ear pad.
-
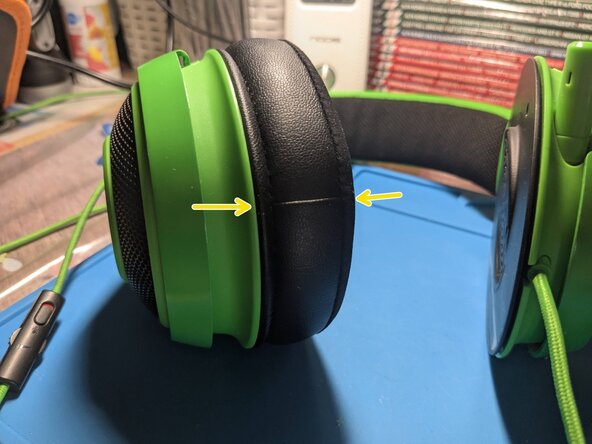
Insert your index finger inside the crease between the cushion and the inner fabric and pull slightly outward.
-
Bring out the entire contour of the pad.
-
-
-
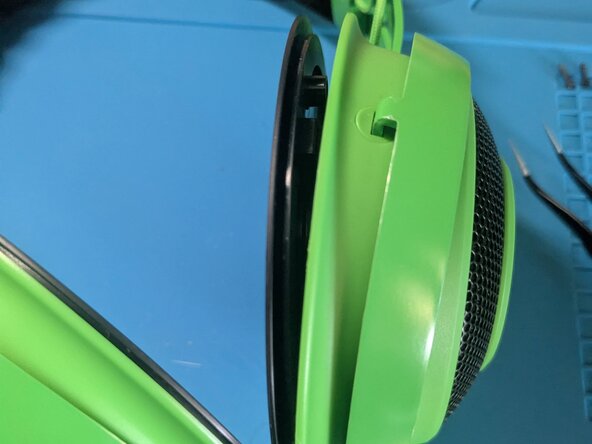
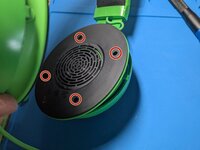
Unscrew the four screws.
-
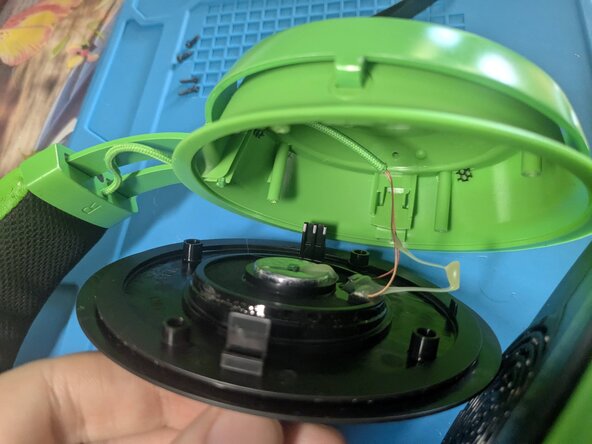
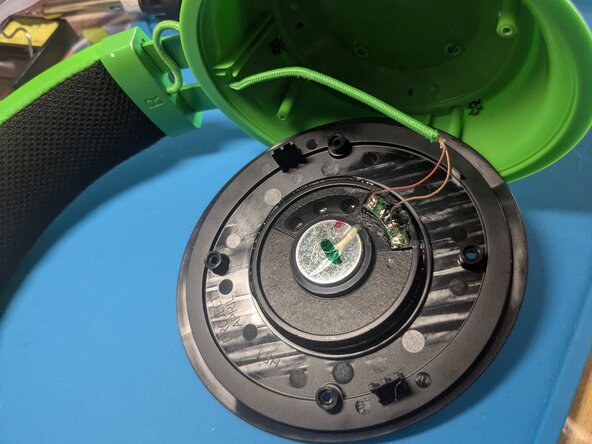
Gently lift the black cover.
-
-
-
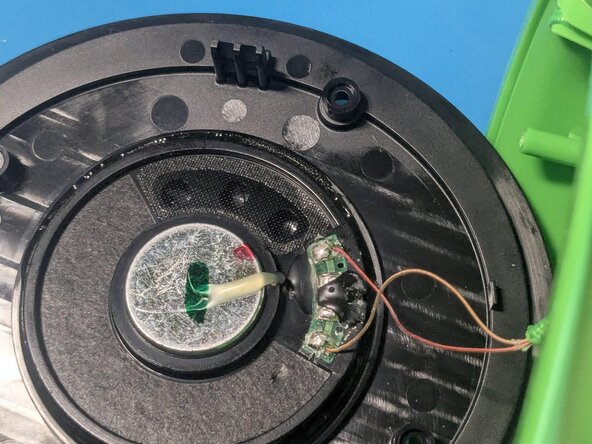
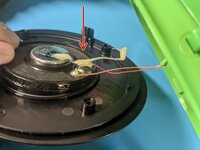
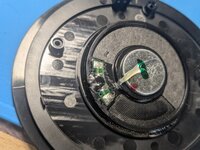
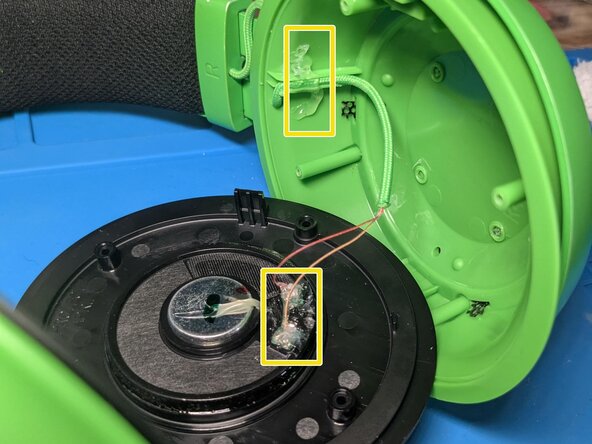
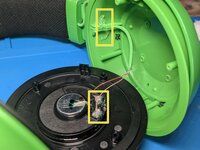
Remove the hot glue from the connectors.
-
-
-
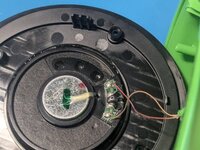
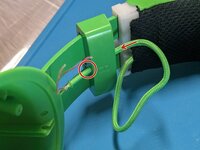
Desolder the two audio cables.
-
Put a few drops of flux over the tin of each solder.
-
Melt the tin with the soldering iron tip set at 320-350 degrees Celsius.
-
Clean the pitches.
-
Pass with the desoldering braid over the remaining tin, resting the soldering iron tip on top.
-
-
-
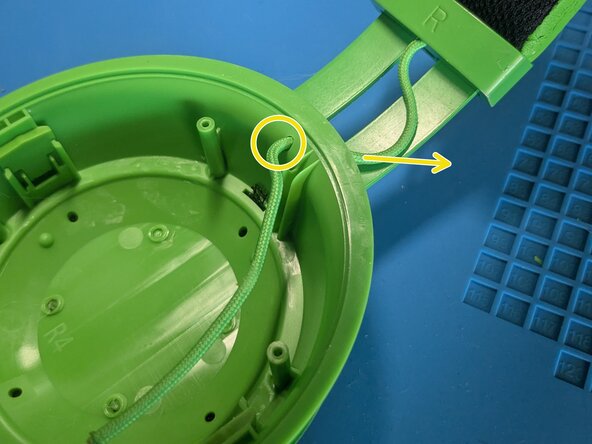
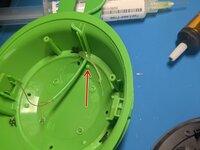
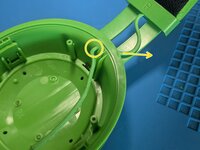
Remove the hot glue from the cable.
-
Pull the cable out of the earcup by running it through the hole.
-
-
-
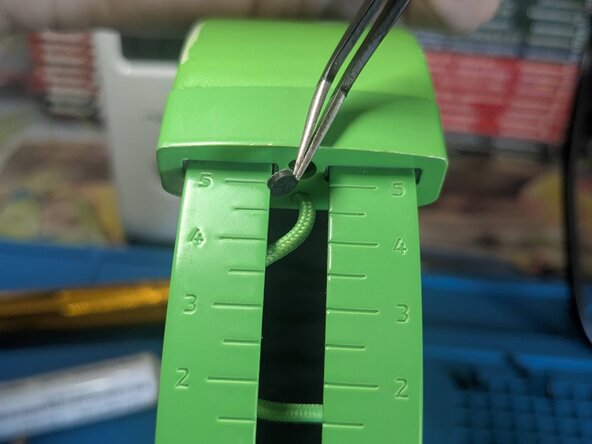
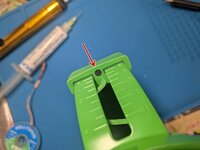
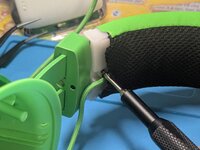
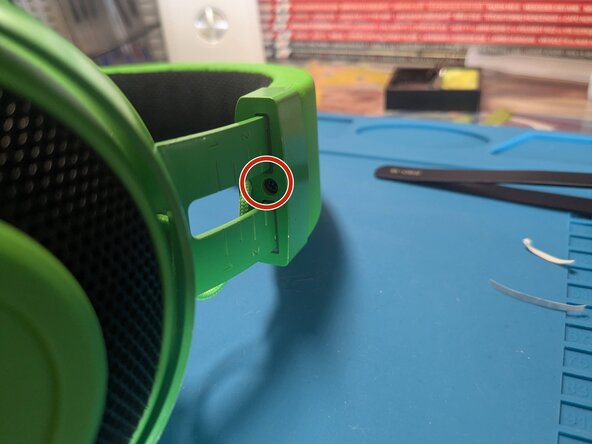
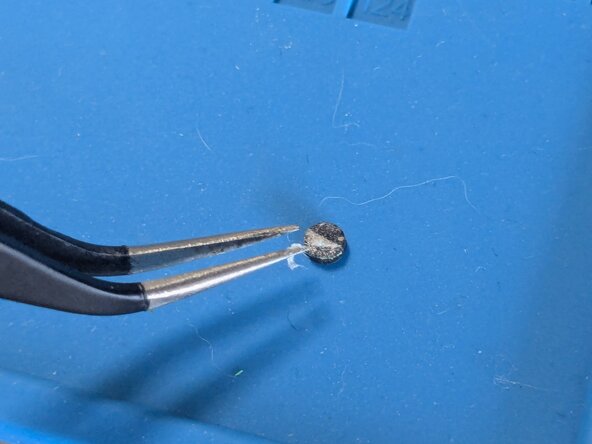
Remove the rubber screw cover.
-
Unscrew the single screw.
-
Simply pull down the metal cover.
-
-
-
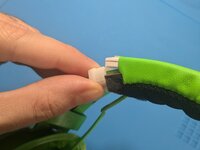
Gently pull the leatherette edge up a centimeter.
-
Remove the tape.
-
-
-
-
-
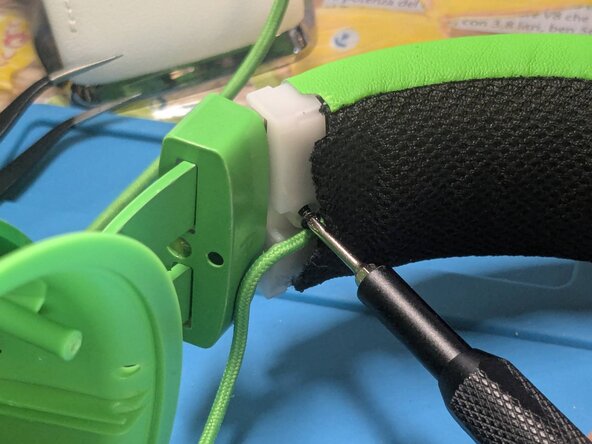
Unscrew the single screw.
-
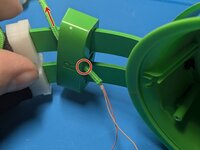
Free the cable.
-
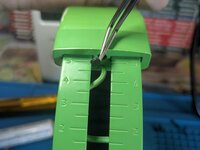
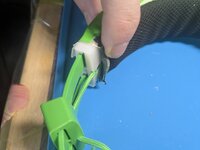
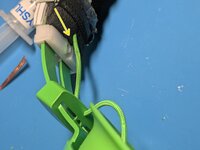
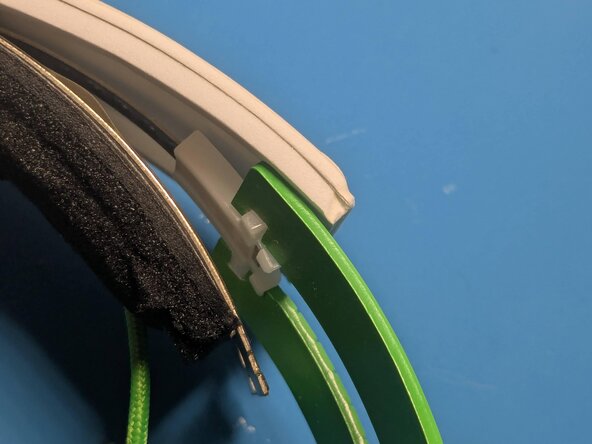
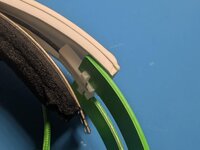
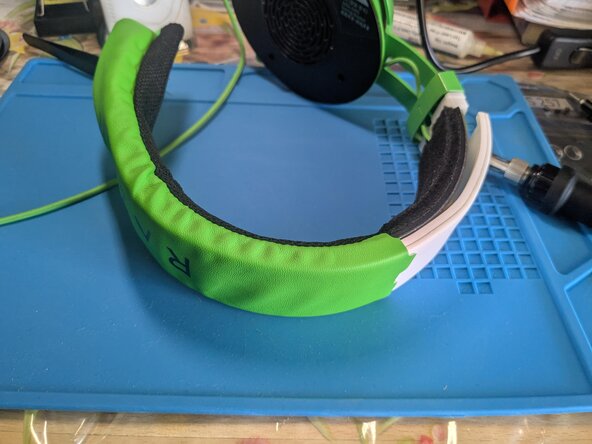
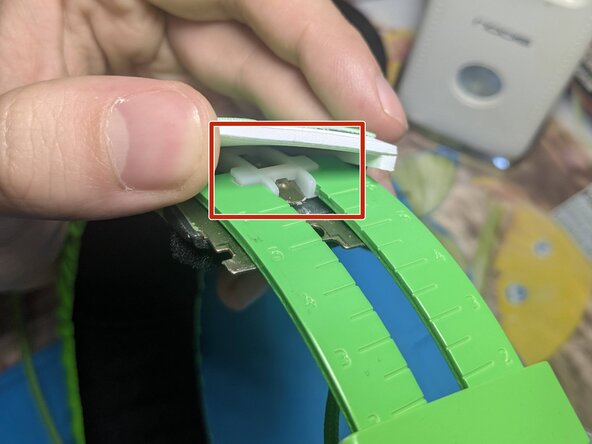
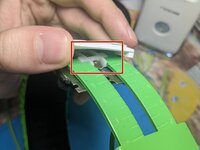
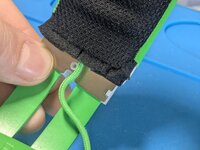
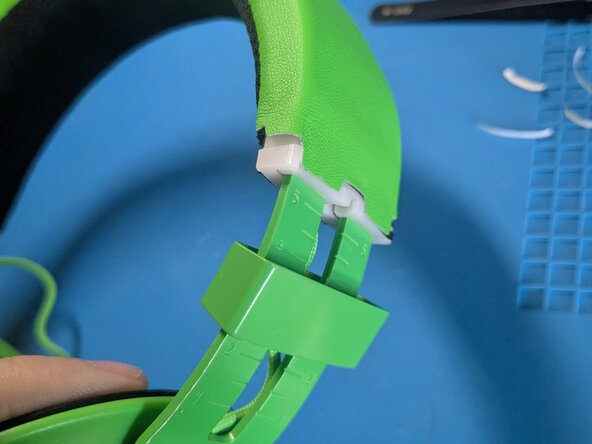
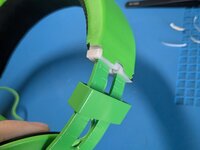
Push in one end of the plastic clip to pop it open.
-
-
-
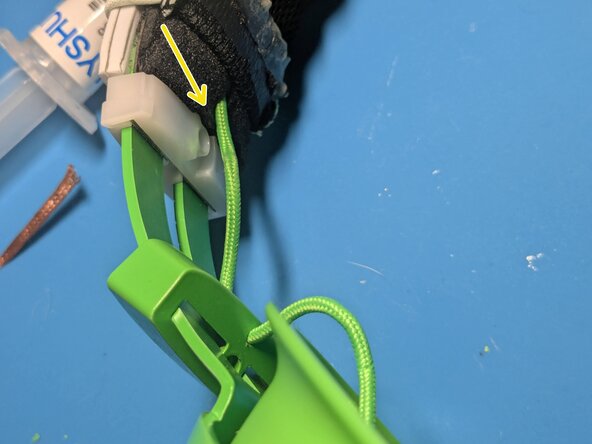
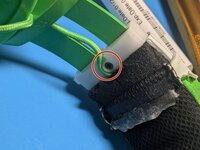
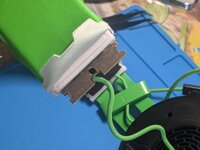
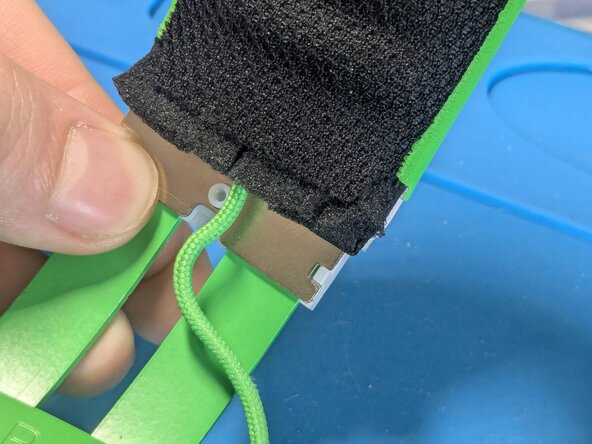
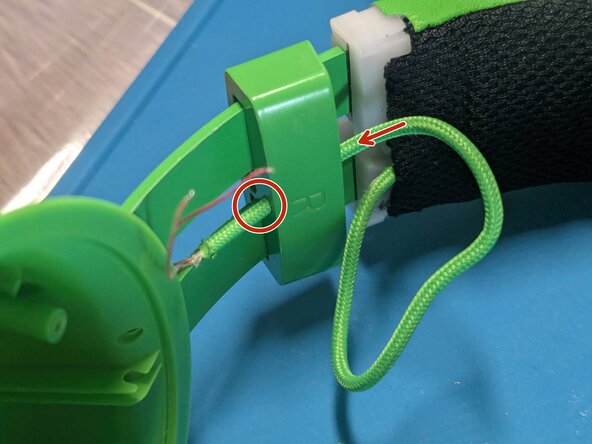
Free the cable by passing it through the hole in the metal cover.
-
Slightly separate the upper cushion from the metal headband.
-
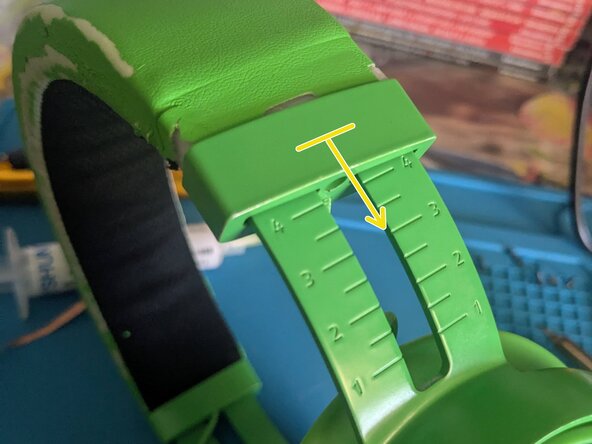
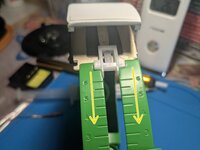
Simply pull down on the right earcup; the adjustable rod should come out of the metal rail naturally, freeing it completely from the rest of the headset.
-
-
-
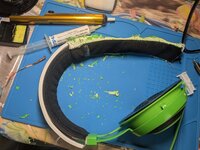
Slowly pull and push the headband toward the right side so that it comes out.
-
-
-
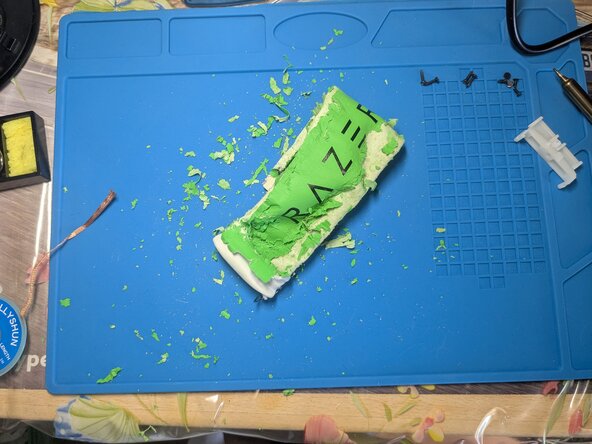
We know you are going to need it.
-
-
-
Very slowly and with much patience, start pulling the new leatherette around the metal bow and cushions starting from the right side.
-
Halfway through the process, you will also be forced to push from the right side and pull from the left. Always in small movements.
-
-
-
If necessary, pull up a bit the new leatherette in the right side.
-
Gently separate the upper cushion from the metal headband.
-
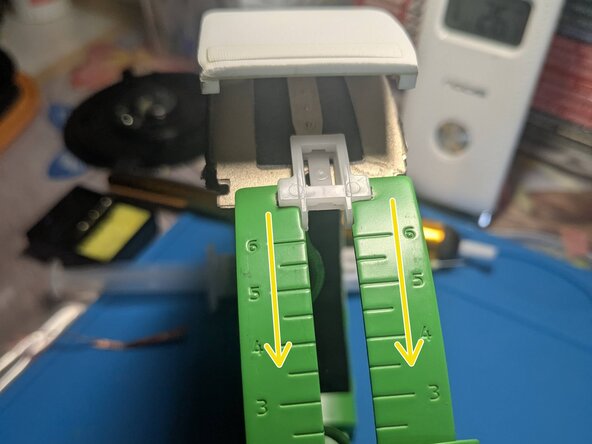
Insert back the adjustable rod in the metal rail.
-
-
-
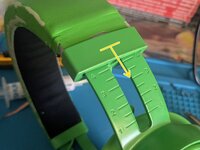
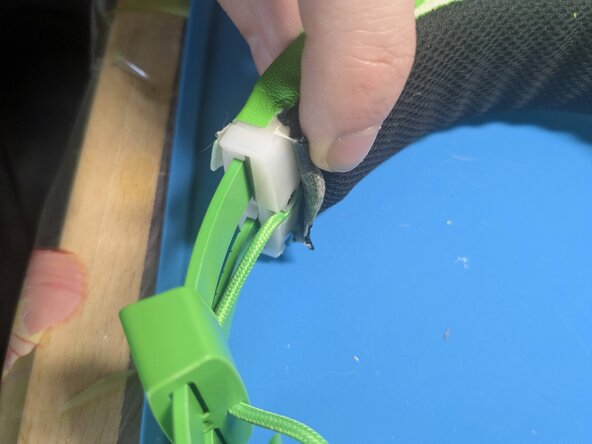
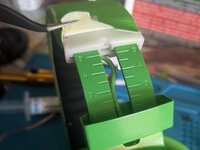
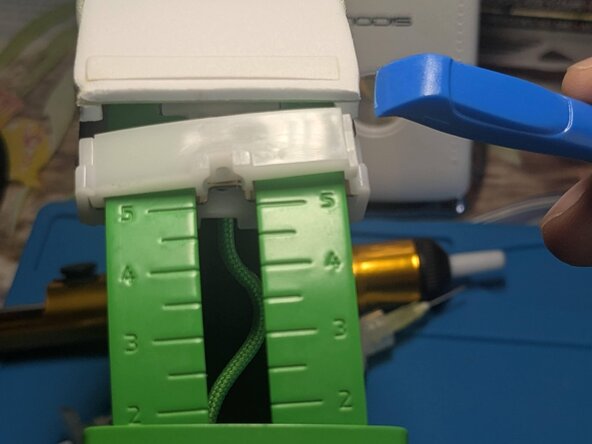
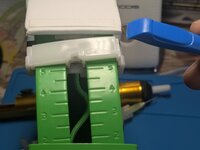
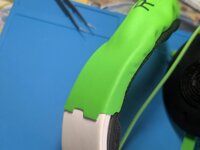
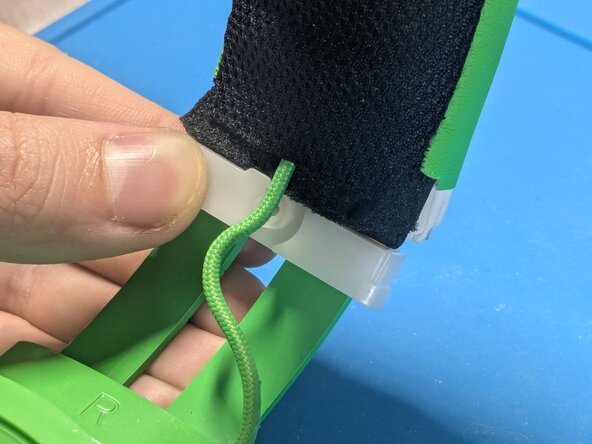
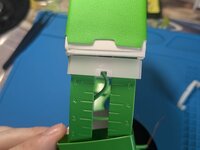
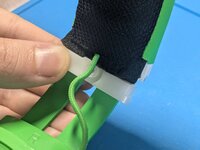
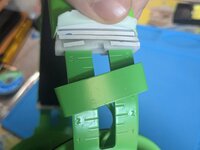
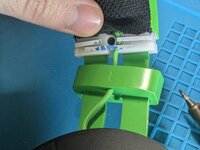
Follow the images to place back the plastic clip.
-
-
-
Close the clip.
-
Screw the single screw.
-
Pass the cable through the metal cover.
-
-
-
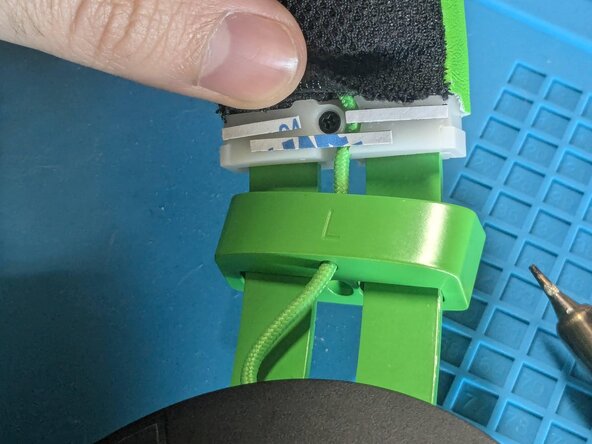
Apply new tape in the front and the back of the plastic clip (not the sides).
-
Stick the new leatherette to the new tape.
-
-
-
Pull up the metal cover.
-
Screw the single screw.
-
-
-
-
Pass the cable through the ear cup hole.
-
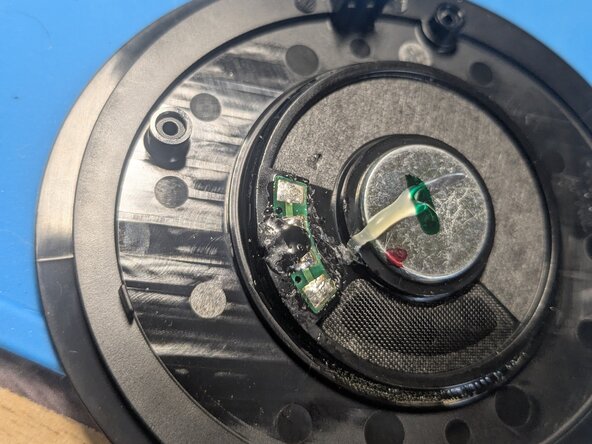
Solder back the audio driver.
-
Put a drop of tin on the tip of each cable and on each pad.
-
Dissolve the two tin drops together (cable-pad).
-
Put some hot glue to reinforce the welds and prevent the cable from tearing.
-
-
-
Close the ear cup and screw the four screws.
-
Slowly put back the ear pad(s).
-
Insert the outline of the pad starting from the side and push slightly toward the other directions to stretch the cushion a bit.
-
Enjoy!
crwdns2935221:0crwdne2935221:0
crwdns2935227:0crwdne2935227:0

