crwdns2915892:0crwdne2915892:0
This guide demonstrates how to remove the charging port in your Razer Blade 15" (2020) laptop.
crwdns2942213:0crwdne2942213:0
-
-
Unplug all cables and fully shut down your laptop.
-
Close the lid and flip your laptop over so the back cover faces up.
-
-
-
Use a T5 Torx driver to remove the ten 3.7 mm-long screws securing the back cover.
-
-
-
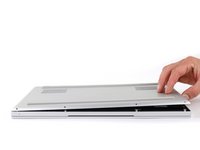
Use a finger to pry up the right side of the back cover, starting at the Ethernet port cutout.
-
-
-
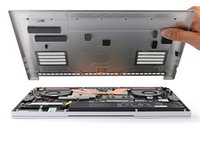
Remove the back cover slowly, as to avoid tearing the thermal pads underneath.
-
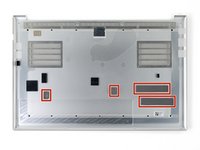
Lay the back cover down on its rubber feet to avoid damaging the thermal pads on its underside.
-
-
-
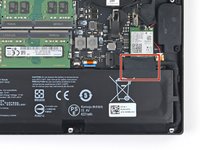
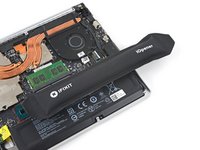
Apply a heated iOpener to the battery cable tape for one minute.
-
-
crwdns2935267:0crwdne2935267:0Tweezers$4.99
-
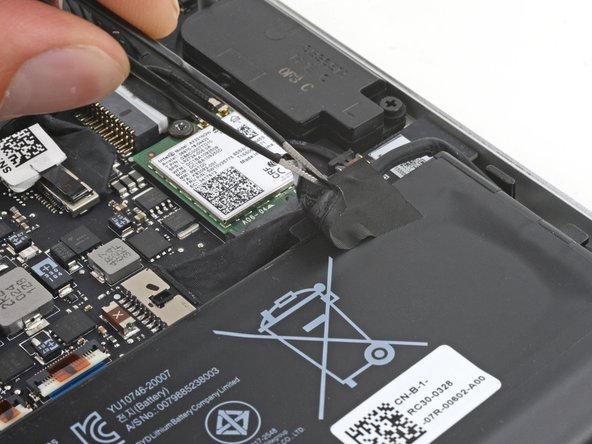
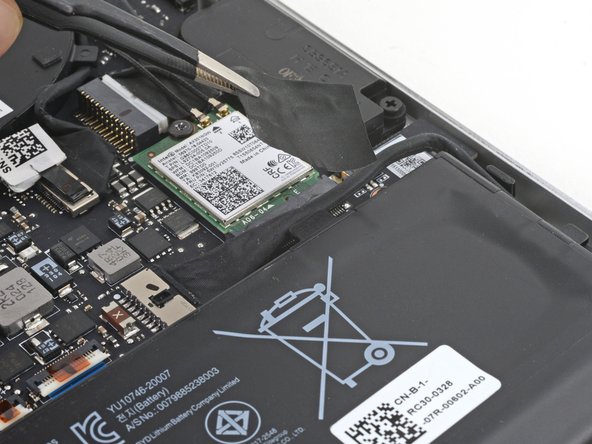
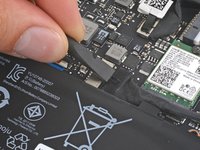
Use blunt nose tweezers or your fingers to peel and remove the battery cable tape.
-
-
-
-
Use the flat end of a spudger to push the square tab on the battery connector and slide it out of its socket.
-
-
-
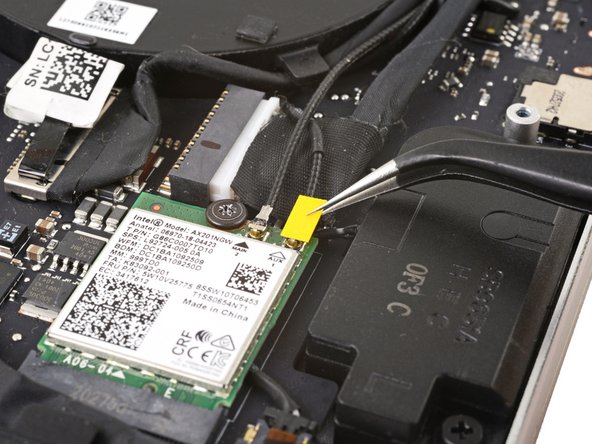
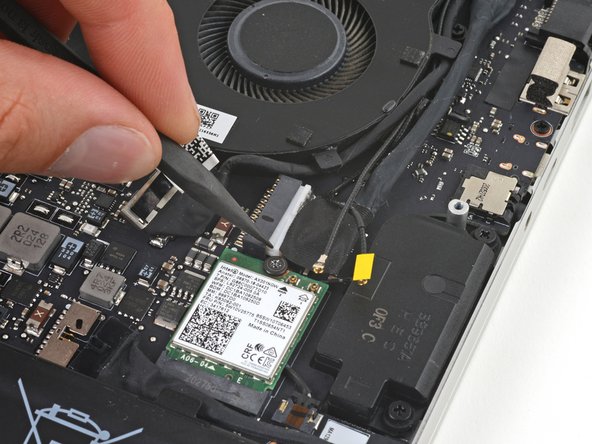
The antenna cables look very similar. Label one of them with a piece of tape or marker and remember which socket it connects to.
-
-
crwdns2935267:0crwdne2935267:0Tweezers$3.99
-
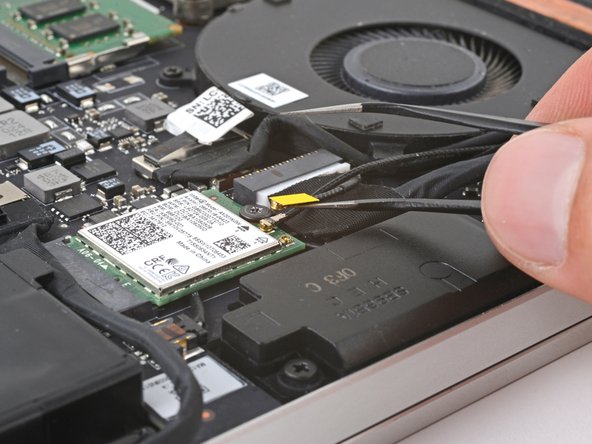
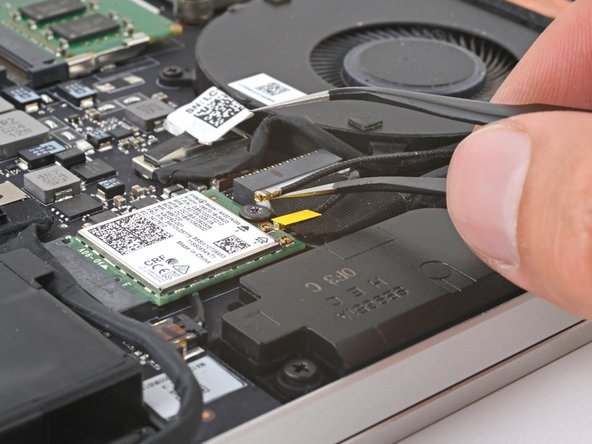
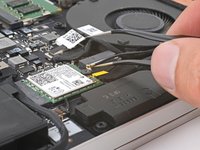
Insert one arm of angled tweezers under the metal neck of each antenna cable and pry up to disconnect it.
-
-
-
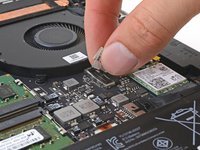
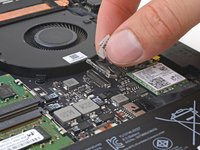
Grab the pull tab on the screen connector.
-
Pull up to disconnect the connector from its socket.
-
-
-
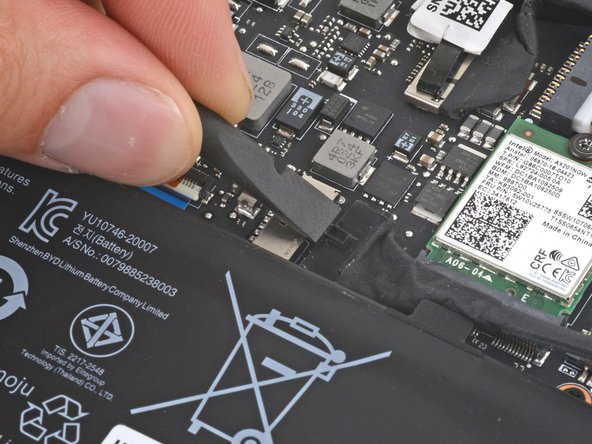
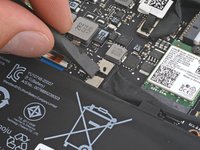
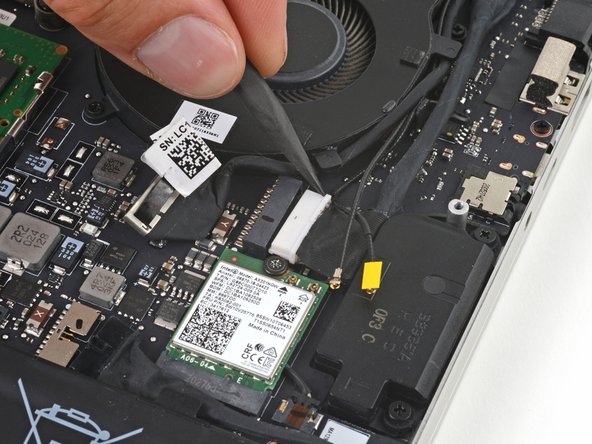
Use the point of your spudger to press on alternating sides of the charging port connector to "walk" it out of its socket.
-
-
-
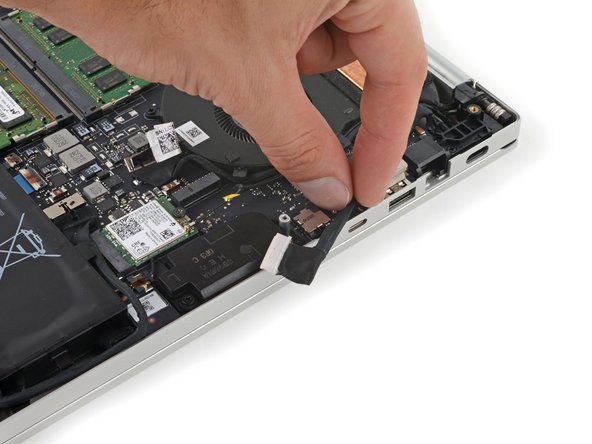
Move the charging cable over the right edge of the laptop.
-
-
-
Use a Phillips screwdriver to remove the three 6.7 mm screws securing the right hinge cover.
-
-
-
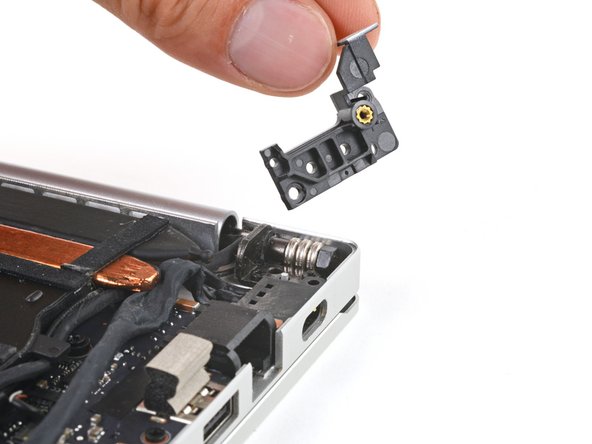
Remove the right hinge cover.
-
-
-
Hold the charging port cables out of the way of the heatsink.
-
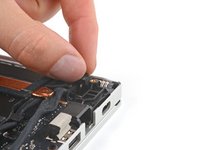
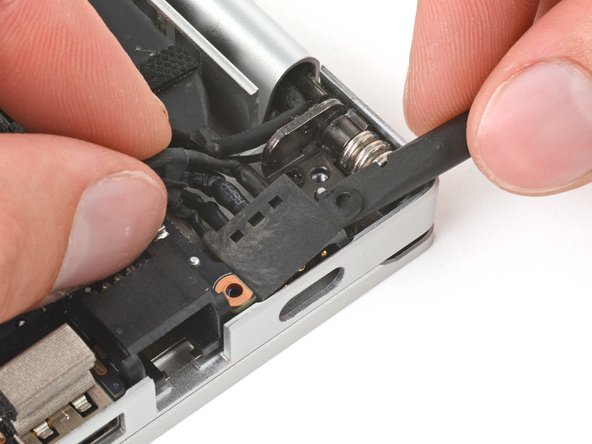
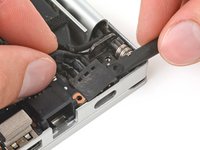
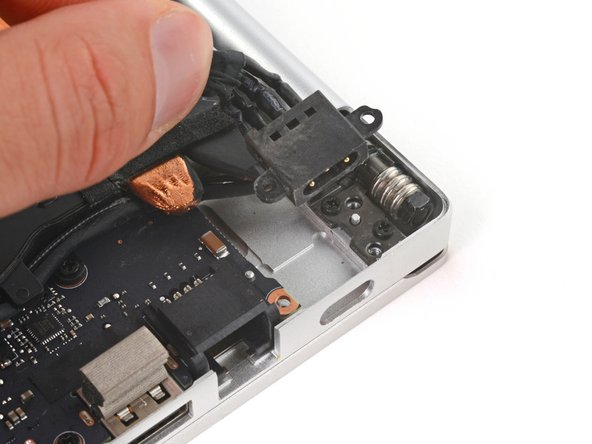
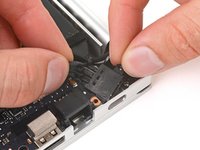
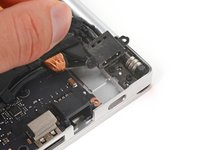
Use the flat end of your spudger to pry up the top screw mount of the charging port until it clears the hinge.
-
-
-
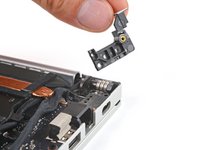
Rotate the charging port counterclockwise and slide the lower screw mount out from underneath the motherboard.
-
Remove the charging port.
-
To reassemble your device, follow these instructions in reverse order.
To reassemble your device, follow these instructions in reverse order.


