crwdns2915892:0crwdne2915892:0
You will need special skills for this guide! If you haven't already familiarized yourself with wiring and soldering, check Strip wire and Solder and desolder connections first!
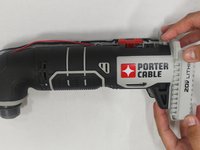
This guide is for a Porter-Cable 20V Oscillating Multi-Tool with the model number: PCC710B. This guide will help you replace the motor of the tool.
The motor is the power producer of the tool. A damaged motor can cause the oscillating tool not to turn on.
If you are having issues with the power and turning on your tool, there could be a problem with the switch actuator. The power issue could may be a dirt and debris build-up. You can find fixes to both of these issues here.
Warnings
- We recommend working in a well-ventilated area. A small fan near your workstation can help disperse the fumes from the soldering.
- You'll also be working with very hot metal so be mindful of letting your work cool down before handling the tool parts!
- Before beginning this guide, make sure the battery of the tool is taken off, you do not want any power source connected to the device while working on this replacement!
crwdns2942213:0crwdne2942213:0
-
-
Place the tool on its side so the orange and white warning label barcodes are facing up.
-
The lever and battery base of the tool should point toward you.
-
-
-
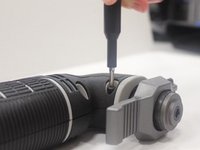
Use a 5.5 mm nut driver to unscrew the Hex nut.
-
-
-
Flip the tool over and remove the black screw holding the tool together.
-
-
-
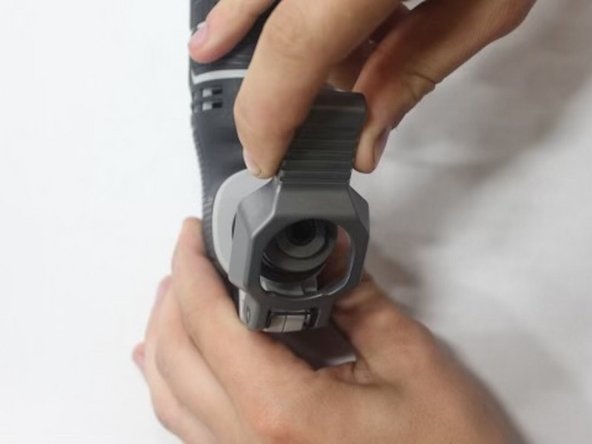
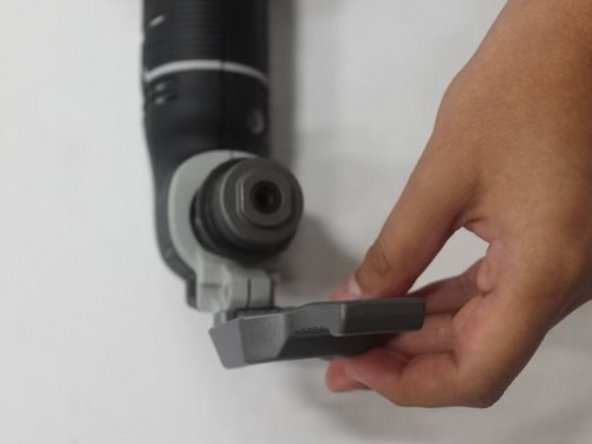
Pinch the lever with your fingers and pull it up and away from the tool. The lever pops right off! You can squeeze on the lever, and it will come off just as easily.
-
-
-
-
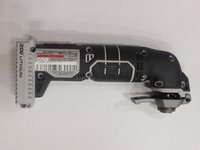
Lay the tool on its side so that the grey and orange warning labels are facing up upwards.
-
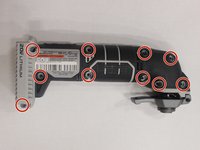
Use the JIS #1 screwdriver to remove the 10 screws holding the tool together.
-
-
-
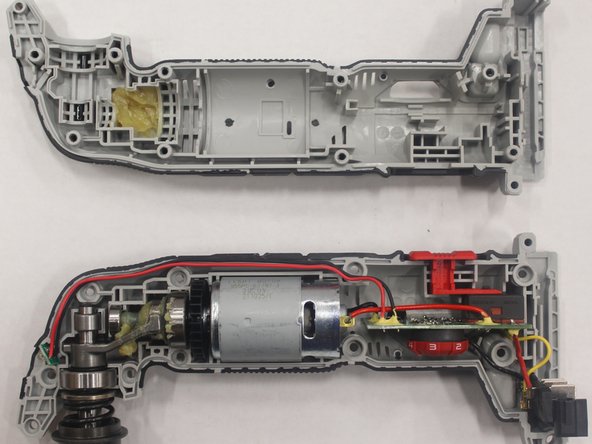
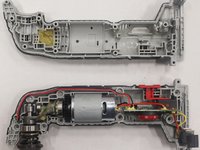
Lift the case off to access the internals of the tool.
-
-
-
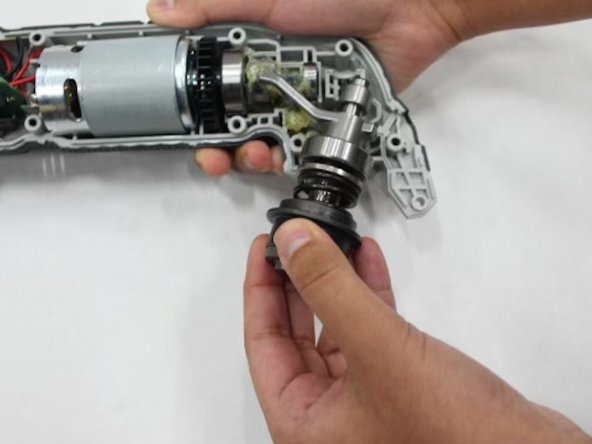
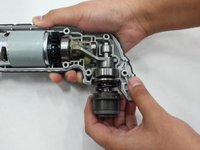
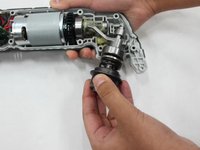
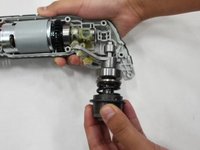
Grasp the bottom of the spindle and pull it out towards you.
-
-
-
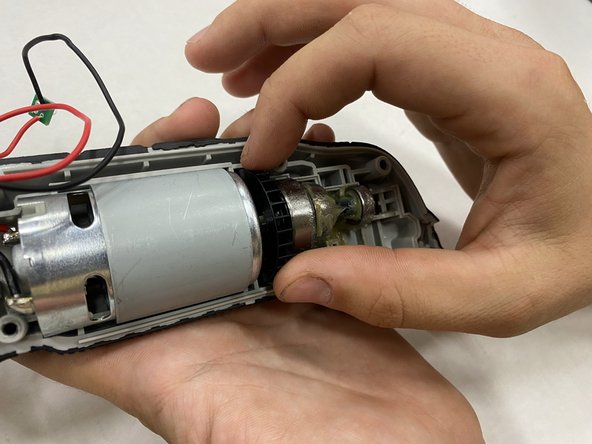
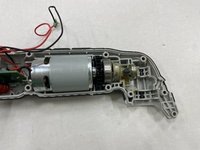
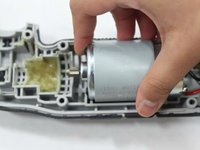
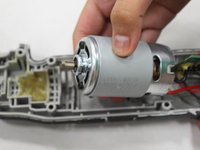
Gently pull the motor out of the case.
-
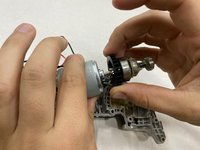
To remove the eccentric shaft simply pull it off of the motor.
-
-
-
Gently remove the motor with your hands.
-
-
-
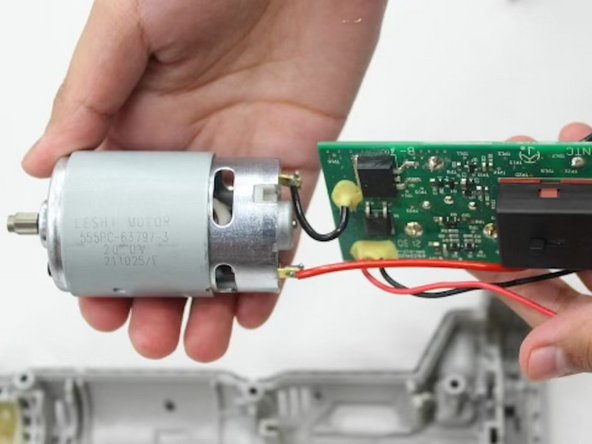
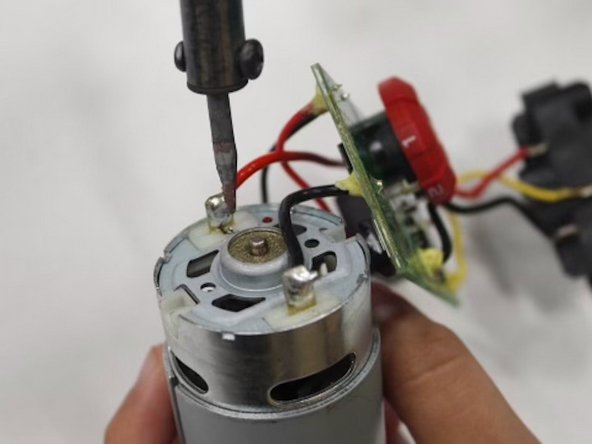
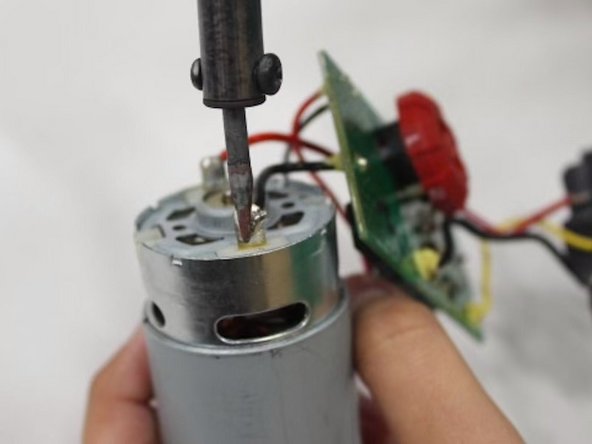
Desolder the red wire from the motor and then the black wire.
-
Once the solder connection melts, pull the wires from the motor.
-


To reassemble your device, follow these instructions in reverse order.
To reassemble your device, follow these instructions in reverse order.

crwdns2915084:0crwdne2915084:0

Austin Community College, Team 13-3, Watkins Fall 2022 crwdns2935289:0Austin Community College, Team 13-3, Watkins Fall 2022crwdne2935289:0
AUSTINCC-WATKINS-F22S13G3
crwdns2931471:04crwdne2931471:0
crwdns2935297:07crwdne2935297:0