crwdns2942213:0crwdne2942213:0
-
-
Unplug all cables from your phone.
-
Completely power off your phone.
-
-
-
Adhesive secures the perimeter of the back glass to the frame.
-
Lay overlapping strips of packing tape over the glass to protect yourself and make disassembly easier. Ensure there's a smooth area near the bottom edge that's large and smooth enough for a suction cup to stick to.
-
-
-
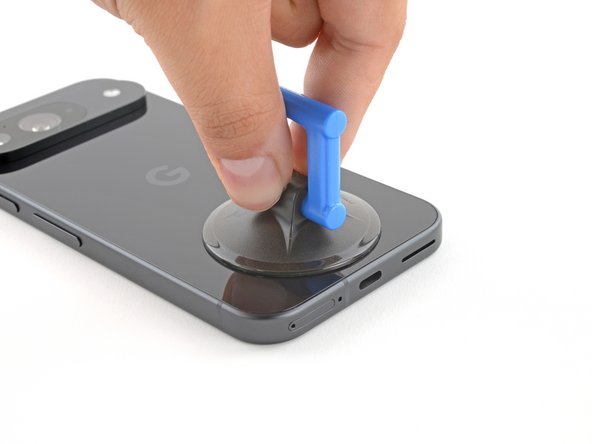
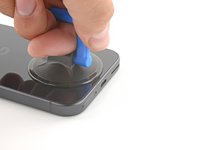
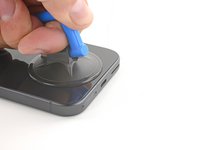
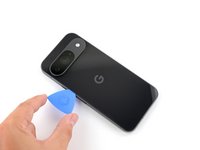
Place a suction handle at the bottom edge of the back glass, as close to the edge as possible.
-
Push down to attach the suction cup.
-
-
-
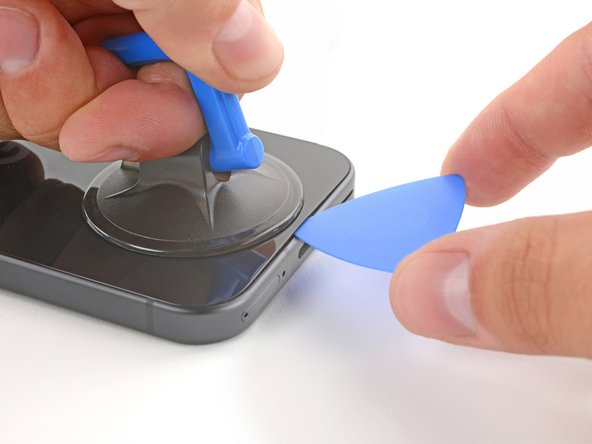
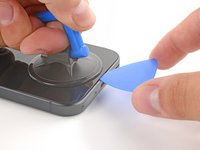
Pull up on the suction handle with strong, steady force to create a small gap under the back glass.
-
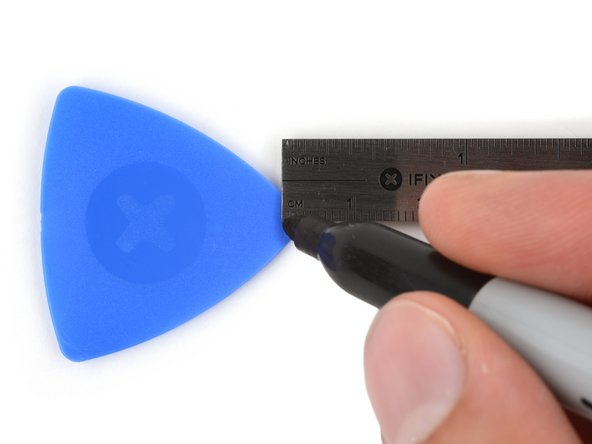
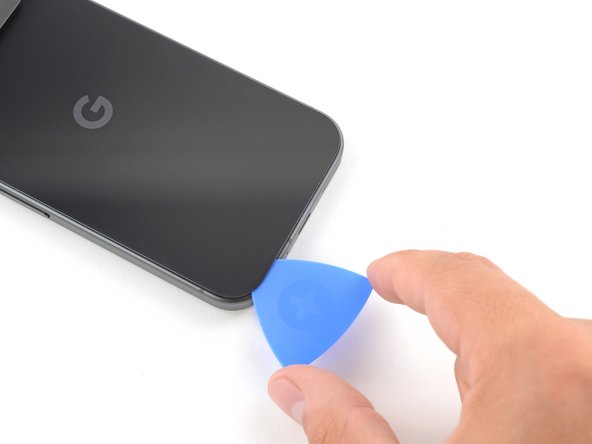
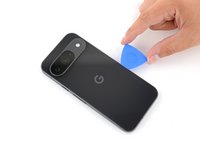
Insert the tip of an opening pick into the gap.
-
-
-
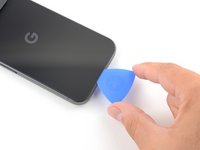
Slide the opening pick back and forth along the bottom edge to separate the adhesive securing it.
-
-
-
-
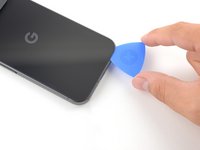
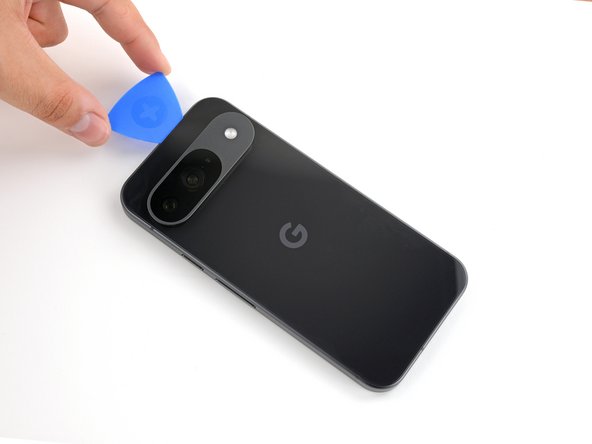
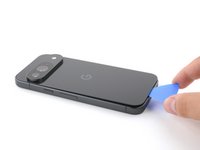
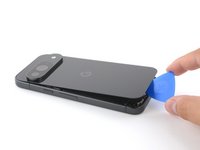
Slide the opening pick around the perimeter of the phone, slicing the rest of the adhesive.
-
-
-
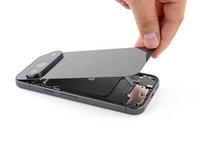
With most of the adhesive separated, lightly twist the opening pick at the bottom edge to lift the back glass up until you can grip it with your fingers.
-
Use the opening pick to separate any remaining sections of adhesive securing the back glass.
-
-
-
Remove the back glass.
-
Now is a good time to test your phone before sealing it up. Power it on and check that it works. Power it back down before you continue reassembly.
-
Follow this guide to apply new adhesive and install your back glass.
-
-
crwdns2935267:0crwdne2935267:0FixMat$36.95
-
Use a 3IP Torx Plus driver to remove the single 5.4 mm‑long screw securing the upper board cover.
-
-
-
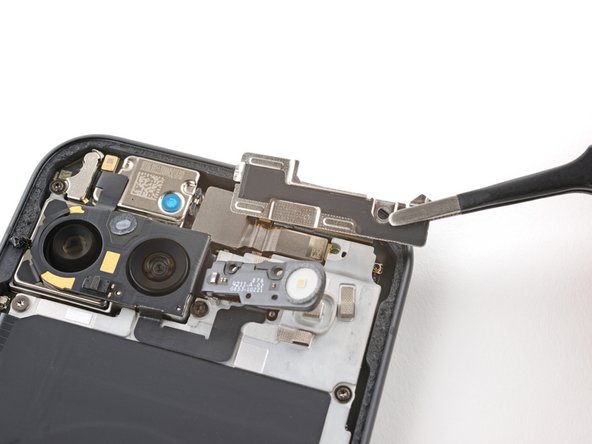
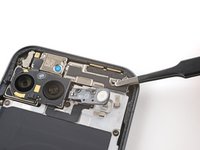
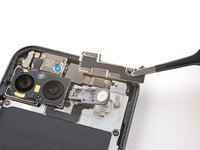
Use a pair of tweezers to remove the upper board cover.
-
-
-
Use a 3IP Torx driver to remove the five screws securing the midframe and wireless charging coil:
-
Four 5.4 mm-long screws
-
One 2.2 mm-long screw
-
-
-
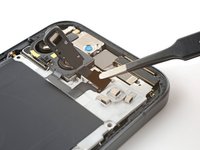
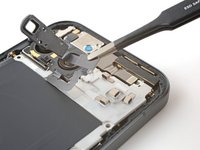
Use a pair of tweezers to peel the flash cable off of the metal midframe.
-
-
-
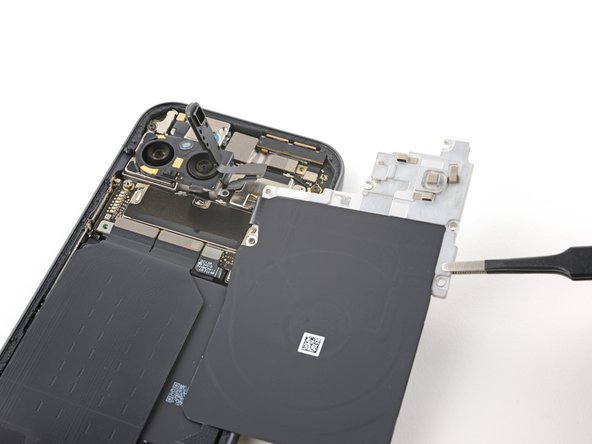
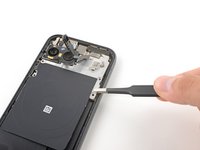
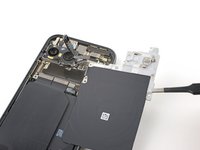
Remove the midframe, wireless charging coil, and NFC assembly.
-
-
-
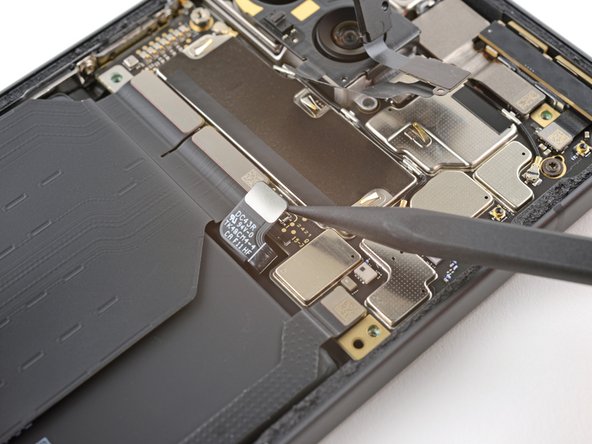
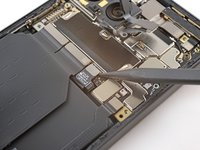
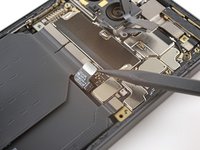
Use the tip of a spudger to pry up and disconnect the battery connector.
-