crwdns2915892:0crwdne2915892:0
Ensure to have the required spare parts lying next to you before your start disassembling the device.
You should also have a little bowl ready to set aside screws and other small parts.
crwdns2942213:0crwdne2942213:0
-
crwdns2935267:0crwdne2935267:0Anti-Static Wrist Strap$7.95
-
Put on the Anti-Static Wrist Strap and clamp the end of the band to an unpainted spot of a radiator.
-
-
-
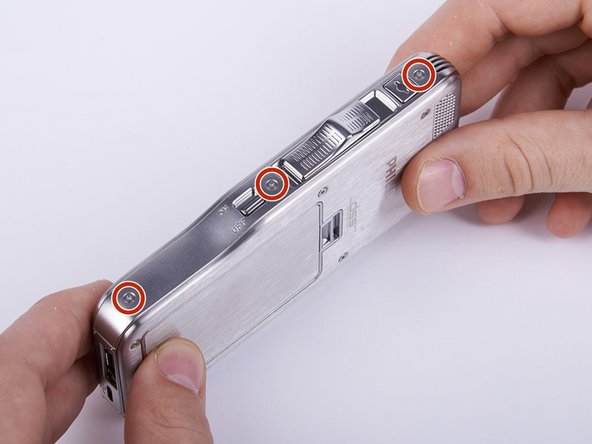
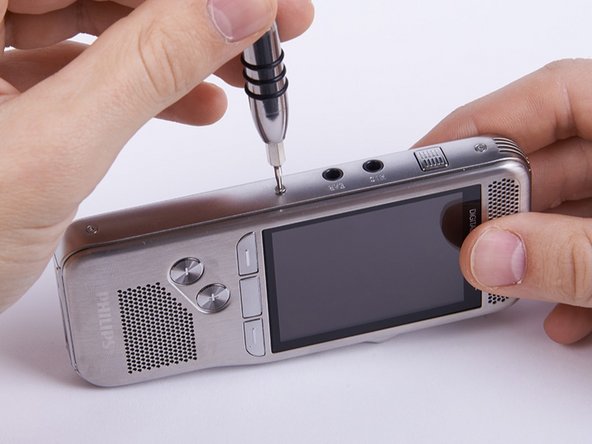
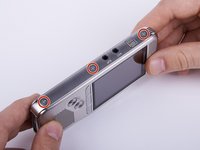
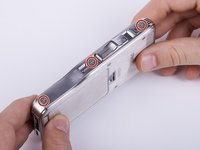
Unscrew the six Torx #4 (5,3 mm) screws from both sides of the device
-
-
-
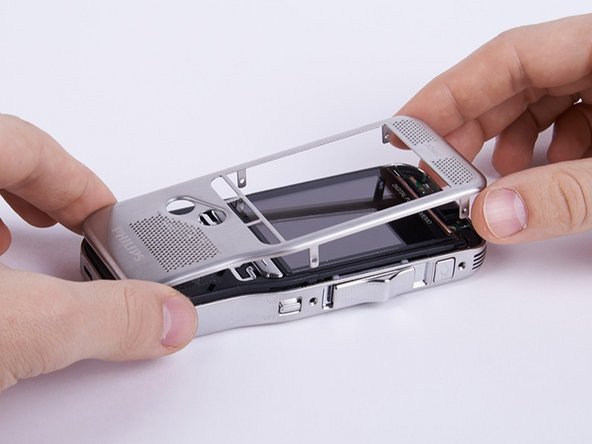
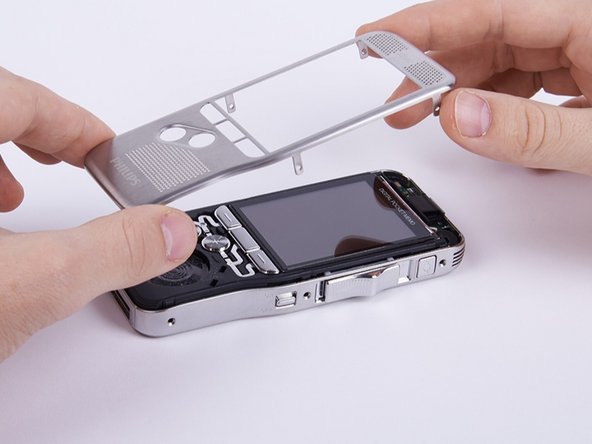
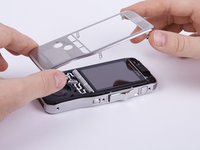
Remove the upper ornamental part from the housing.
Be carefull, the newer versions of the unit have the display “glued” to front cover to stop dust getting between the outer cover and display. The display now comes out with front cover and as such care must be taken with cables
-
-
-
-
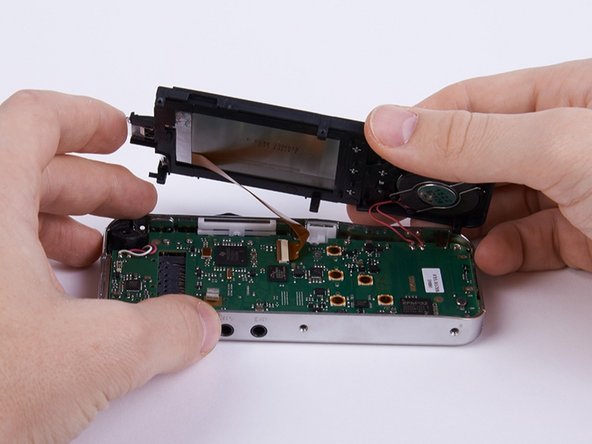
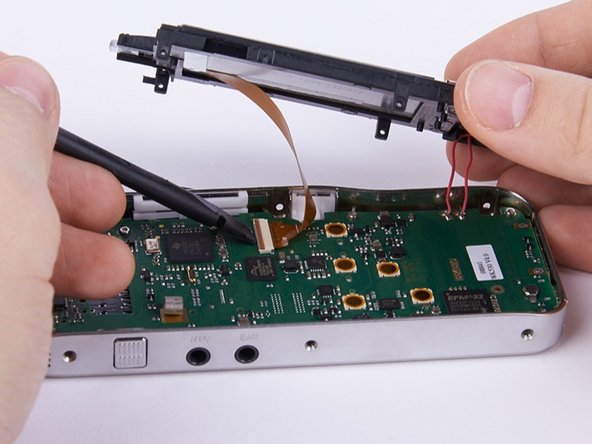
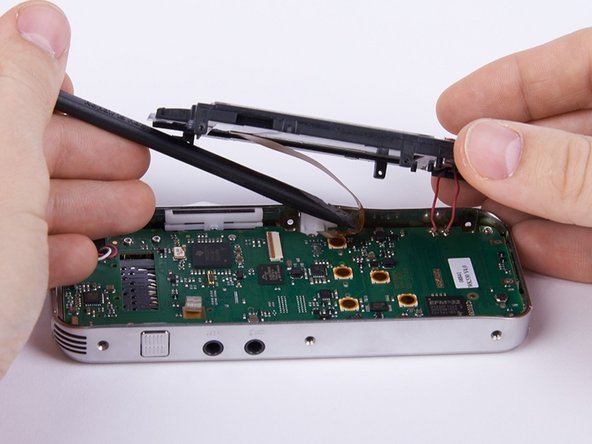
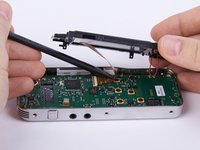
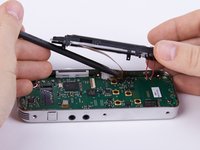
Unlock the connection between display and motherboard by pushing open the brown cleat.
-
-
-
Separate the connection by pulling out the display cable.
-
-
crwdns2935267:0crwdne2935267:0Tweezers$4.99
-
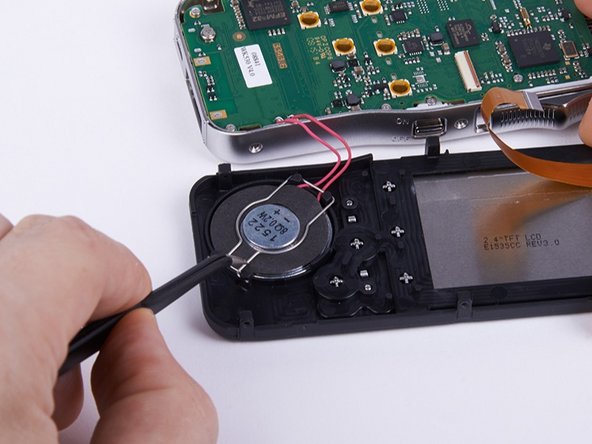
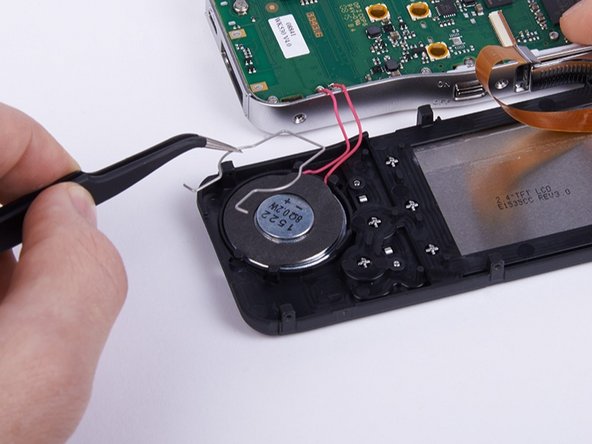
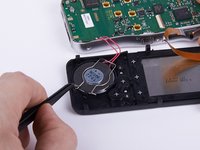
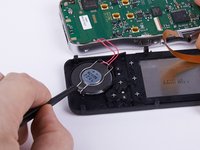
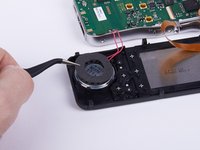
Remove the mounting spring from the speaker with a pair of tweezers.
-
-
-
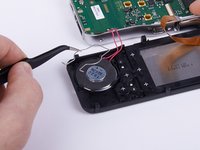
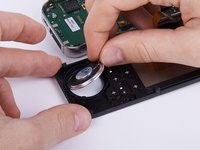
Take off the safety mat from the speaker.
-
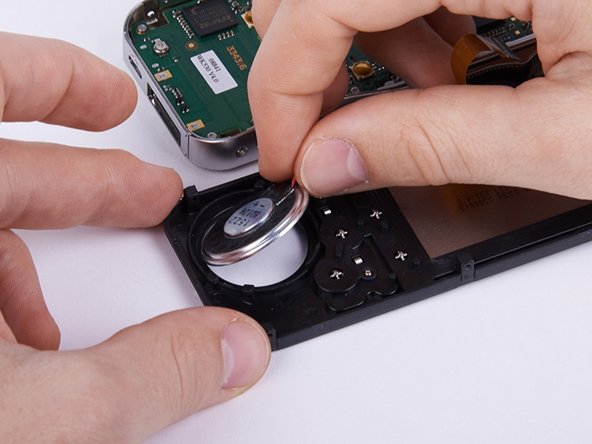
Remove the speaker from the housing.
-
-
-
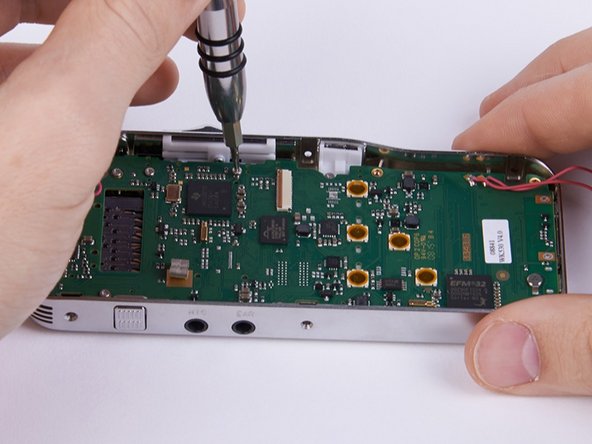
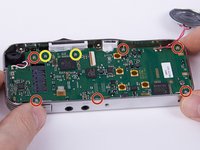
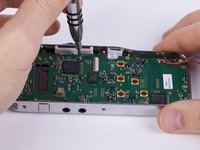
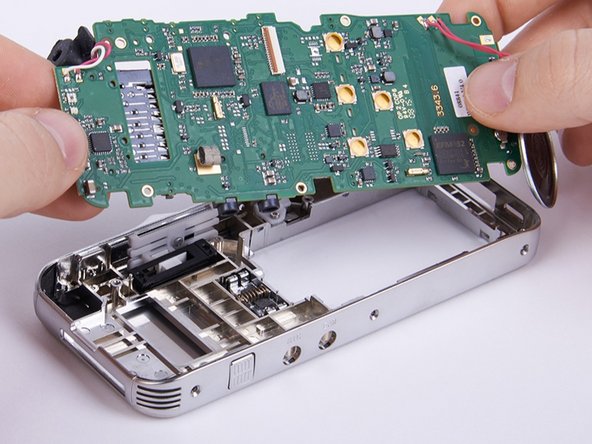
Unscrew the eight Torx #4 (5,0 mm) screws from the motherboard.
-
These two screws connect the motherboard with the sliding cage. In this guide they are removed as well. Hence this is not compulsory you can decide for yourself whether you want to remove them now or later.
-
-
-
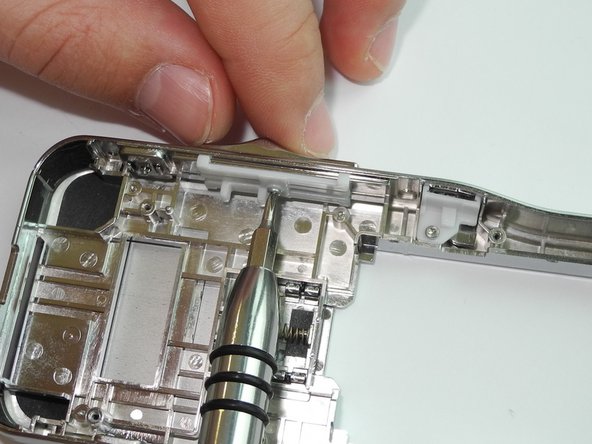
Unscrew one crossed slot screw PH00 (4,5 mm).
-
-
-
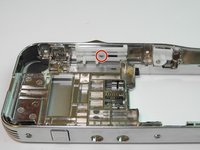
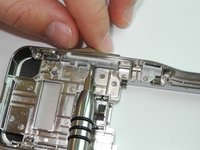
Remove the defective BA-Slider and replace it with the new one.
-
To reassemble your device, follow these instructions in reverse order beginning with step 15.
To reassemble your device, follow these instructions in reverse order beginning with step 15.
crwdns2947412:02crwdne2947412:0
Großes Lob. Klare Anleitung. Scharfe Fotos. Gibt von 10/ 10 Punkte.
Hab noch vergessen, was an dem Gerät war. Der Schiebeschalter ging sehr schwer. Vermutlich war irgend etwas klebriges darunter. Ich habe den Schlitten gesäubert. Er geht wieder. Vielen Dank.


