crwdns2915892:0crwdne2915892:0
An unresponsive power button is a very common problem. Typically, this problem occurs when the solder between the power button and the motherboard weakens. For more information and other fixing alternatives see the link below:
crwdns2942213:0crwdne2942213:0
-
-
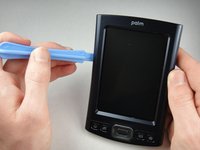
Orient the device so that the display faces forward.
-
Remove the stylus from the right side.
-
-
-
Turn over the device so that the back panel faces forward.
-
Use a T5 Torx screwdriver to remove the four 6.35mm corner screws.
-
-
-
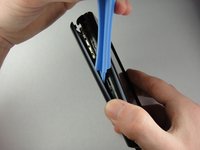
Rotate the device so that the display faces forward.
-
Insert a plastic opening tool with the angled tip pointing downward into the crevice on the left side of the device.
-
Pry along the crevice to loosen the back panel.
-
Repeat this process for the right side.
-
-
-
-
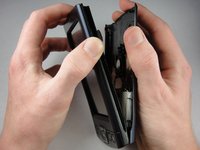
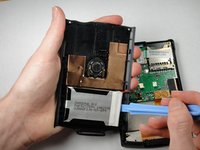
Carefully pry the back panel to open the device.
-
-
-
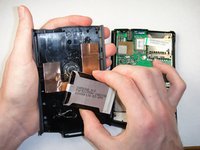
Use a plastic opening tool to peel the battery pack from the back panel.
-
-
-
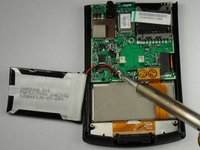
Use a soldering iron to disconnect the battery wires from the motherboard.
-
For soldering instructions, you can view the Soldering Guide.
-
-
-
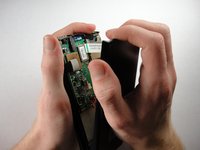
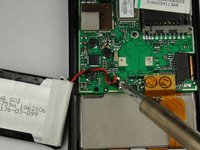
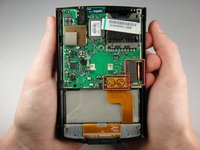
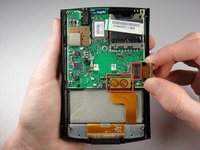
Pull straight up on the ribbon cables located on the bottom right of the motherboard to disconnect them.
-
-
-
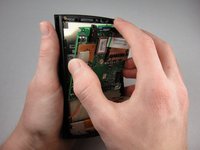
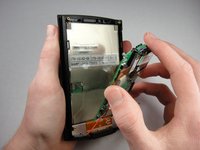
Lift the mother board out of the device.
-
-
-
Flip the motherboard so that the black rubber cover faces upward. The power switch is in the top right corner.
-
Remove the button with a soldering iron.
-
For soldering instructions, view the Soldering Guide.
-


To reassemble your device, follow these instructions in reverse order.
To reassemble your device, follow these instructions in reverse order.
crwdns2915084:0crwdne2915084:0

Cal Poly, Team 1-15, Amido Winter 2011 crwdns2935289:0Cal Poly, Team 1-15, Amido Winter 2011crwdne2935289:0
CPSU-AMIDO-W11S1G15
crwdns2931471:04crwdne2931471:0
crwdns2935297:07crwdne2935297:0
crwdns2947412:02crwdne2947412:0
what do i do after i remove said button?
what do i do aftert i desolder the button