crwdns2942213:0crwdne2942213:0
-
-
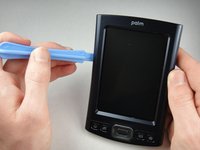
Orient the device so that the display faces forward.
-
Remove the stylus from the right side.
-
-
-
Turn over the device so that the back panel faces forward.
-
Use a T5 Torx screwdriver to remove the four 6.35mm corner screws.
-
-
-
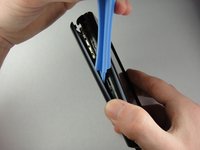
Rotate the device so that the display faces forward.
-
Insert a plastic opening tool with the angled tip pointing downward into the crevice on the left side of the device.
-
Pry along the crevice to loosen the back panel.
-
Repeat this process for the right side.
-
-
-
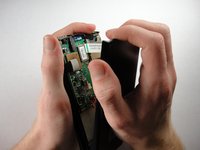
Carefully pry the back panel to open the device.
-
-
-
-
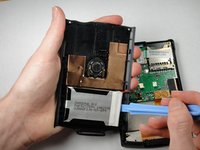
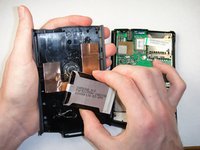
Use a plastic opening tool to peel the battery pack from the back panel.
-
-
-
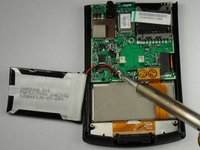
Use a soldering iron to disconnect the battery wires from the motherboard.
-
For soldering instructions, you can view the Soldering Guide.
-
-
-
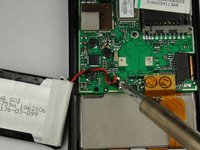
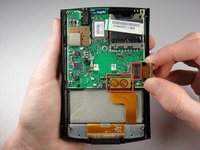
Pull straight up on the ribbon cables located on the bottom right of the motherboard to disconnect them.
-
-
-
Lift the mother board out of the device.
-
-
-
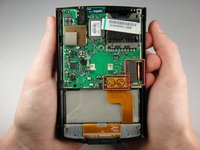
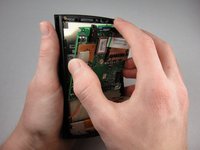
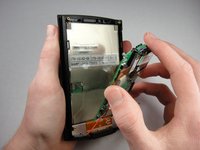
Orient the device sideways, as shown in the picture.
-
Lightly push the front of the display to separate it from the front panel.
Oh yes… that battery “certainly” won’t be attached at this point... *wink* - I understand the logic of disconnecting the battery from the motherboard, but most electronics these days have batteries with connectors. For such a simple process, as long as you’re careful with the motherboard and the battery, leave it soldered on. You don’t want to risk damaging the motherboard with excessive heat, especially if you are intermediate in the art of soldering.
-
-
-
Use a T5 Torx screwdriver to remove the 7.75mm screws at the bottom of the device.
-
-
-
Lift the button and connector assembly from the front panel.
-


To reassemble your device, follow these instructions in reverse order.
To reassemble your device, follow these instructions in reverse order.
crwdns2915084:0crwdne2915084:0

Cal Poly, Team 1-15, Amido Winter 2011 crwdns2935289:0Cal Poly, Team 1-15, Amido Winter 2011crwdne2935289:0
CPSU-AMIDO-W11S1G15
crwdns2931471:04crwdne2931471:0
crwdns2935297:07crwdne2935297:0
crwdns2947410:01crwdne2947410:0
Where can you buy one of these?