crwdns2915892:0crwdne2915892:0
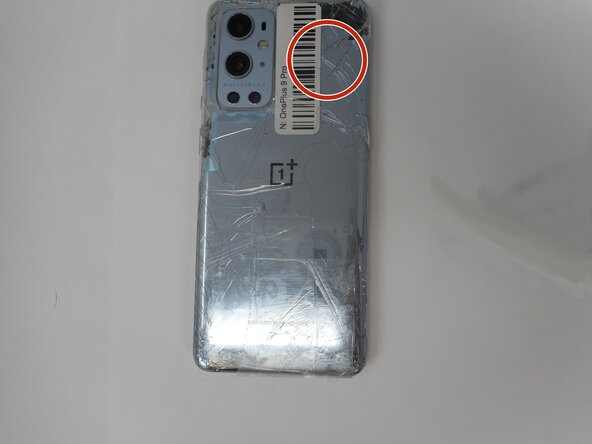
Is your screen on your OnePlus 9 Pro cracked or shattered? If so, then use this guide to replace it.
When removing a cracked screen, it is important to tape the screen first to avoid the glass going everywhere.
When using a heat gun, always use caution since there is a chance to burn skin or surrounding areas of the workplace.
crwdns2942213:0crwdne2942213:0
-
-
Unplug any chargers/peripheries and power off your phone.
-
-
-
Use a hair dryer to lightly heat the perimeter of the rear glass.
-
Additionally, heat the top-right corner, as there is adhesive further inside of phone in that one spot.
-
-
-
Apply a suction handle as close to the bottom edge as possible.
-
Pull up on the suction handle with strong, steady force to create a gap between the glass and the frame.
-
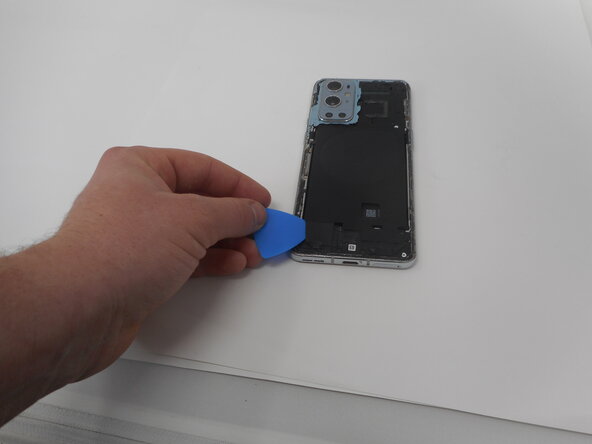
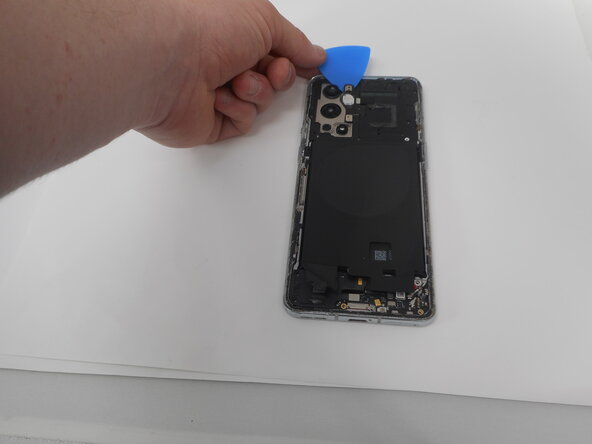
Insert an opening pick into the gap.
-
-
-
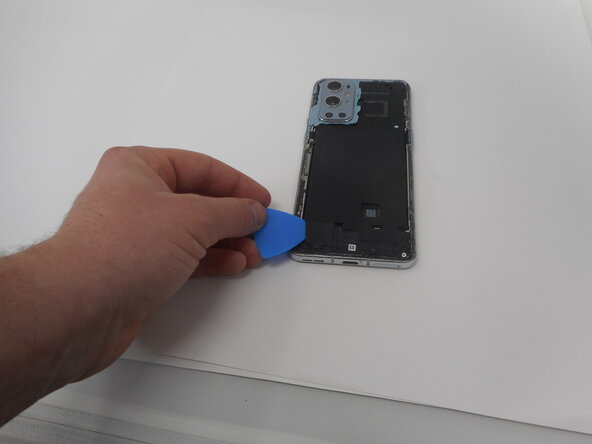
Slide the opening pick around the perimeter of the rear glass to slice the adhesive.
-
Insert additional opening picks as you slice the adhesive to prevent the adhesive from resealing.
-
-
-
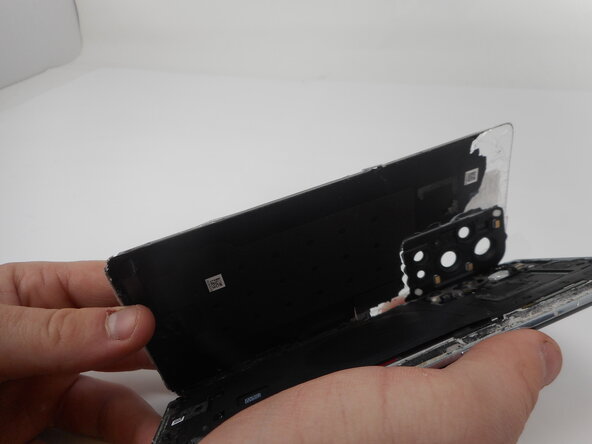
Carefully lift the rear glass up and off of the phone.
-
-
-
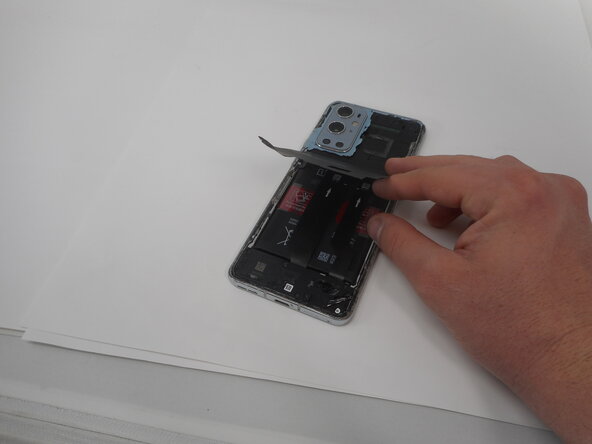
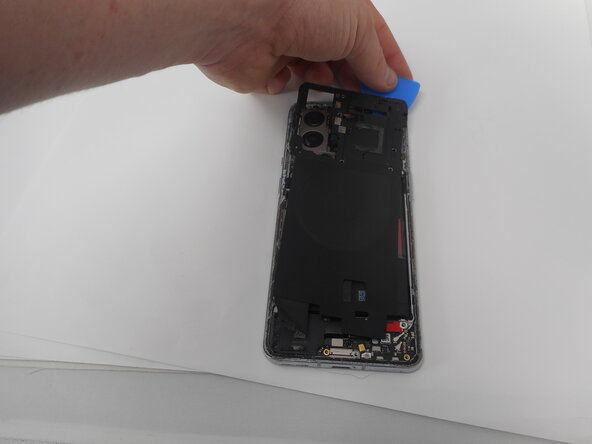
Use one of the opening picks to remove the adhesive on the lower part of the wireless charging cable
-
-
-
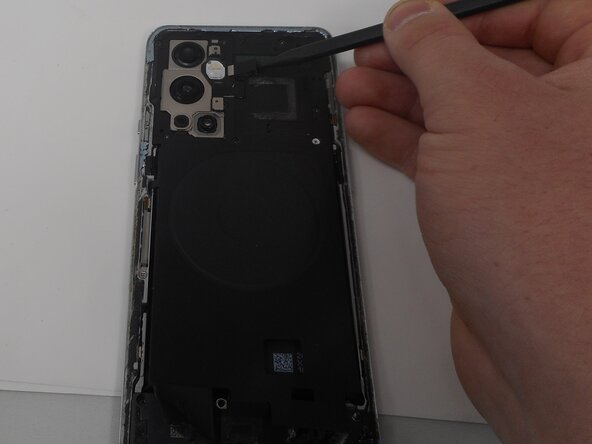
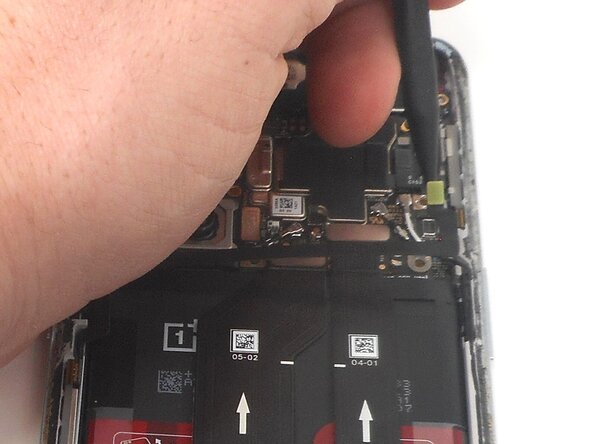
Unplug the press connector ribbon cable attached to the flash module by inserting a spudger under the bottom edge and prying straight up.
-
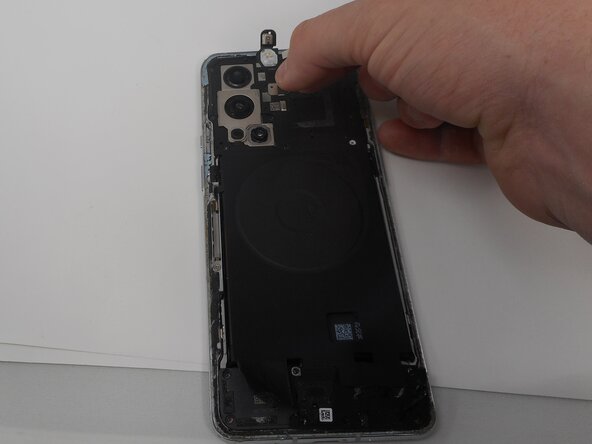
Use an opening pick to remove the flash module by the camera.
-
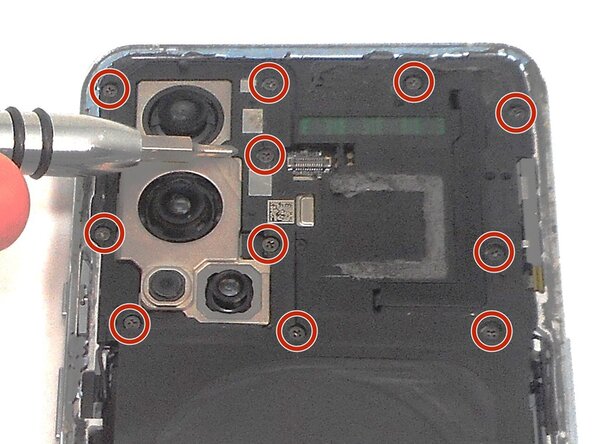
Use a Phillips #000 screwdriver to remove the eleven 4.9 mm-long screws holding the motherboard cover to the phone.
-
Use an opening pick to pry off the motherboard cover.
-
-
-
Use a Phillips #000 screwdriver to remove five screws that secure the lower daughterboard cover.
-
-
-
-
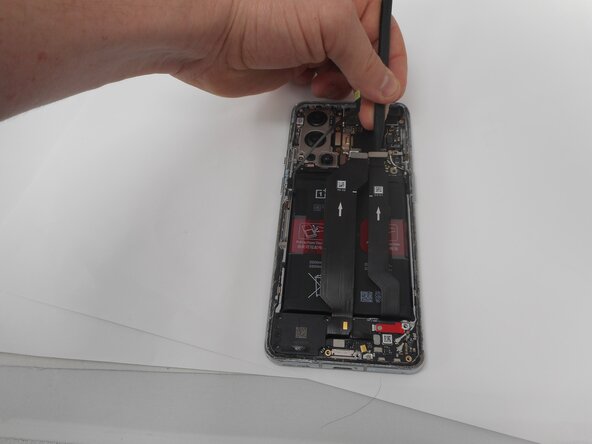
Disconnect the two interconnect cables by inserting a spudger under each lip and prying straight up.
-
-
-
Remove the three screws from the loudspeaker using a Phillips #000 screwdriver.
-
-
-
Use the spudger to pry up and remove the loudspeaker.
-
-
-
Use an opening pick or tweezers to carefully peel back the adhesive on the bottom of the wireless charging module.
-
-
-
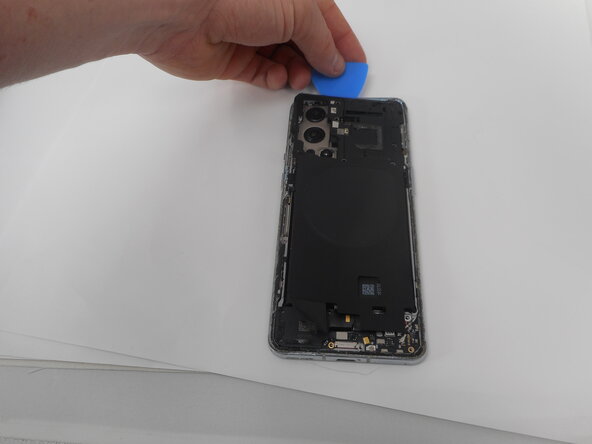
Pry on the bottom of the flash module off using a pick and use tweezers to get under the module without ripping it.
-
-
-
Use a Phillips #000 screwdriver to remove the eleven 4.8 mm-long screws securing the motherboard cover.
-
-
-
Pry around the phone with picks to remove the motherboard cover.
-
-
-
Pry up and disconnect the press connector ribbon cable in the top right with a spudger.
-
-
-
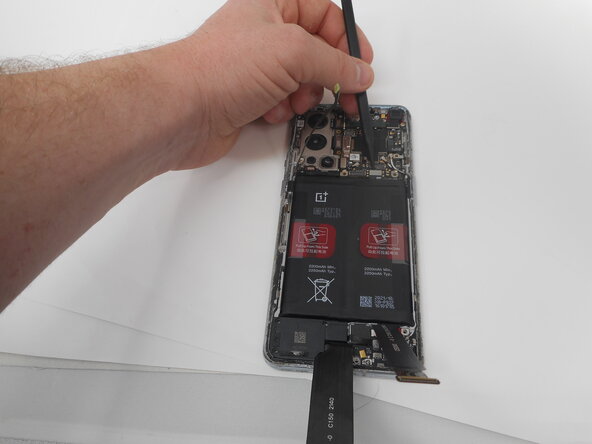
Use a spudger to disconnect the two interconnect cables from the motherboard by prying the connector straight up from its socket.
-
-
-
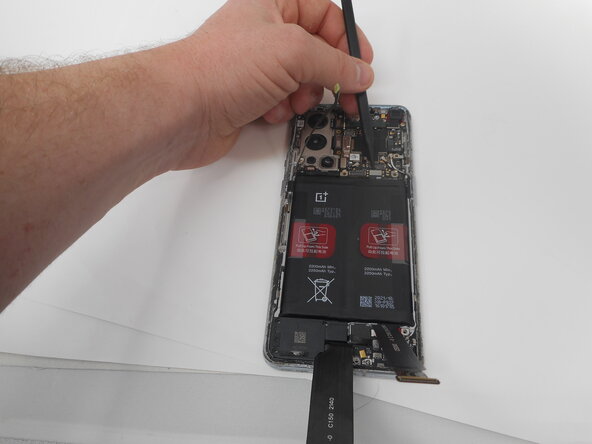
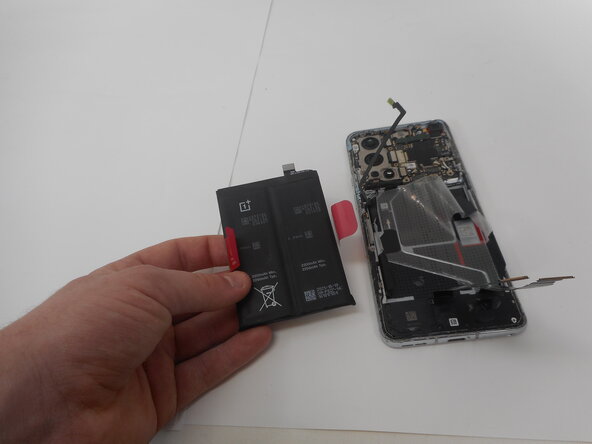
Remove the battery from the phone by slowly pulling up on the red tabs.
-
-
-
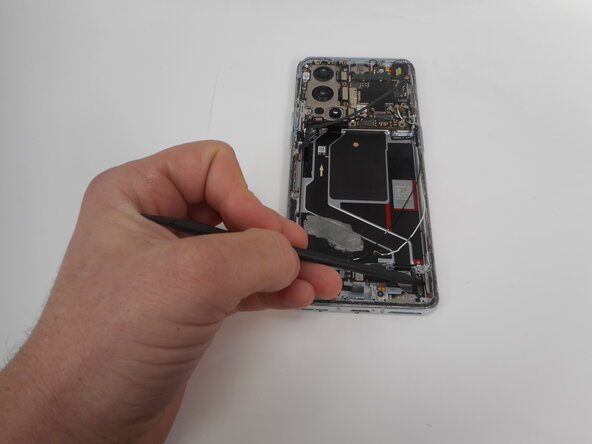
Use the spudger to unplug the ribbon cable that connects the screen to the rest of the phone.
-
-
-
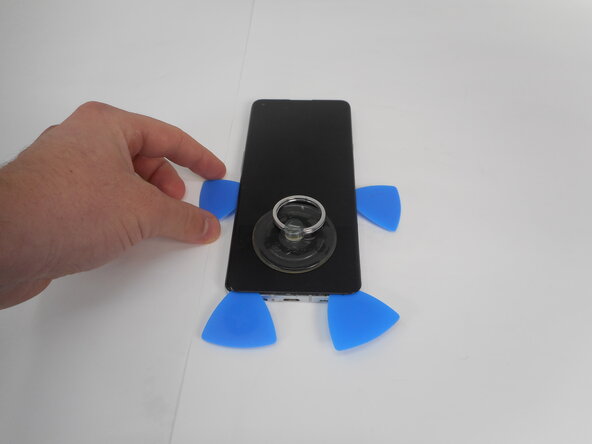
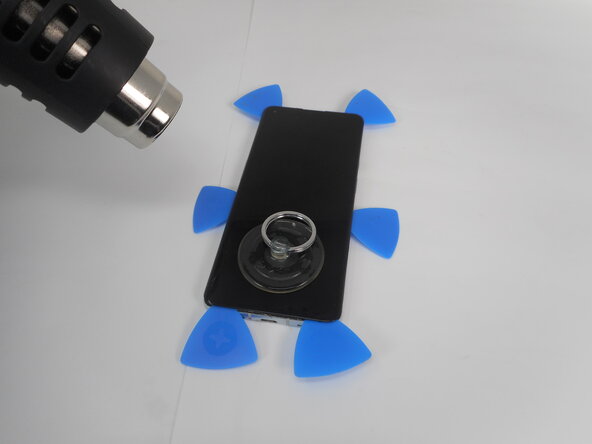
Place the suction cup on the glass towards the bottom of the screen.
-
-
-
Heat the adhesive holding the screen onto the phone by using the heat gun on the edges of the screen.
-
-
-
Put the jimmy into the bottom edge of the screen.
-
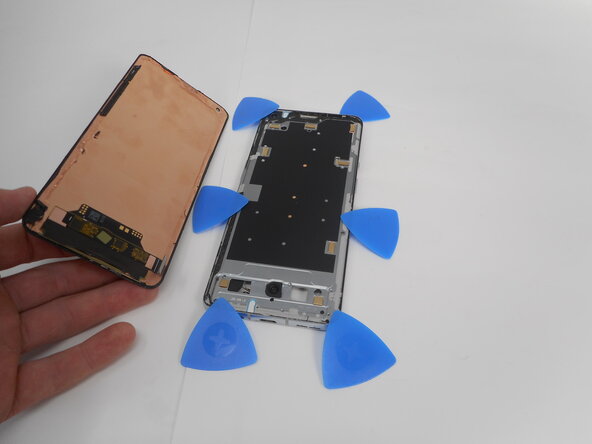
Use an opening pick to slice the adhesive, and place opening picks around the perimeter as you slice to avoid the adhesive from resealing.
-
-
-
Carefully pull up on the suction cup to pull the screen away from the phone.
-
To reassemble your device, follow the above steps in reverse order.
Take your e-waste to an R2 or e-Stewards certified recycler.
Repair didn’t go as planned? Try some basic troubleshooting or ask our Answers community for help.
To reassemble your device, follow the above steps in reverse order.
Take your e-waste to an R2 or e-Stewards certified recycler.
Repair didn’t go as planned? Try some basic troubleshooting or ask our Answers community for help.


