crwdns2915892:0crwdne2915892:0
If there are cracks or mars in the video display, the display screen may be broken.
crwdns2942213:0crwdne2942213:0
-
-
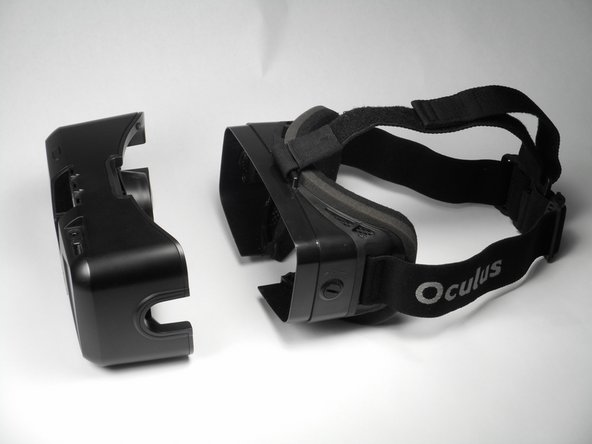
Remove front cover plate.
-
Unplug the USB and HDMI cables from the Oculus Rift DK2.
-
-
-
Remove the four 3/8" Phillips #0 screws from the inner portion of the headset.
-
-
-
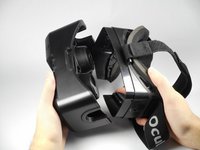
With the screws removed, gently pull the headband frame apart from the headset.
-
-
-
With the Oculus facing up, twist the right lens clockwise and lift it out. Repeat for the left lens twisting counterclockwise instead.
I had a second hand unit… A lenses were marked and scratched… B lenses still had covers on and were new… so…. I swapped the lenses as they are the same glass… just the B housing is shallower… took 2 minutes and I now have clean, smooth and crystal vision A mounts…. like new.
-
-
-
crwdns2935267:0crwdne2935267:0Tweezers$4.99
-
Using tweezers, carefully lift the four rubber plugs as shown. They are a bit snug and you may need to jiggle them free with the tweezers.
-
-
-
Remove the four 3/8" screws attaching the eyewear enclosure to the front casing.
-
-
-
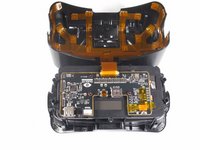
Carefully separate the faceplate and the cover. Gently rest the cover plate on top of the faceplate as shown in the pictures.
-
-
-
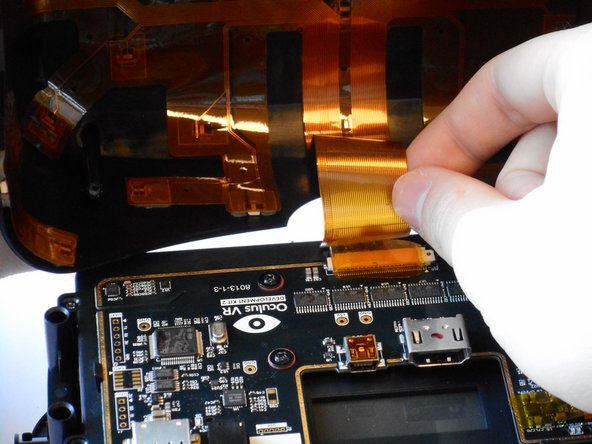
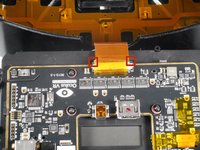
Gently pull out the small side tabs on the ribbon cable connector as shown to release the cable.
-
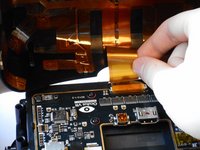
Push the tabs away from you, with the headset oriented as pictured. Carefully slide the ribbon cable out.
-
-
-
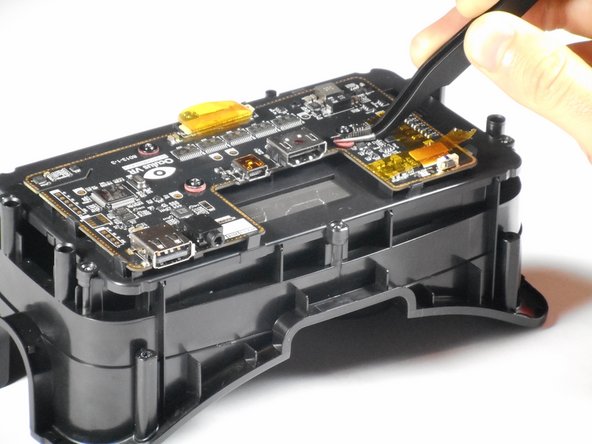
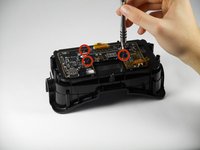
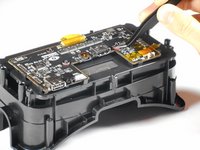
Unscrew the three 1/4" Phillips #00 screws as pictured and use the tweezers to lift them out.
-
-
-
Lift the tape and gently pry up the video data ribbon cable using the plastic opening tool as shown.
-
-
-
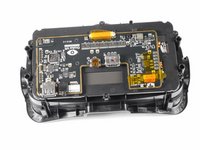
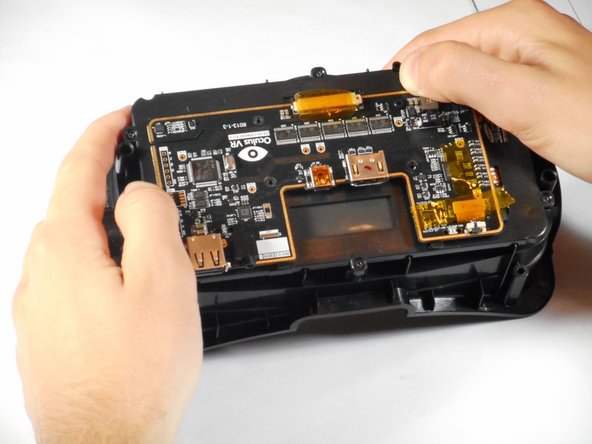
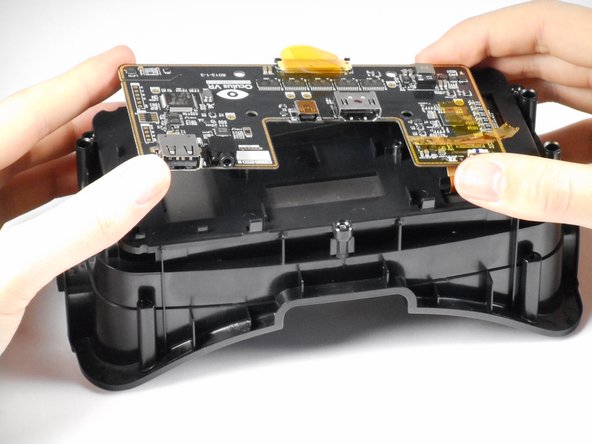
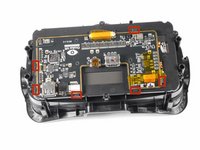
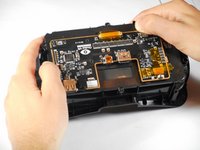
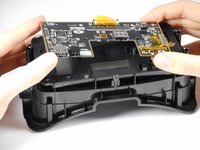
Gently pry back the motherboard clips to release the motherboard. The motherboard should now lift free.
-
-
-
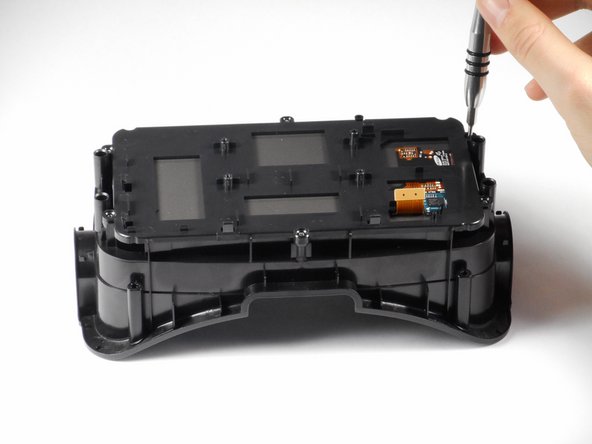
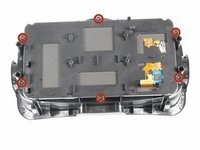
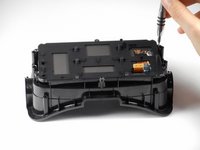
Remove the six 1/4" Phillips #1 screws as shown. There should be two on each short side, and one on each long side.
-
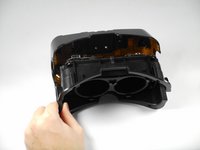
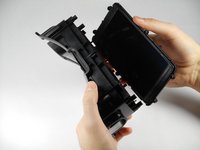
Gently lift the plastic screen holder and display screen away from the remaining piece of the faceplate.
-
To reassemble your device, follow these instructions in reverse order.
To reassemble your device, follow these instructions in reverse order.
crwdns2935221:0crwdne2935221:0
crwdns2935229:04crwdne2935229:0
crwdns2947412:02crwdne2947412:0
It's possible to use the Samsung Galaxy Note 4 screen?
possible to use the Samsung Galaxy Note 4 screen?


