crwdns2915892:0crwdne2915892:0
This guide is all about installing the rumble motor. The rumble motor is responsible for the vibration you feel in your controller during certain game actions. You may want to use this guide if your controller won't rumble.
crwdns2942213:0crwdne2942213:0
-
-
Place the controller (buttons down) on a solid surface.
-
Remove the six 9.2mm Tri-wing Y0 screws that hold the back panel in place.
-
-
-
Gently lift the back panel up, separating it from the front panel.
-
-
-
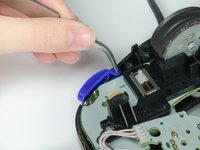
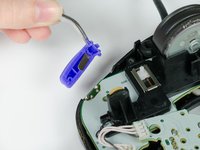
Grab the Z-button by the peg with tweezers and lift it out of the controller.
-
-
-
-
Carefully unhook the cable that is looped around the peg.
-
-
-
Lift the circuit board out of the controller.
-
-
-
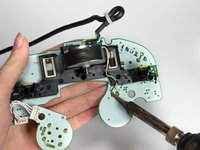
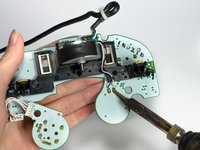
Press the tip of the soldering iron against one of the leads and wait until solder is viscous. Carefully pull wire away from lead.
-
Repeat for the second lead and wire.
-
-
crwdns2935267:0crwdne2935267:0Tweezers$4.99
-
Using tweezers, unhook the wires from the small black bracket keeping them attached to the circuit board.
-
To reassemble your device, follow these instructions in reverse order.
crwdns2935221:0crwdne2935221:0
crwdns2935229:03crwdne2935229:0


