crwdns2915892:0crwdne2915892:0
If the buttons on your Nintendo DSi aren't working properly, the input button pads may need to be cleaned or replaced. This guide will show you how to access, remove, and replace these input button pads.
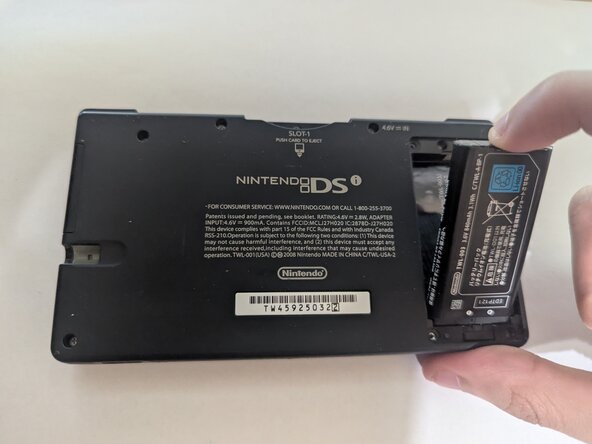
Because this device has been released for several years, the battery may be swollen. If the battery is swollen, make sure you handle it carefully and properly dispose of it. A swollen battery can explode or potentially cause a fire.
Before you begin with this repair, please ensure the system is turned off and has no power source plugged in.
crwdns2942213:0crwdne2942213:0
-
-
Remove the two 4 mm Phillips #00 screws from the battery cover and remove the cover.
-
Remove the battery from its socket.
-
-
-
Use a Phillips #00 screwdriver to remove the following 7 Phillips screws from the back of the DSi:
-
Six 5 mm-long screws
-
One 2.5 mm-long screw
-
-
-
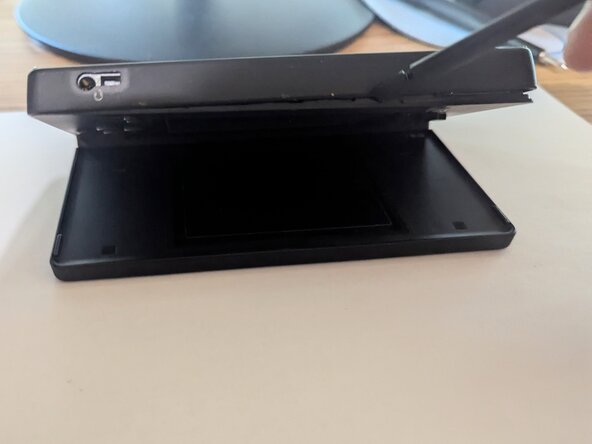
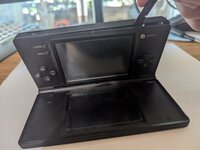
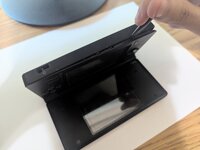
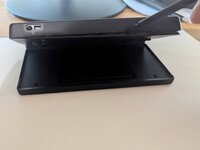
Open and turn the DSi over so the screen is resting on the table
-
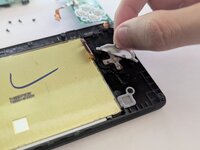
Insert the end of a spudger in between the outer casing and the lower casing and work it around the edge to release the clips holding them together.
-
-
-
Slowly open the casing with enough space to disconnect the ribbon cable that connects the top and bottom.
-
-
-
Remove the four 2.5 mm Phillips #00 screws from the board.
-
-
-
-
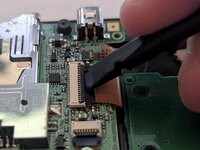
To remove the four ribbon cables, lift the black locking flaps with a spudger.
-
Then, with the pointed edge of a spudger, pull the ribbon cable away from the connection point.
-
-
-
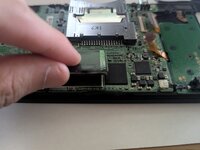
Slowly lifting the Wi-Fi card from the board to remove it.
-
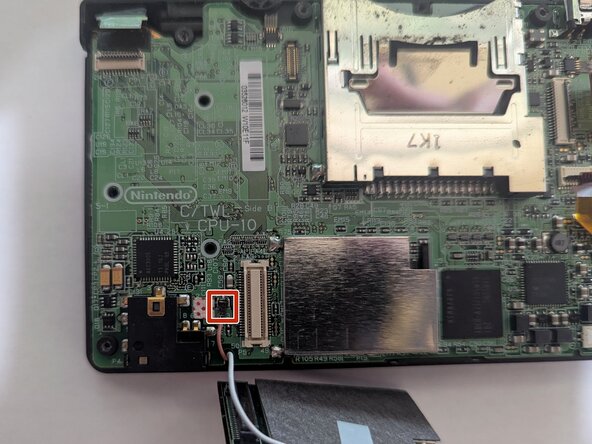
Slide a thin, ESD-safe pry tool or angled tweezers under the metal neck of the Wi-Fi connector (as close to the head as possible) and lift straight up from the board.
-
-
-
Push the tab up and away to release the battery cable connector from the socket on the board.
-
-
-
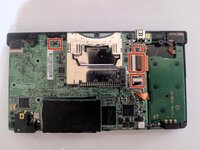
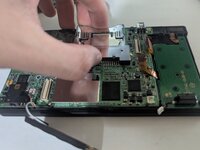
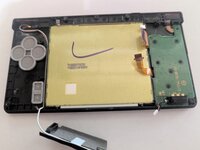
Hold onto the game cartridge slot and lift the board off the chassis.
-
Slowly flip the board on its back, as there is still a ribbon cable on the backside.
-
Unlock the black flap of the ZIF connector and use a spudger or tweezers to remove the ribbon cable.
-
-
-
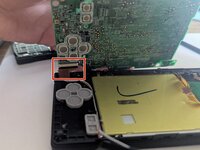
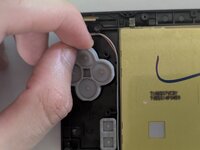
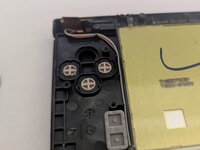
You now have access to the input button pads of the A, B, X, Y, and Start/Select buttons.
-
Remove them from the system.
-
-
-
To place them back, simply put them back into their slot, and they will be good to go.
-
-
-
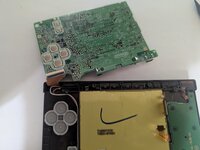
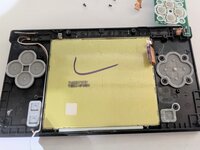
Remove the five 2.5 mm Phillips #00 screws securing the second board.
-
-
-
Slowly lift the board and flip it over.
-
-
-
Remove and replace or clean the arrow and power input button pads.
-


To reassemble your device, follow these instructions in reverse order. Take your e-waste to an R2 or e-Stewards certified recycler.
To reassemble your device, follow these instructions in reverse order. Take your e-waste to an R2 or e-Stewards certified recycler.
crwdns2915084:0crwdne2915084:0

CSU Los Angeles, Team 5-33, Harris Spring 2025 crwdns2935289:0CSU Los Angeles, Team 5-33, Harris Spring 2025crwdne2935289:0
CSULA-HARRIS-S25S5G33
crwdns2934841:01crwdne2934841:0
crwdns2935303:01crwdne2935303:0