crwdns2915892:0crwdne2915892:0
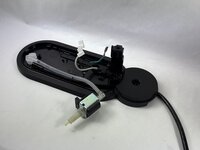
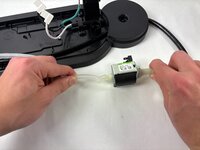
Use this guide if you have a non-working or malfunctioning water pump in your Nespresso Vertuo Next. The water pump is used to supply the Vertuo Next with water from the water tank located at the back of the machine. Without the water pump, water will not be able to reach the head of the machine where it needs to mix with the Nespresso coffee pod. In these such cases you may experience a machine in which some water is mixed into your Nespresso pod or none at all.
Before you remove and replace your water pump, check the water tank to ensure that there is a suitable amount of water within the tank so that the pump can operate. If water is filled to the appropriate level in the tank, check the internal water line to see if there are any leakages or visible damage. If no damage can be located, then the water pump is the most likely candidate for the problem and will need to be replaced. Before replacing, check to make sure the water tank is completely empty and that the Vertuo Next is unplugged.
crwdns2942213:0crwdne2942213:0
-
-
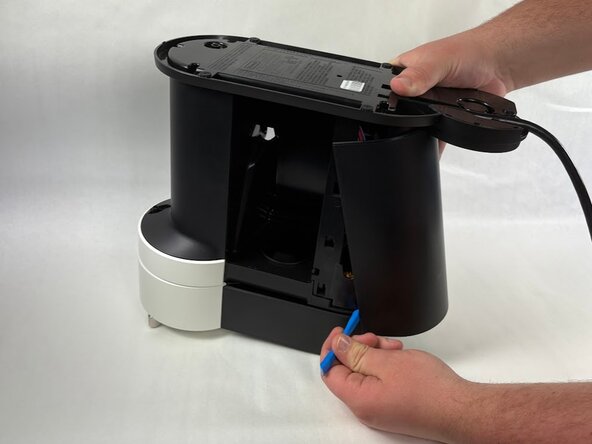
Insert an opening tool in the seams between the rear panel and chassis.
-
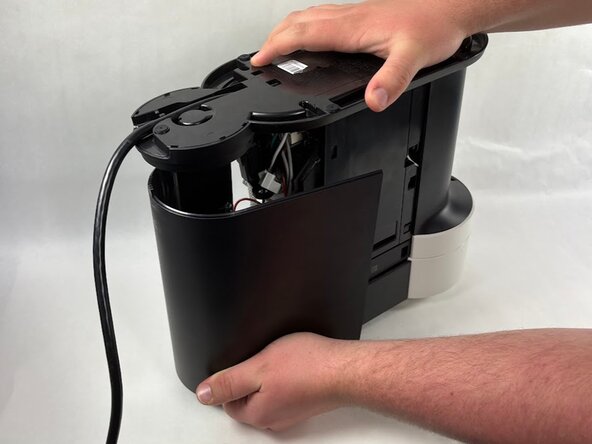
Pry off the rear panel.
-
-
-
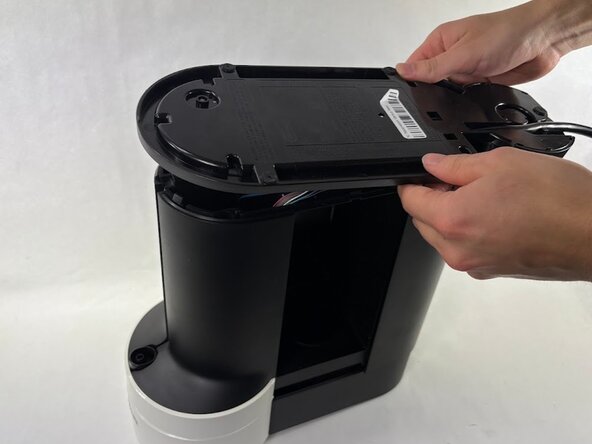
Remove the four 13.5 mm screws on the base plate using a T18 Torx screwdriver.
-
-
-
-
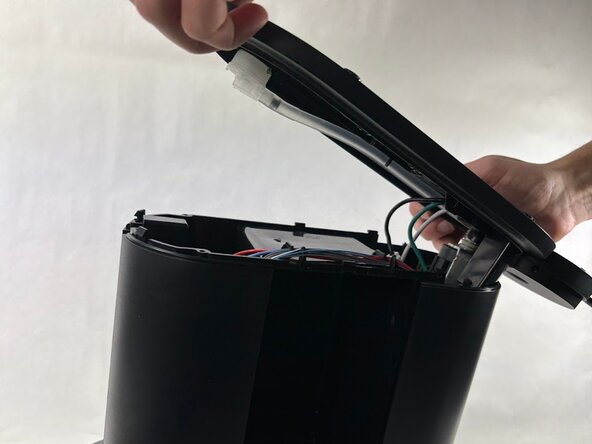
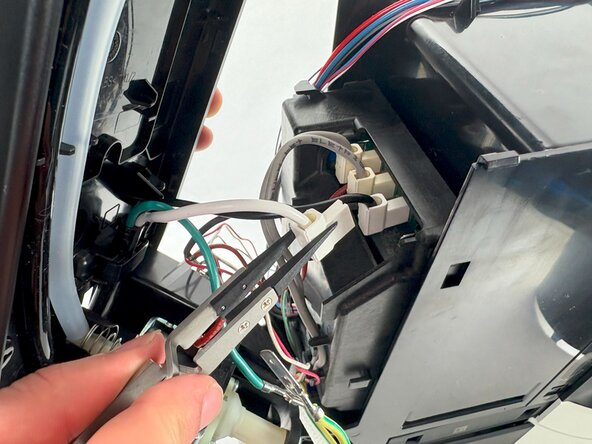
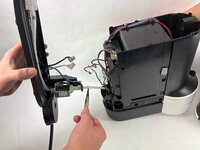
With tweezers, pinch one half of each connected pair of wires, and then gently pull and disconnect the wires.
-
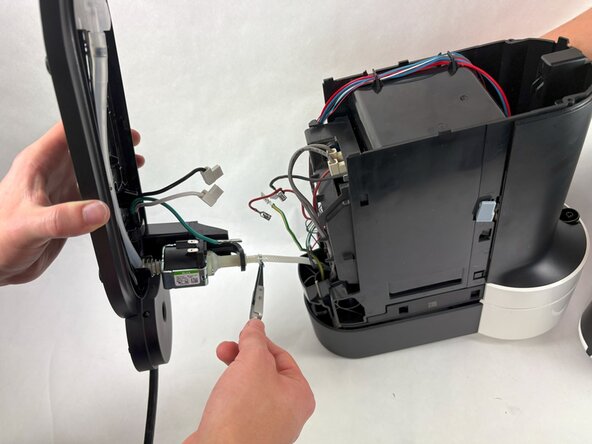
Use a pair of tweezers to clamp down and disconnect the water line connecting to the base plate of the machine.
-
Remove the base plate from device
-
-
-
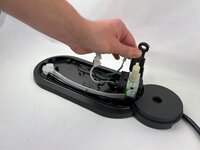
Remove the rubber hoop connecting the motor to the base.
-
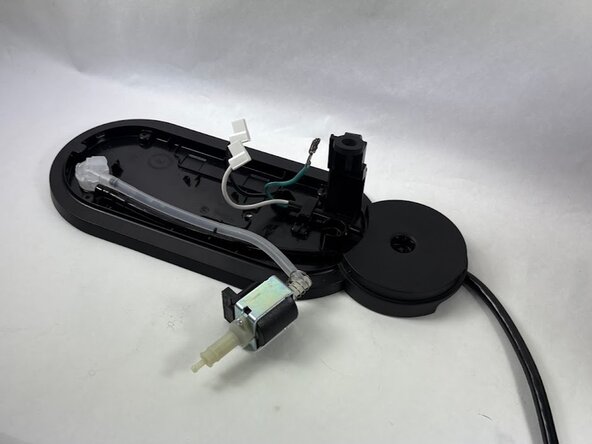
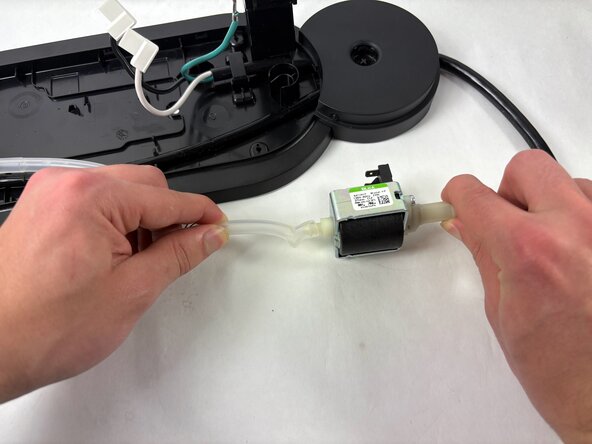
Lift the motor off of baseplate and pull waterline away from the base.
-
To reassemble your device, follow the above steps in reverse order.
Take your e-waste to an R2 or e-Stewards certified recycler.
Repair didn’t go as planned? Try some basic troubleshooting or ask our Answers community for help.
crwdns2935221:0crwdne2935221:0
crwdns2935227:0crwdne2935227:0

