crwdns2915892:0crwdne2915892:0
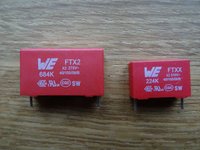
If the device no longer makes coffee, but the buttons only flash (irregularly), the capacitors may be dead. The replacement is not too complicated, the parts are very cheap and easily available. Use MKP capacitors, (X2 rated), 680 nF with 22 mm distance and 220 nF 15 mm distance, minimum 275V. You will need to use a soldering iron for this repair. If you never have soldered before, you will find useful hints here.
crwdns2942213:0crwdne2942213:0
-
-
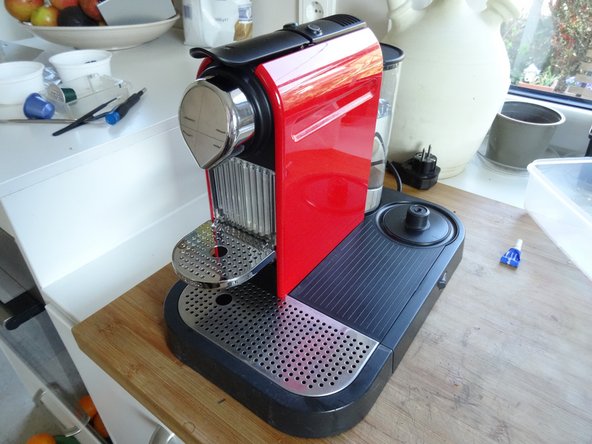
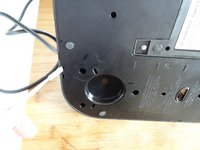
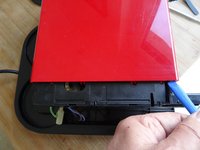
Remove all attachments: Water tank, capsule and cup drawer, drip tray.
-
-
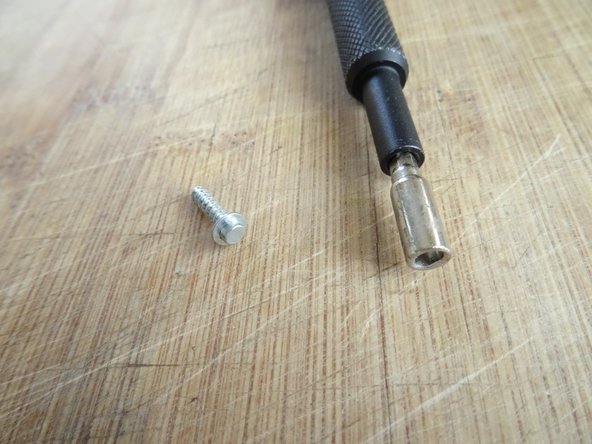
crwdns2935267:0crwdne2935267:0iFixit Precision 4 mm Screwdriver Bit$2.99
-
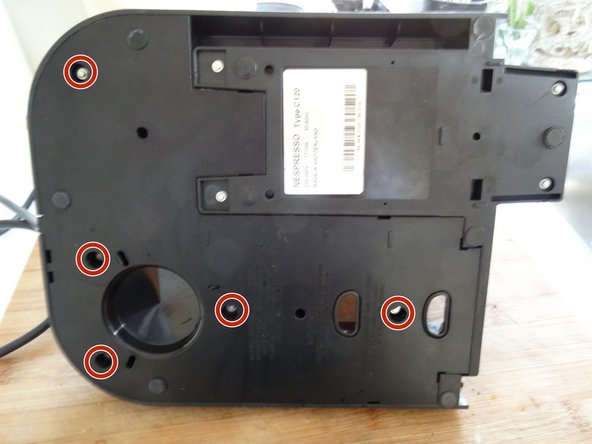
The bottom is secured by oval head screws.
-
Remove five oval head screws securing the large bottom panel.
-
-
-
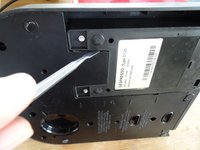
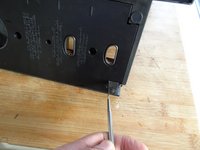
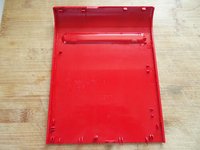
The bottom panel is just snapped into place. Insert a metal spudger into the slots and lift the panel out. It sits quite tightly and you might use some force to get it out.
-
-
-
Use a spudger to slide off the two silicon tubes.
-
-
-
Disconnect the two spade plugs on the blue and brown wires from the power switch. The two left ones remain.
-
-
-
Remove four oval head screws from the small bottom panel.
-
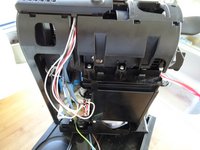
Remove the main device from the base. It´s still connected with some wires, but this doesn´t bother much.
-
-
-
-
The two colored side panels are only snapped into place. However, the latches sit very tight. You really need a lot of force. First lift the lower edge using a plastic opening tool.
-
Unfold each of the side panels upwards and remove them.
-
-
-
Insert a opening tool in the gap on the bottom of the coffee spout. Pry it off carefully.
Are there more steps?
-
-
-
Geht the wires out of the holder.
-
-
-
The plastic cover over the brewing unit is secured by two clips on each side. Use a metal spudger to pry them off.
-
Lift the cover slightly, but don't remove it, it is still connected by some cables.
-
-
-
Open the lever and lift the cover out over the lever. Make sure that the cables are not strained too much.
-
Put the cover aside, but leave the cables connected.
-
-
-
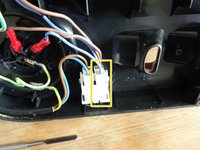
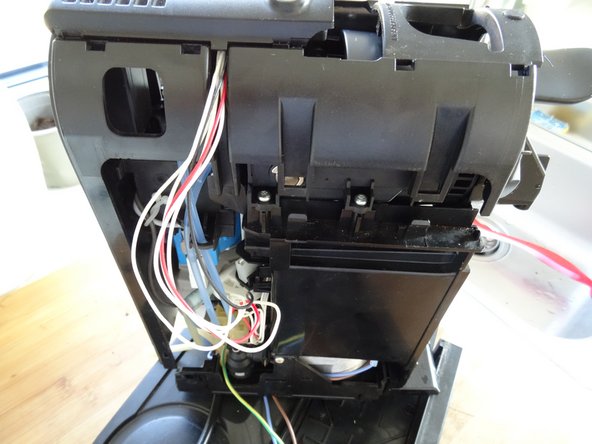
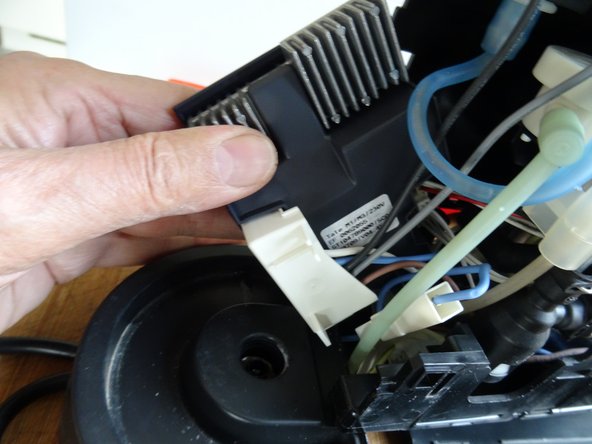
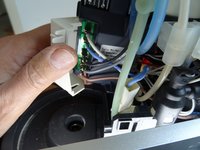
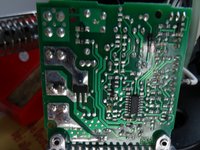
Carefully pull out the motherboard backwards.
-
-
-
Flip off the white cover.
-
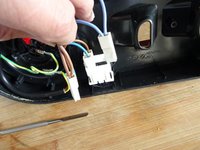
Take note of the colors of the wires. Pull the spade connectors and seperate the wires from the motherboard.
-
-
-
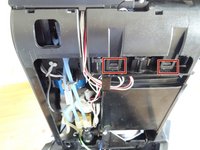
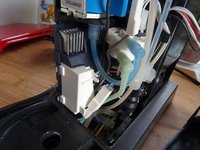
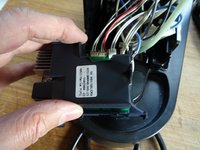
The black plastic cover ist only snapped into place. Lift it up.
-
The motherboard now ist exposed. Lift it out of its black plastic case.
-
-
-
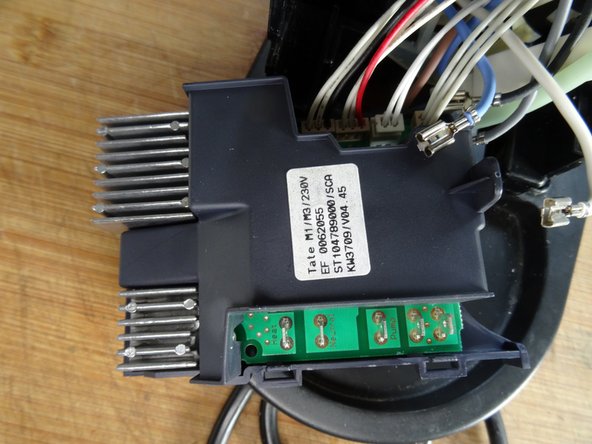
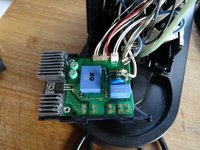
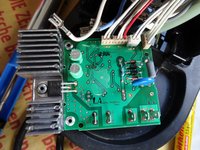
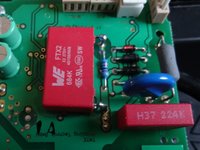
The two blue capacitors must be replaced. The larger one is slightly glued to the motherboard.
-
Use a metal spudger to separate the larger one from the motherboard and fold it upwards.
-
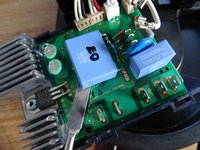
The replacement capacitors have only very short connection wires. The 680 nF capacitor was therefore cut off so that it could be reconnected lying on its side.
-
-
-
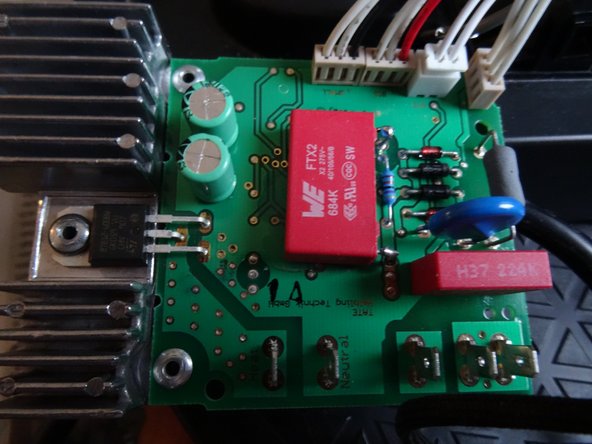
Desolder the two capacitors from the bottom side of the motherboard (or cut them off on the top side) and replace them with the two new ones.
-
-
-
The picture shows the two new capacitors.
-
-
-
... soldered to the board.
-
The Nespresso immediately starts to work.
-


To reassemble your device, follow these instructions in reverse order.
To reassemble your device, follow these instructions in reverse order.
crwdns2935221:0crwdne2935221:0
crwdns2935229:02crwdne2935229:0
crwdns2934873:0crwdne2934873:0
100%
crwdns2934883:0VauWehcrwdne2934883:0 crwdns2934875:0crwdne2934875:0
crwdns2934877:0crwdne2934877:0 ›
crwdns2947412:02crwdne2947412:0
Thank you for an excellent repair guide. I replaced the two capacitors in accordance with the instructions and my Nespresso CitiZ works again.
Congrats! I'm glad that I could help.