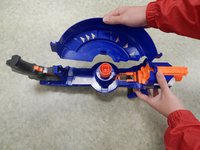
crwdns2915892:0crwdne2915892:0
Keep your aim sharp by replacing the motor.
crwdns2942213:0crwdne2942213:0
-
-
Remove the two 9.0 mm Phillips screws securing the battery compartment.
-
Slide the battery compartment out.
-
-
-
Remove the five 9.0 mm Phillips screws securing the trigger.
-
-
-
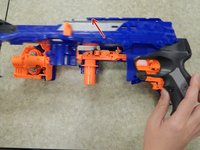
Remove the single 11.0 mm Phillips screw securing the magazine cartridge chambers.
-
Pull the entire chamber upwards to separate it from the rest of the Nerf Gun.
-
-
-
Remove both halves of the ring by tugging on it upwards until the lock gets freed.
-
-
-
Remove the four 9.0 mm Phillips screws from the newly revealed cylinder.
-
-
-
Remove the three 9.0 mm Phillips screws holding the top latch of the Nerf Gun together.
-
-
-
Remove the three 9.0 mm Phillips screws holding together the firing chamber.
-
Remove the single 7.0 mm Phillips screw below the barrel.
-
Remove the two 14.0 mm Philips screws using a screwdriver with a length of approximately 4.0 inches and a diameter of approximately 0.2 cm.
-
-
-
-
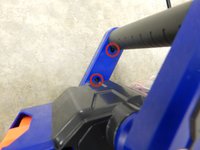
Remove the single 14.0 mm Phillips screw holding together the handle and the Nerf Gun.
-
-
-
Remove the two 9.0 mm Phillips screws holding together the handle.
-
Remove the plastic cover of the handle.
-
-
-
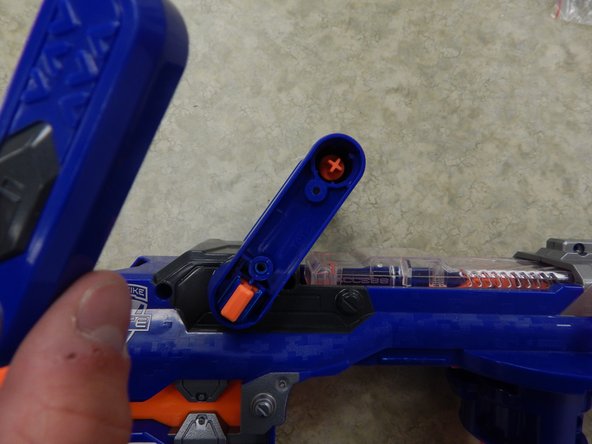
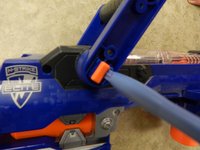
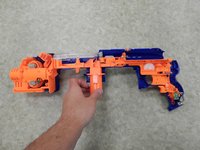
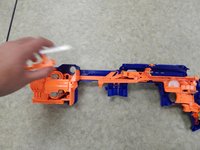
Insert one plastic opening tool inside one side of the orange part depicted in the picture.
-
Insert a second plastic opening tool to the other side of the orange part and gradually pull the piece out, freeing it from the handle.
-
-
-
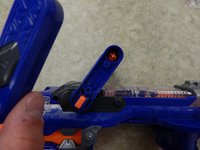
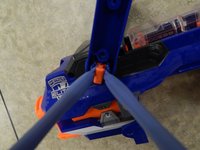
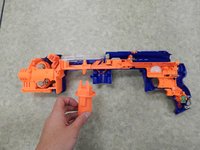
Pull one end of the handle away from the orange latch.
-
Repeat the procedure on the other side to completely remove the handle from the rest of the Nerf Gun.
-
-
-
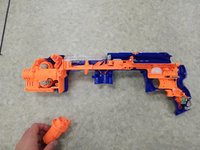
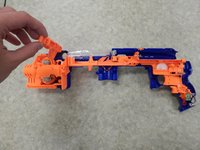
Completely remove the left shell from the rest of the Nerf Gun.
-
-
-
Remove the cartridge support.
-
-
-
Remove the clear plastic barrel cover.
-
-
-
Remove the firing pin.
Not a pin, rather a plastic arm called the pusher
-
-
-
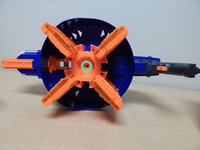
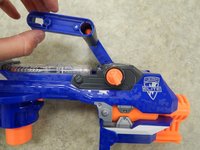
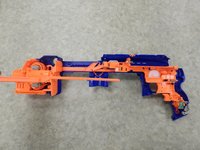
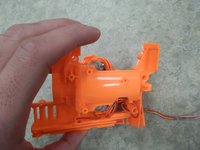
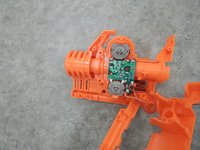
With your gun disassembled, locate the motor around the front portion of your gun as shown in Figure 1. Remove the two 9.0 mm Phillips screws securing the top shell of the motor casing.
-
-
-
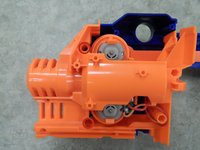
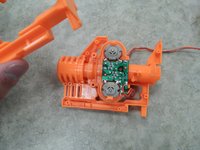
Remove the top shell of the motor casing. This should reveal the inner workings of the motor.
-
-
-
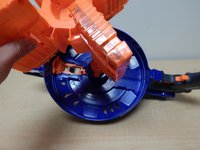
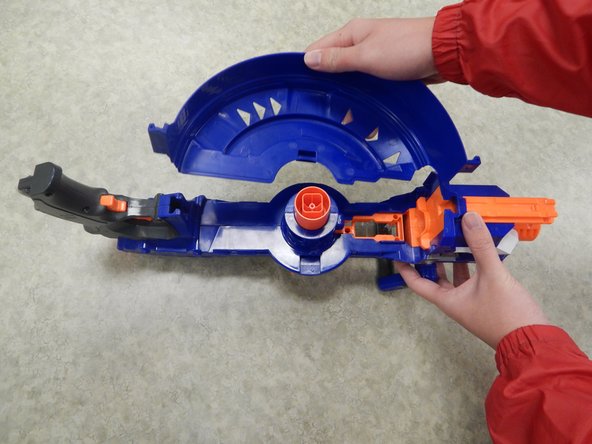
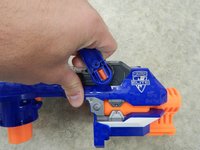
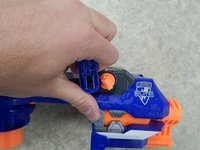
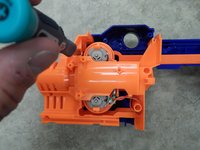
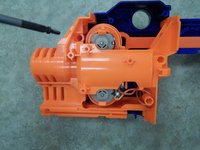
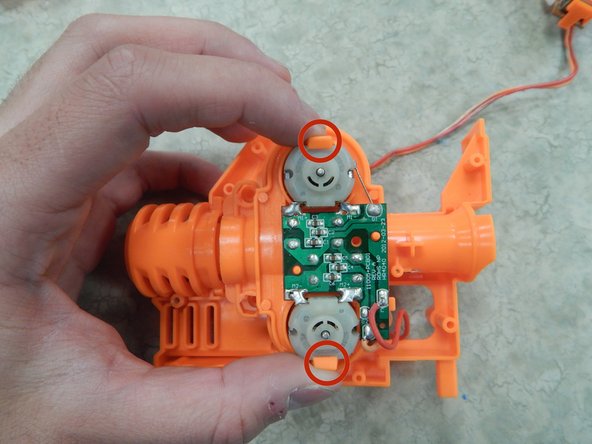
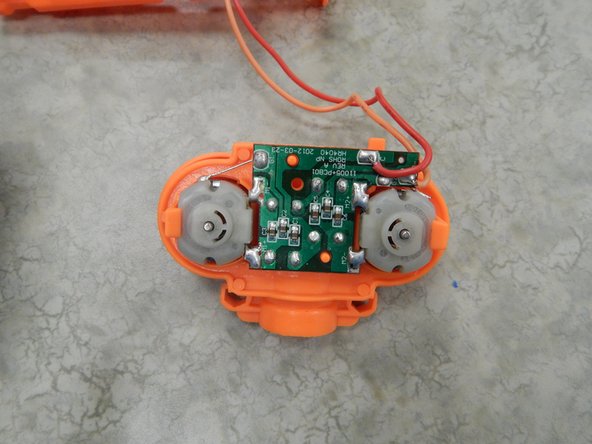
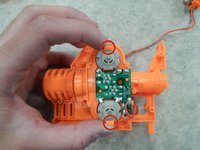
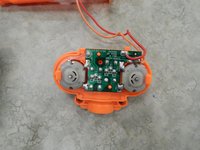
With the shell now removed, locate the motor and controlling circuit board. With your index finger and thumb, squeeze the holders shown in Figure 2 and pull upwards to release the motor module from the rest of the motor's casing. Your motor should be detached from the casing, as shown in Figure 3.
-
-
-
Remove the wiring from the motor by disconnecting the wires from the circuit board.
So do you mean to cut the wires from their soldering place? B/c if that’s the case how do you fix/replace the motor? Thanks tho, this is great. For some reason one that I haven’t used really at all just stopped working after being in storage for a few years.
-


To reassemble your device, follow these instructions in reverse order.
To reassemble your device, follow these instructions in reverse order.
crwdns2935221:0crwdne2935221:0
crwdns2935229:06crwdne2935229:0
crwdns2915084:0crwdne2915084:0

Cal Poly, Team 13-13, Regan Winter 2014 crwdns2935289:0Cal Poly, Team 13-13, Regan Winter 2014crwdne2935289:0
CPSU-REGAN-W14S13G13
crwdns2931471:04crwdne2931471:0
crwdns2935297:07crwdne2935297:0
crwdns2947412:04crwdne2947412:0
Where do I get the motor from. I have a Nerf Demolisher 2 in 1 and I want to see if the place you buy it from has a motor for it.
If you are still looking for the motors, you could check if any of these work with your model http://www.containmentcrew.com/product-c... . They are motors used often by people adding power to their motorized blasters, however, you may need a more powerful battery such as a LiPo or Nihm H.
How exactly does the handle come off of the gun because I am able to get up to the orange clips but I am unsure how exactly to remove them without damaging the gun
I have the whole gun apart, and I had dart jam. Now I am ready to reassemble, and the spring near the motor came off and I can't figure out where it goes or how to put it back properly… is there a picture or suggestion somewhere I'm not looking?