crwdns2915892:0crwdne2915892:0
This guide will allow the user to completely remove the wheels from the device. Make sure to complete the rear-bumper removal guide before proceeding.
crwdns2942213:0crwdne2942213:0
-
-
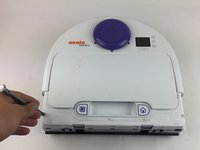
Grab the rear bumper with both hands on either side.
-
-
-
Pull the left and right sides away from the machine to unclip the bumper. This requires that you bend the plastic a little bit. Unclip one side a little bit and allow the prong to rest on the side of the machine. Then unclip the other side and pull off the bumper parallel to both sides
-
-
-
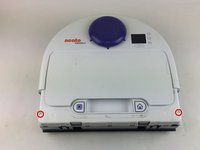
Looking from above, remove the two 11mm screws with a torx T10 screwdriver.
-
-
-
-
Begin by placing the robot on it's back and removing the six 11m screws using a Torx T10 screwdriver.
-
-
-
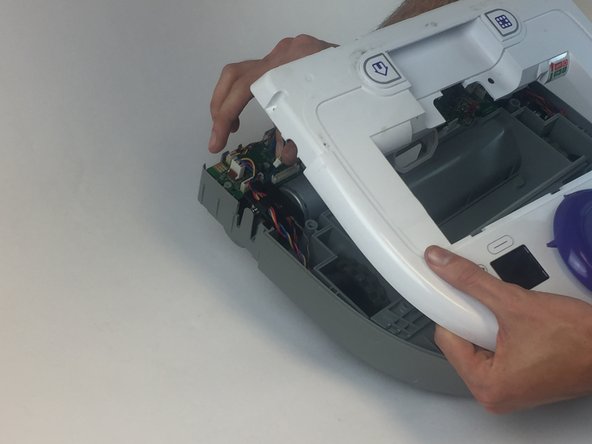
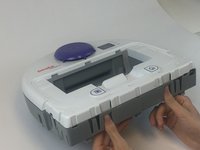
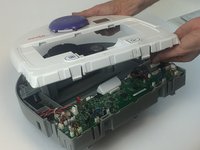
To remove the top, you must press in both of the clamps at the same time and push upwards.
-
-
-
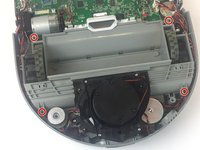
Locate the screws that mount the wheel extensions on the Botvac.
-
Unscrew the four 11mm screws and bolts indicated to remove the frame.
-
-
-
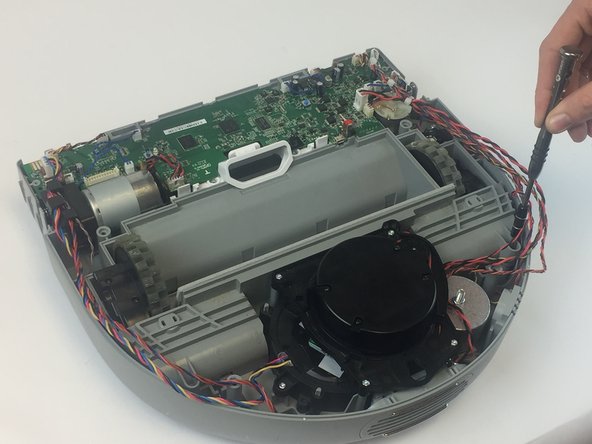
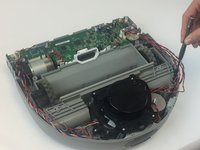
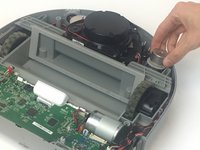
Gently lift the frame holding the laser. This will free the wheels from their casing.
-
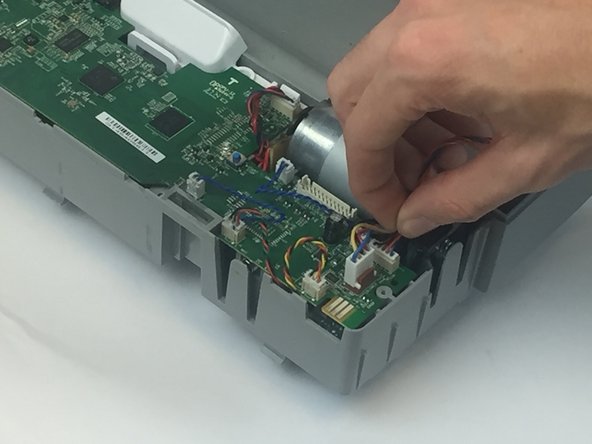
Remove the wheel's wires that are attached to the motherboard.
-
Once removed, you may now free the wheels.
-
-
-
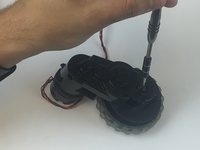
Remove the wheel usings the T15, or similar, attachment to remove the 32.5mm screw.
-
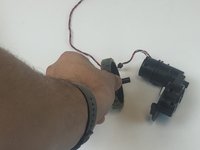
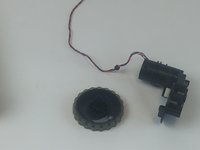
Finally, just grab and separate the tire from its axle.
pay exact attention to the wires keeping them well out of the way during reassembly because they will give problems when the case is closedup. Unplugging wires is unnecessary as there is plenty of slack to work carefully with.
-


To reassemble your device, follow these instructions in reverse order.
To reassemble your device, follow these instructions in reverse order.
crwdns2935221:0crwdne2935221:0
crwdns2935229:07crwdne2935229:0
crwdns2915084:0crwdne2915084:0

USF Tampa, Team 17-5, Blackwell Spring 2017 crwdns2935289:0USF Tampa, Team 17-5, Blackwell Spring 2017crwdne2935289:0
USFT-BLACKWELL-S17S17G5
crwdns2931471:03crwdne2931471:0
crwdns2935297:012crwdne2935297:0
crwdns2947412:08crwdne2947412:0
After this fix, it just says to put it in the floor. Is there a sensor or withat I may have missed connecting?
are left and right rear wheels identical parts? can one just replace the wheels and not the motors? I have loose ratcheting in one of the rear wheels. the D80 won’t back up correctly and stalls at each chair.
I have a Neato D7 and I am replacing the wheels. I have pulled it apart and mistakenly didn’t take a picture prior to disassembling the same area you did with the 80. Do you at least have a diagram of the D7 that I could use to re-assemble? I am particularly concerned about where the springs and a circular piece connected to circuit board (labeled 8015W) is placed.
Thanks
The tread on my botvac 80 is gone on 1 back wheel. Motor seems to still work good. Can you tell me how to get a replacement wheel? Have looked on amazon and ebay. Any help will be appreciated. Tammy
Taking apart and assembly is the easy part. Finding spares however… Got a worn down drive gear, that’s it. The rest of the machine seems just fine. So a $4-500 gadget is broken just because I can’t find a small plastic gear replacement that shouldn’t be more than a few bucks. Stupid.
I have pushed both tabs to the point I’m ready to toss it against the wall. I have all the screws out and the top will not come up. The side are clearly loose, but the section between the tabs shows no sign of being free. What am I missing?
Doing this replacement is pretty similar on the Neato Botvac D7. On Step 6: Remove the 2 screws that are above the wheels & move the plastic tab catches that are below the intake for the dust bin forward in order to separate the laser's frame. No need to remove the weight on the D7. Pry up slowly to pull the suspension springs and mind the rubber rectangle on the left that holds a bunch of wires down. Likewise On Step 7: You will still need to remove the wheel's wires that are attached to the motherboard. Plus an additional connector on the right side in order to free the laser frame enough to get to the wheel/motor assembly on the left. Step 8 is the same. When re-assembling the D7, position the frame keeping all wires free from being pinched. Mind how the wires were routed on the wheel/motor assembly & screw in the two screws on the frame a little before putting the springs back in. I was able to push the springs into place by just using my fingers to push it down and gently back toward the indention.
Oh, and be very careful not to accidentally suck up the button actuator on the circuit board for the on/off/everything button on the Neato Botvac D7 with your vacuum cleaner when getting overly zealous about removing the dust & pet hair that gets into every crevice. And if you insist on doing that, be sure to put a fresh bag in your vacuum cleaner beforehand so you don't have to spend hours sifting through dirt and fur to find the tiniest metal and rubber bits that make the on/off button actuator and are all important to making the Botvac function. Yeah, I don't recommend neglecting to do that or vacuuming it off the circuit board in the first place. It's okay now, but it got a bit scary there.
pull the free bottom corners out a bit to free the catches
wilfried - crwdns2934203:0crwdne2934203:0