crwdns2915892:0crwdne2915892:0
Use this guide to remove or replace a cracked or faulty screen and digitizer assembly on your Motorola Moto Z Force Droid.
Before you begin, download the Rescue and Smart Assistant app to backup your device and diagnose whether your problem is software or hardware related.
For your safety, discharge your battery below 25% before disassembling your phone. This reduces the risk of a dangerous thermal event if the battery is accidentally damaged during the repair.
Before you begin, look at the last step and make sure your replacement part matches the one shown. This guide is for replacing a screen/display that is already installed in a new frame. If you bought a bare display instead, you will need to carefully separate your old display from your phone’s existing frame, and then glue the new display in. Those steps are not covered by this guide.
crwdns2942213:0crwdne2942213:0
-
-
Apply a heated iOpener to the lower glass panel on the back of the phone for five minutes.
-
-
-
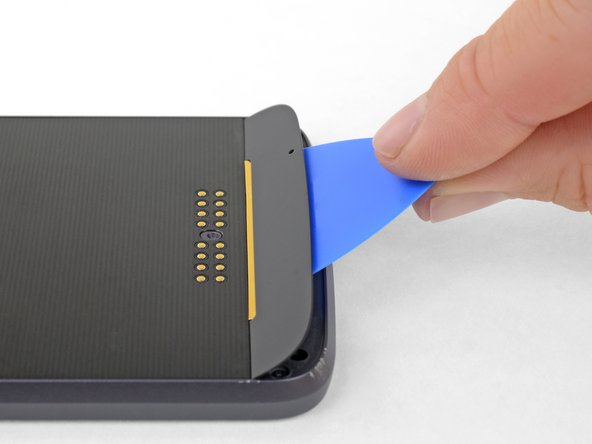
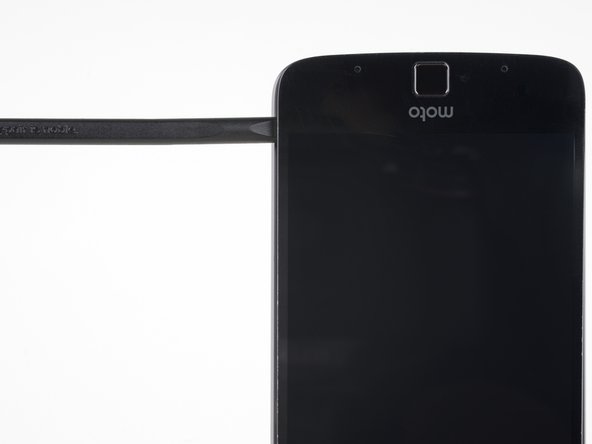
Insert an opening pick into the small gap between the rear case and the glass panel.
-
With tip of the pick under the glass panel, carefully pry upward to slightly separate the rear case and the panel.
-
-
-
Slide the pick in between the panel and the rear case.
-
Slide the pick across the length of the panel to slice the adhesive holding it to the rear case.
-
-
-
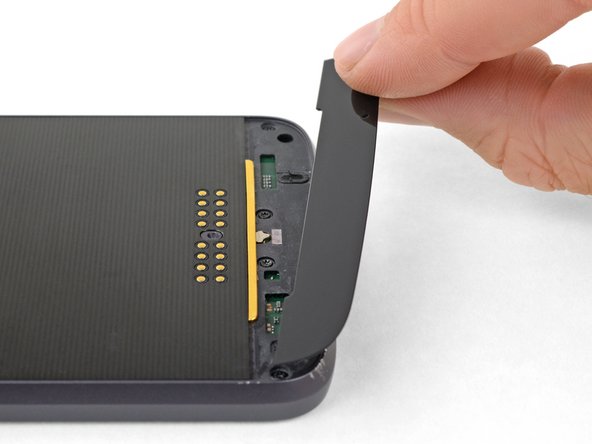
Use the opening pick to carefully pry up the glass panel.
-
Remove the glass panel.
-
-
-
Repeat the previous four heating and removal steps for the upper glass panel.
-
-
-
-
Remove the six 4 mm T3 Torx screws securing the display assembly.
-
-
-
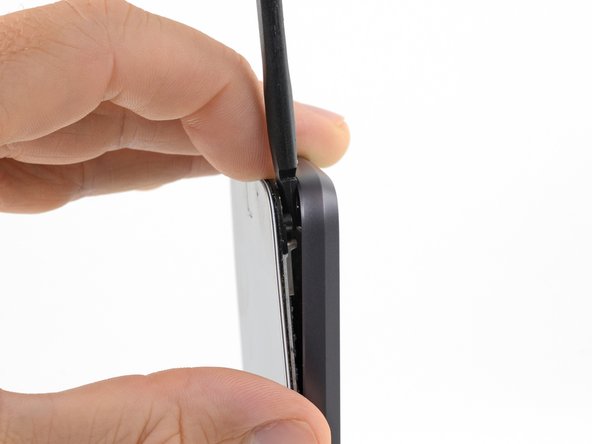
Insert the point of a spudger into the hole in the bottom right corner of the rear case.
-
Press the spudger into the hole to separate the display from the rear case.
-
-
-
Use a finger to maintain separation between the display assembly and the rear case while you remove the spudger.
-
Reinsert the flat end of the spudger in the gap between the display assembly and the rear case.
-
-
-
Slide the spudger along the side of the phone until you get to the clip securing the display to the rear case.
-
With the spudger right next to the clip, carefully twist the spudger to pry the display away from the rear case and release the clip.
-
-
-
Repeat the separation and prying process for the other side of the phone.
-
-
-
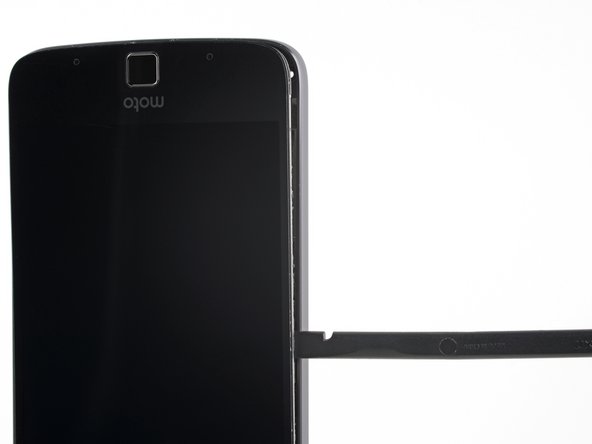
Tilt the top right corner of the display down to disengage one of the tabs that secure the top of the display.
-
Tilt the other corner down next, to disengage the other tab.
-
-
-
Lift the right edge of the display to hinge the phone open like a book, no more than 45°.
-
Gently lift the display enough to clear the clip from the edge of the rear case, maintaining the 45º angle.
-
Rest the display on the table behind the phone and open to 90º to allow access to the display cable.
-
-
-
Use the flat end of a spudger to lift the display cable connector up out of its socket.
-
-
-
Remove the display.
-
If you're installing a new display assembly, note where the adhesive is on the original assembly and apply adhesive in the same places on the new assembly.
-
-
-
Only the LCD screen and digitizer assembly remains.
-
Check carefully to make sure your replacement part matches, and that you've removed all the necessary parts from the old frame for installation in the new one.
-


To reassemble your device, follow the above steps in reverse order.
Take your e-waste to an R2 or e-Stewards certified recycler.
Repair didn’t go as planned? Check out our Answers community for troubleshooting help.
To reassemble your device, follow the above steps in reverse order.
Take your e-waste to an R2 or e-Stewards certified recycler.
Repair didn’t go as planned? Check out our Answers community for troubleshooting help.
crwdns2935221:0crwdne2935221:0
crwdns2935229:06crwdne2935229:0
