
Motorola Droid X LCD and Digitizer Replacement
crwdns2944107:0crwdnd2944107:0Sam Johnstoncrwdnd2944107:0crwdnd2944107:0crwdnd2944107:07crwdnd2944107:0crwdne2944107:0
crwdns2944111:0Mud 7, 2024crwdne2944111:0
crwdns2915892:0crwdne2915892:0
crwdns2942287:0crwdne2942287:0If you are experiencing having a problem with your LCD or digitizer, follow this installation guide. This is a challenging tutorial, that requires a complete deconstruction of the Droid X. Proceed with caution.
crwdns2942213:0crwdne2942213:0
crwdns2943215:0crwdne2943215:0


crwdns2944105:0crwdne2944105:0
-
-
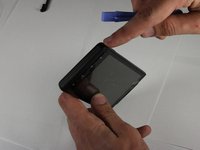
Locate the power button at the top of the phone. Depress power button for 2 seconds until a menu appears.
-
-
-
Once the menu appears, select the "power off" option. Wait until the phone is completely off.
-
-
-
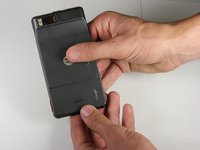
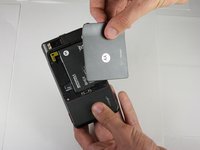
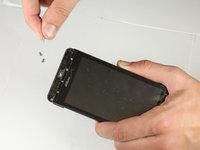
Place thumb on the back cover, and push down towards the bottom of the device. Once the cover releases, pull it away from the phone and set it aside.
-
-
-
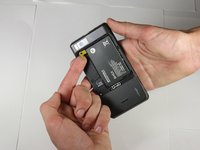
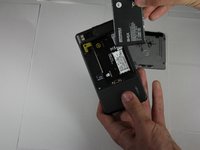
Find the yellow pull tab located in the upper left corner. Pull the tab until the battery dislodges. Grab the battery by the raised edge, and remove it from the case.
-
-
-
The battery has been successfully removed.
-
-
-
Remove the micro SD card from its connector.
-
-
-
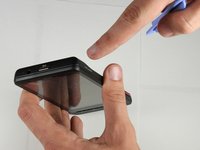
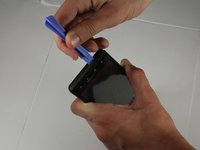
Locate the seam between the back case and the end cover on the top edge of the phone.
-
Use the plastic opening tool to detach the two clips by wedging the tool into the right side of the seam and moving right to left. Once the cover comes off set it aside
-
-
-
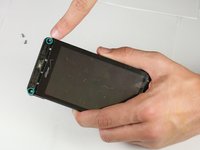
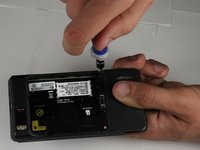
Use a T5 Torx screwdriver to remove the screws in each corner of the phone.
-
-
-
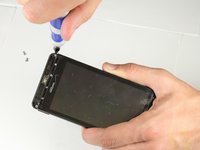
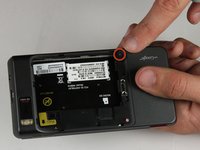
Flip the phone over and locate the screw on the middle of the left side. Unscrew it using the T5 Torx screwdriver and set it aside.
-
-
-
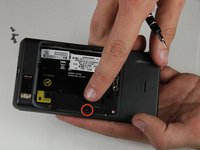
Identify the screw located in the bottom right corner of the battery case. Remove the screw with a T5 (or in some cases T6) torx screwdriver and set it aside.
-
-
-
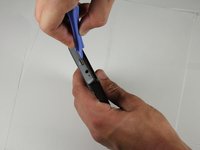
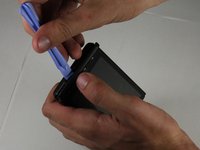
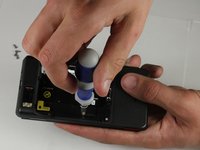
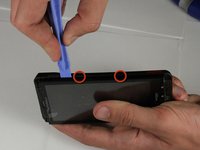
Locate the seam along the right edge of the phone. Use the prying tool to disconnect the two clips along the edge.
-
-
-
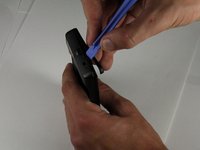
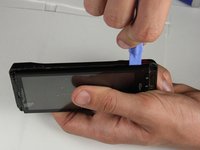
Locate the two clips on the inside of the case and use the spudger tool to detach them from the case. To detach each clip, use the sharp end to press the small, black plastic in the center of the clip.
-
-
-
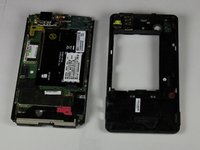
After the clips are detached, remove the back case and set it aside.
-
-
-
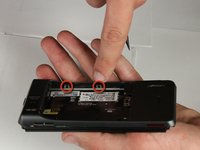
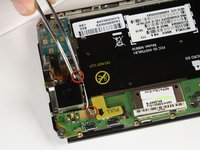
Remove the screws along both sides of the motherboard using a T3 Torx screwdriver. On some phones this may require a #1 Phillips Screw Driver.
These are T3 screws. I have taken apart about 15 of them in the past week, T4 is too big to fit. Had to use a T3 bit to remove them.
These screws are T4 on my phone, not T3. I stripped 2 screws trying to remove them with T3. Maybe it could be either.
On my phone all screws from Step 15 - 29 were actually #0 Phillip head.
-
-
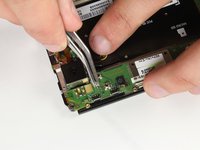
crwdns2935267:0crwdne2935267:0Tweezers$4.99
-
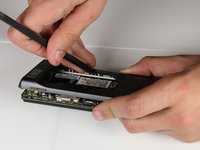
Carefully remove the white connecting wire from the motherboard using tweezers.
-
-
-
Scrape away the electrical tape that covers the LCD and digitizer cable using the spudger tool or a fingernail.
-
-
-
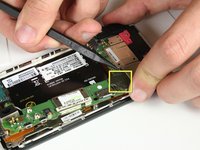
Use the spudger tool to pop the Digitizer cable off of the motherboard.
-
-
-
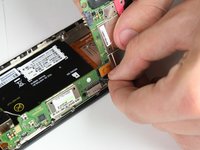
Carefully flip the small white connector up and away from the motherboard.
-
-
-
Gently pull the flat gold cable out from the connector.
-
-
-
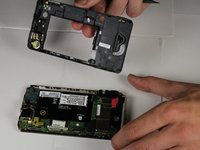
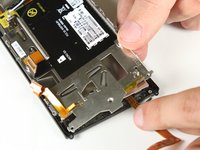
Carefully lift the motherboard and camera module up. Do not remove it from the phone!
-
-
-
Using the spudger tool, pop the black cable connector off of the motherboard.
-
-
-
It is to safe remove the motherboard from the phone.
-
-
crwdns2935267:0crwdne2935267:0Tweezers$4.99
-
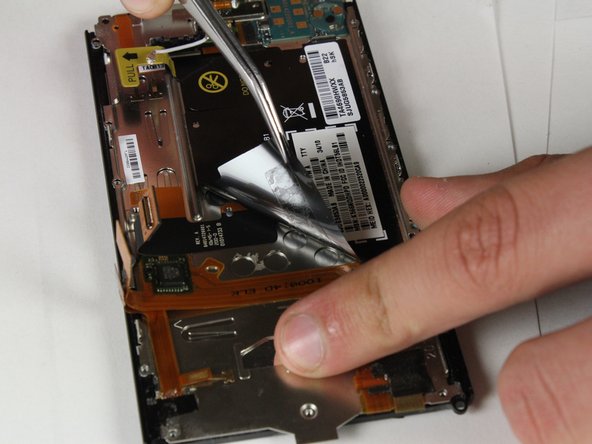
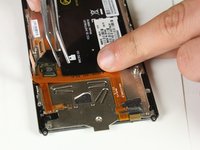
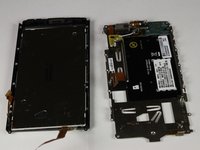
Using tweezers, peel back the black safety information sticker.
-
-
-
Using tweezers, peel the orange and black cable away from the device, stopping before reaching the electrical tape at the near the edge of the screen.
-
-
-
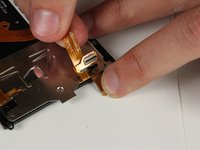
Peel black the black electrical tape located near the bottom of the device.
-
-
-
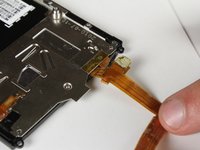
Flip up the cable connector and pull out the small flat cable.
-
-
-
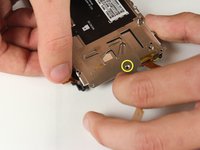
Unscrew the screw at the base of the screen using the T4 torx screwdriver .
I had to remove 4 screws in total here. Only one is circled on this image.
-
-
-
Peel back the orange and gold connector from the left side of the phone.
-
-
-
Carefully separate the metal plate from the LCD and front housing.
-
-
-
Lift the LCD out of the front housing.
-


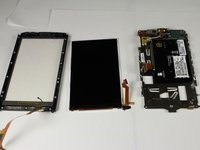

To reassemble your device, follow these instructions in reverse order.
To reassemble your device, follow these instructions in reverse order.
crwdns2935221:0crwdne2935221:0
crwdns2935229:018crwdne2935229:0
crwdns2947821:0crwdne2947821:0
crwdns2947823:0crwdne2947823:0


crwdns2915084:0crwdne2915084:0

Cal Poly, Team 18-40, Regan Fall 2012 crwdns2935289:0Cal Poly, Team 18-40, Regan Fall 2012crwdne2935289:0
CPSU-REGAN-F12S18G40
crwdns2931471:03crwdne2931471:0
crwdns2935297:010crwdne2935297:0
crwdns2947412:02crwdne2947412:0
How much does it cost to get what I need and where can I get it
Thank you. This is very helpful.