crwdns2915892:0crwdne2915892:0
This guide shows how to open the Motorola Moto Z in order to replace an old or dead battery.
Before you begin, download the Rescue and Smart Assistant app to backup your device and diagnose whether your problem is software or hardware related.
The display assembly is extremely fragile and has no reinforcement. There is a significant chance that you may break the screen. Work slowly and methodically when handling the display assembly.
Before you begin, discharge your battery below 25%. A charged lithium-ion battery can catch fire and/or explode if accidentally punctured.
If your battery is swollen, take appropriate precautions.
crwdns2942213:0crwdne2942213:0
-
-
Heat an iOpener and apply it to the left edge of the phone for at least 90 seconds.
-
-
-
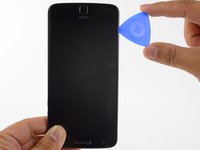
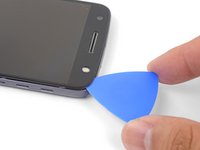
In the following steps you will be cutting through the adhesive around the edge of the display assembly.
-
To avoid damage, do not cut in the following areas:
-
The OLED panel
-
The home button
-
The flash unit
-
-
-
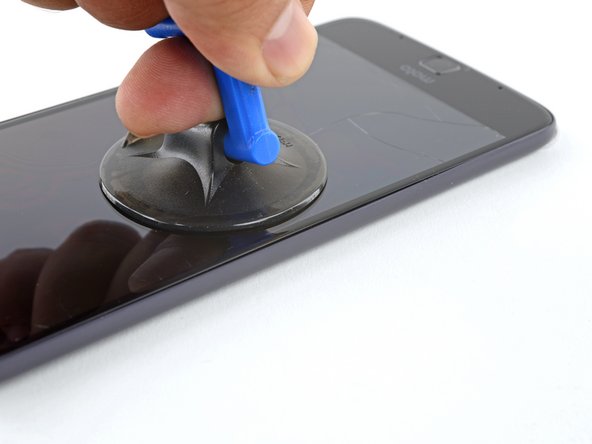
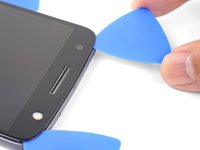
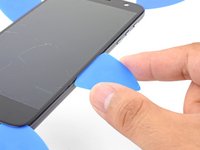
Apply a suction cup as close to the heated edge as possible.
-
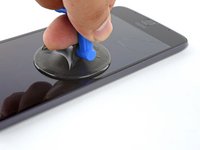
Lift on the suction cup and insert the tip of an opening pick into the gap.
-
-
-
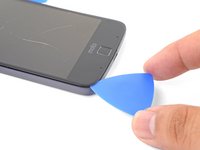
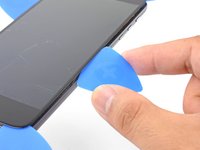
Carefully slide the tip of the opening pick down and up the side of the phone, making sure not to cut deeper than 1/16" (1.5 mm).
-
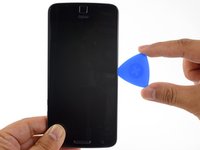
Once you have separated the adhesive, leave an opening pick in the side to keep the adhesive from resealing.
-
-
-
Repeat the heating, lifting, and cutting steps for the remaining long edge of the phone.
-
-
-
Apply a heated iOpener to the top edge of the phone for at least 90 seconds.
-
-
-
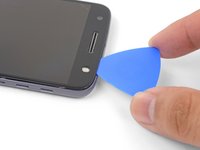
Insert an opening pick into the flash side corner of the phone and carefully slice around the flash unit.
-
Once you are done cutting, leave the pick in the corner to prevent the adhesive from resealing.
-
-
-
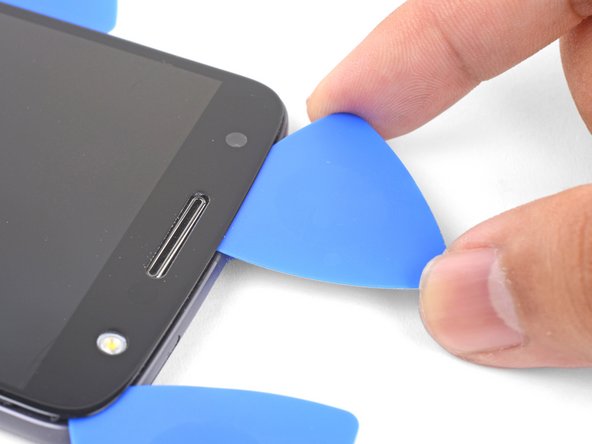
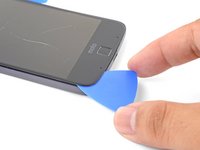
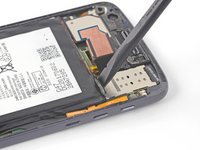
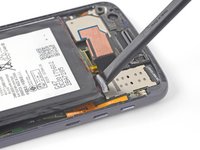
Insert an opening pick into the remaining top corner of the phone.
-
Carefully slice through the adhesive across the top of the phone.
-
-
-
-
Apply a heated iOpener to the bottom edge of the phone for at least 90 seconds.
-
-
-
Insert an opening pick into a bottom corner and slice towards the home button, stopping before you reach it.
-
Once you're done with the corner, leave a pick in place to prevent the adhesive from sealing.
-
Repeat the process for the other bottom corner.
-
-
-
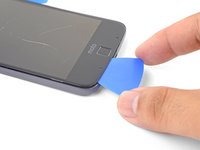
Carefully twist the first opening pick slightly to help release the edge adhesive.
-
Repeat the same process for each remaining pick, moving them as necessary and twisting slightly to release the adhesive.
-
-
-
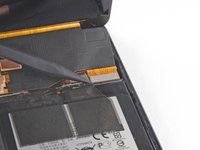
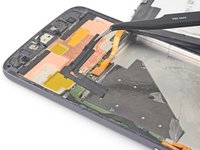
Lift the earpiece end of the display up to provide access to the display cables.
-
-
-
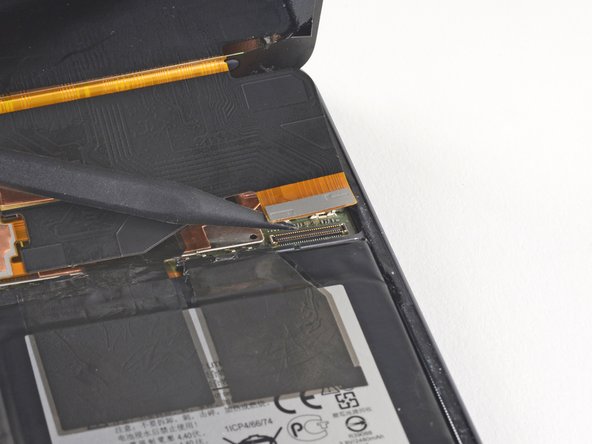
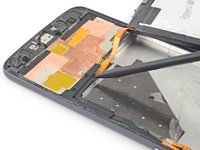
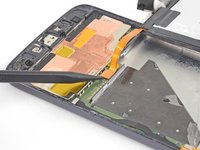
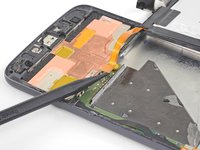
Use the point of a spudger to pry the display cable shield up.
-
Remove the display cable shield.
-
-
-
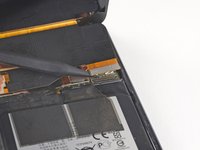
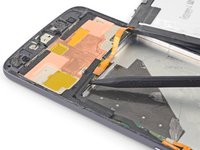
Use the point of the spudger to lift and disconnect the display cable connector from its socket.
-
-
-
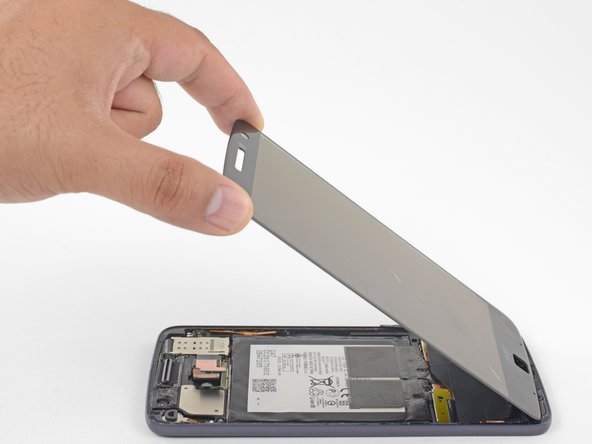
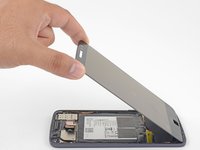
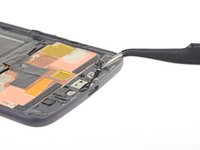
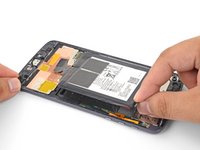
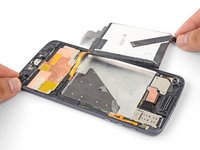
Remove the display assembly.
-
After removing all traces of glue and glass from the frame, clean the adhesion areas with 90% (or higher) isopropyl alcohol and a lint-free cloth or coffee filter.
-
-
crwdns2935267:0crwdne2935267:0Tweezers$4.99
-
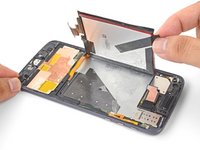
Use tweezers to peel the black tape securing the battery to the frame.
-
-
-
Lay a heated iOpener on the back of the phone as shown for as least 90 seconds.
-
-
-
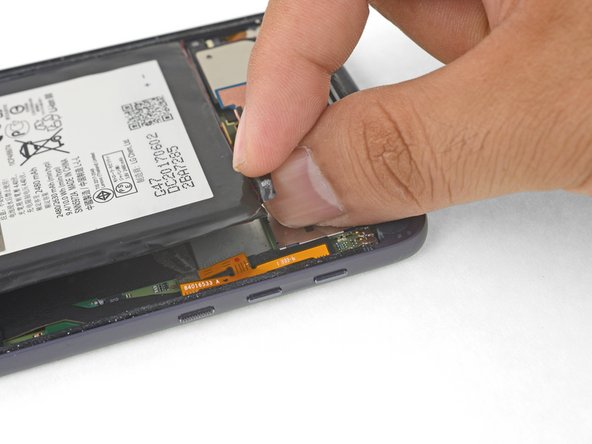
Using a pair of tweezers or your fingers, grab the black battery pull tab and slowly pull it upwards until the corner is loose.
-
-
-
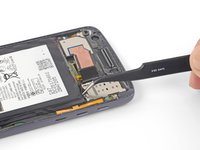
Insert a spudger into the bottom edge of the battery and slowly pry the corner up.
-
-
-
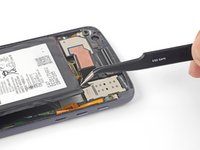
Carefully swing the battery towards the right edge.
-
Lay the battery flat against the work surface while taking care not to strain the battery cable.
-
-
-
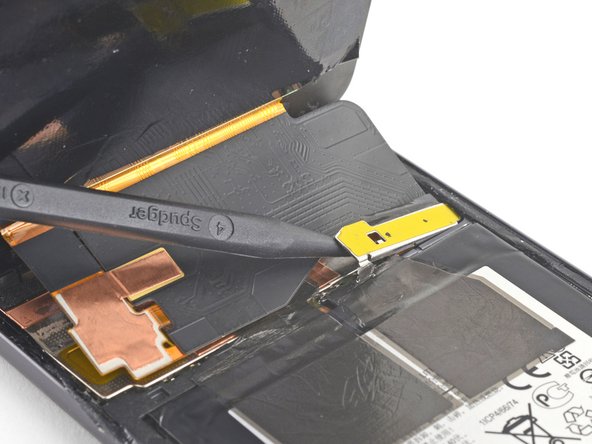
Use the point of a spudger to pry up the battery connector bracket.
-
Remove the battery connector bracket.
-
-
-
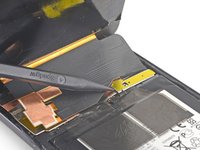
Using the point of a spudger, pry up the battery connector from its socket.
-
-
crwdns2935267:0crwdne2935267:0Tesa 61395 Tape$5.99
-
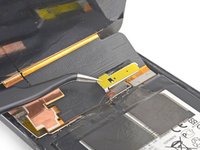
Remove the battery.
-
Remove any remaining adhesive from the phone, and clean the glued areas with isopropyl alcohol and a lint-free cloth.
-
Apply pre-cut adhesive strips or double-sided tape to the exposed, silver part of the battery compartment, not on the black foam layer.
-
Press the battery firmly into place for 5-10 seconds.
-


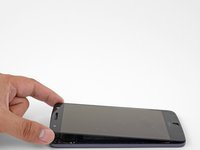


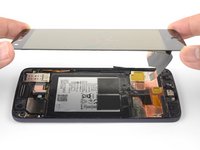


Compare your new replacement part to the original part. You may need to transfer remaining components or remove adhesive backings from the new part before installing.
To reassemble your device, follow these instructions in reverse order.
After completing this guide, calibrate your newly-installed battery.
Take your e-waste to an R2 or e-Stewards certified recycler.
Repair didn’t go as planned? Check out our Motorola Moto Z Answers community for troubleshooting help.
crwdns2935221:0crwdne2935221:0
crwdns2935229:032crwdne2935229:0


crwdns2947412:028crwdne2947412:0
Kindly link me to the suitable adhesive tape for sticking back the screen…
Thank you
Hi Anwesh,
You can use Tesa tape for that purpose.
I have a Moto Z Droid from Verizon. You have instruction for the Moto Z and Moto Z Droid Force. Battery replacement on the Droid Force is much easier. How do I know which one I have?
Hi Budbradley,
According to Phonearena, it looks like one easy way to tell is the rear camera:
The Z has a 13MP camera, while the Z Force Droid has a 21MP rear camera.
The built-in internal storage are also different:
The Z has 32GB while the Z Force Droid has 64GB.
Hopefully you can check your specs with those and figure out which version you have.
The hardest step in this guide is when you remove adhesive glue behind the LCD panel.
Second is clean residue glue [For this i use lint-free cloth soak with alcohol and rub on glue]
One more note - Moto original battery is su..k. Mine is degrade in 6 moths.