crwdns2915892:0crwdne2915892:0
You can use this guide to replace a damaged cord set on a Milwaukee Reciprocating Saw 6538-21-B36B (2010).
The cord set ensures the correct amount of power is delivered to the saw, allowing the saw to perform its intended tasks. The cord set provides the power necessary to use the saw, if the wires are frayed or damaged it can result in a subpar power supply leading to an unreliable saw with delays. And having a properly functioning cord set ensures there is a proper connection to the power source and the saw, this reduces the electrical hazards and stays in compliance for safety standards. This guide will help you replace the cord so that your device will stay powered!
As always remember to unplug the saw before any replacements. For this replacement just make sure the cord protector is attached to the set before you replace the wires.
crwdns2942213:0crwdne2942213:0
-
-
Use a TR20 Torx screwdriver to remove the five 15.9 mm screws that secure the two halves of the handle together.
-
Use a TR20 Torx screwdriver to remove the two 25.4 mm screws near the motor housing.
-
-
-
Use a TR20 Torx screwdriver to remove the single 15.9 mm screw that secures the trigger mechanism.
-
Gently lift the trigger mechanism from the handle casing and unseat the power cord wires from their slotted position.
-
-
-
-
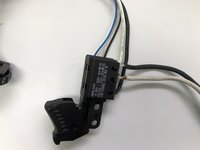
Use light pressure to pull the white and black wires from the trigger mechanism.
-
-
-
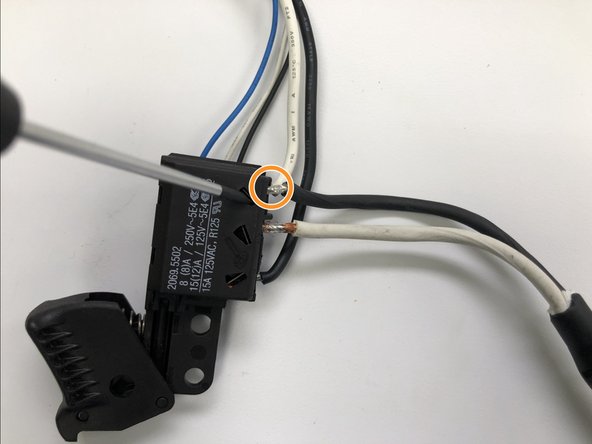
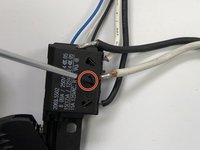
Apply pressure to open these windows with a small flathead screwdriver; this is to ensure the wires are securely in place.
-
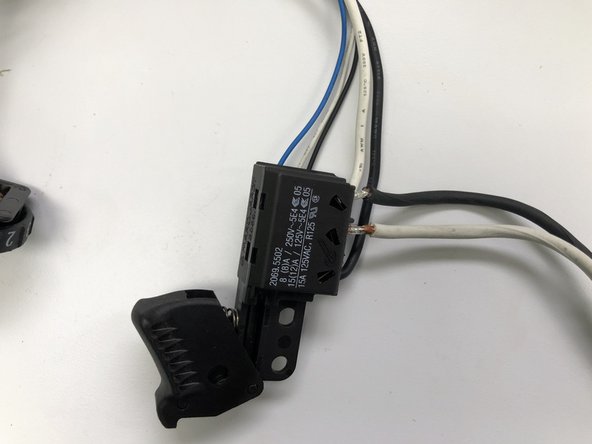
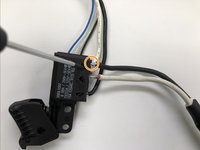
Insert the white and black wires from the replacement cord in the sockets perpendicular to the windows.
-


To reassemble your device, follow these instructions in reverse order.

crwdns2935287:0crwdne2935287:0

University of North Texas, Team 3-5, Kilpatrick Spring 2024 crwdns2935289:0University of North Texas, Team 3-5, Kilpatrick Spring 2024crwdne2935289:0
UNT-KILPATRICK-S24S3G5
crwdns2931471:05crwdne2931471:0
crwdns2935297:05crwdne2935297:0