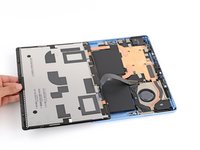
crwdns2942213:0crwdne2942213:0
-
crwdns2935201:0crwdne2935201:0 crwdns2935203:0crwdne2935203:0
-
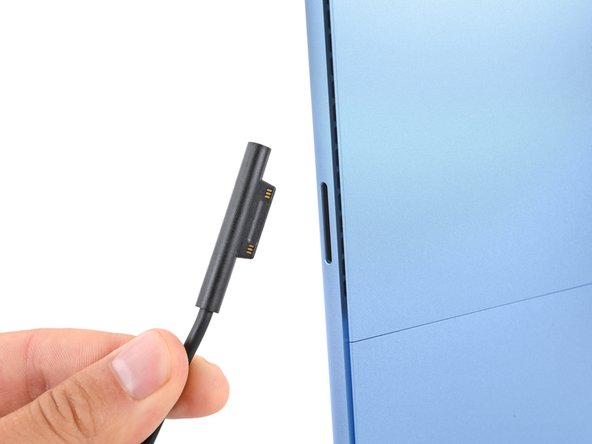
Unplug all cables and fully shut down your laptop.
-
-
crwdns2935201:0crwdne2935201:0 crwdns2935203:0crwdne2935203:0
-
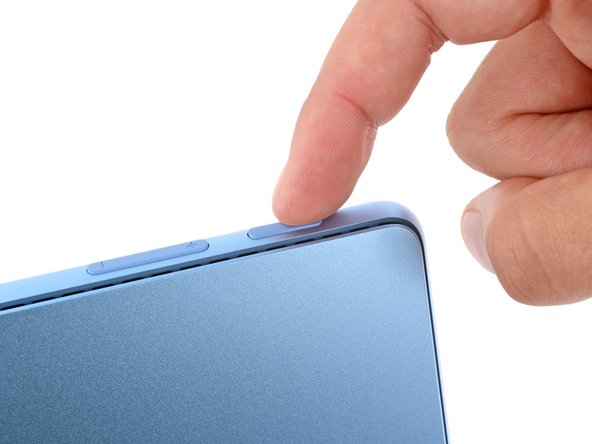
Lay your Surface Pro screen side down and open the kickstand to about a 90‑degree angle.
-
-
crwdns2935201:0crwdne2935201:0 crwdns2935203:0crwdne2935203:0
-
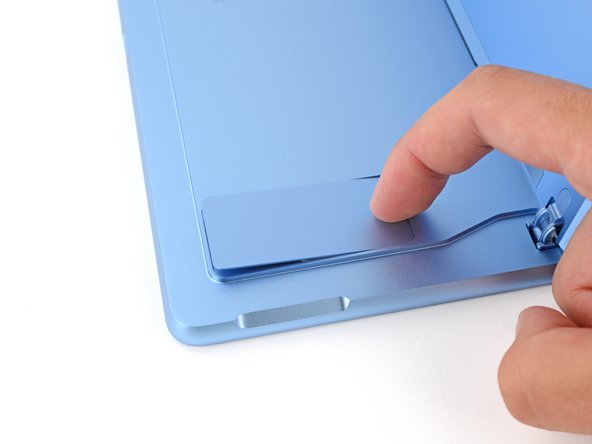
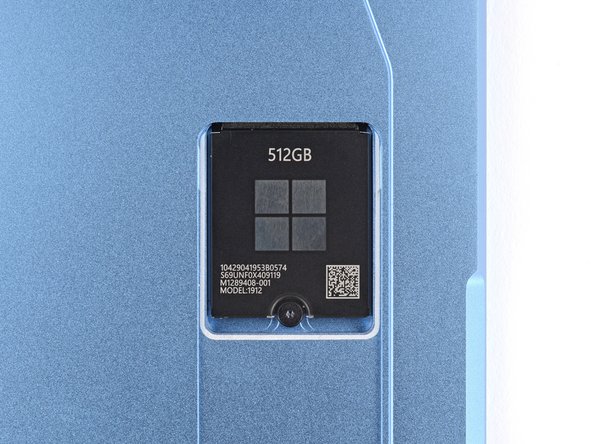
Use your finger to firmly press down on the SSD door indent until the door pops up.
-
Remove the SSD door.
-
-
crwdns2935201:0crwdne2935201:0 crwdns2935203:0crwdne2935203:0
-
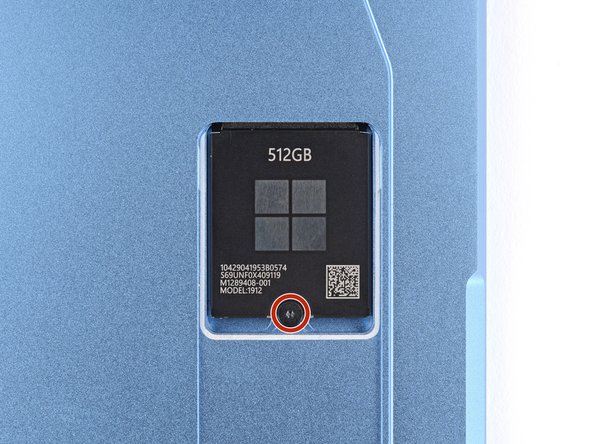
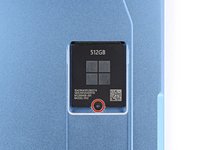
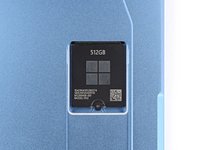
Use a Torx Plus 3IP screwdriver to remove the 2.4 mm‑long screw securing the SSD.
-
-
crwdns2935201:0crwdne2935201:0 crwdns2935203:0crwdne2935203:0
-
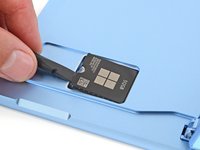
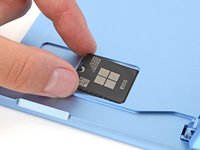
Use the flat end of a spudger to gently lift the notched edge of the SSD enough that you can grip the bottom corners with your fingers.
-
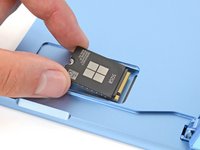
Use your fingers or tweezers to pull the SSD straight out of its socket and remove it.
-
-
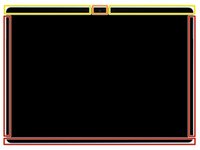
crwdns2935201:0crwdne2935201:0 crwdns2935203:0crwdne2935203:0
-
2 mm on the left, right, and bottom edges
-
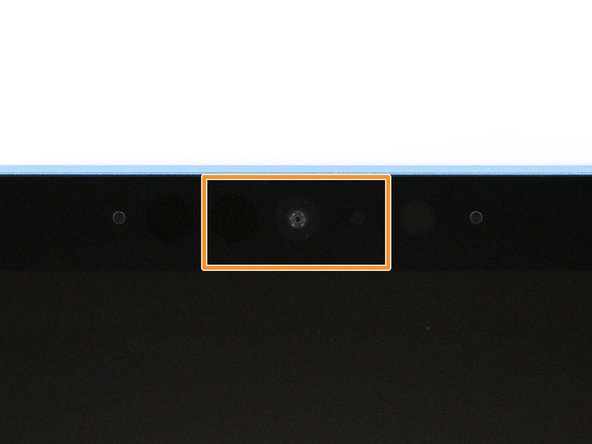
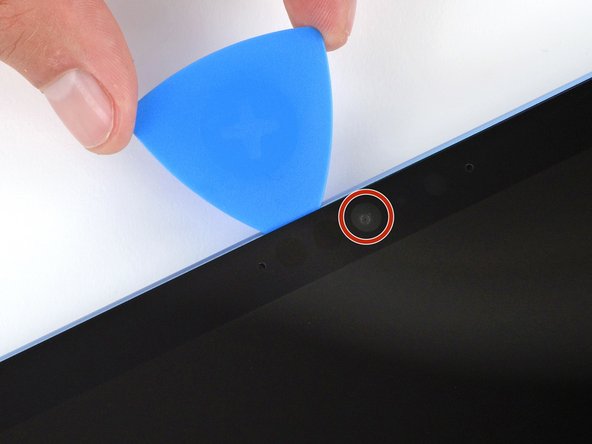
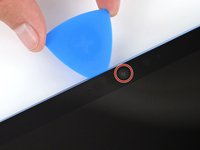
Don't insert your tool at all near the front facing camera on the top edge
-
8 mm along the top edge (everywhere besides the front facing camera area)
-
-
crwdns2935201:0crwdne2935201:0 crwdns2935203:0crwdne2935203:0
-
Heat an iOpener and lay it on the right edge of the screen for two minutes to soften the adhesive.
-
-
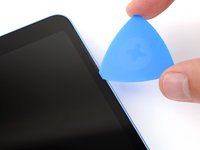
crwdns2935201:0crwdne2935201:0 crwdns2935203:0crwdne2935203:0
-
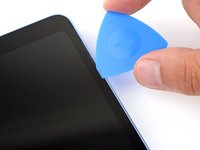
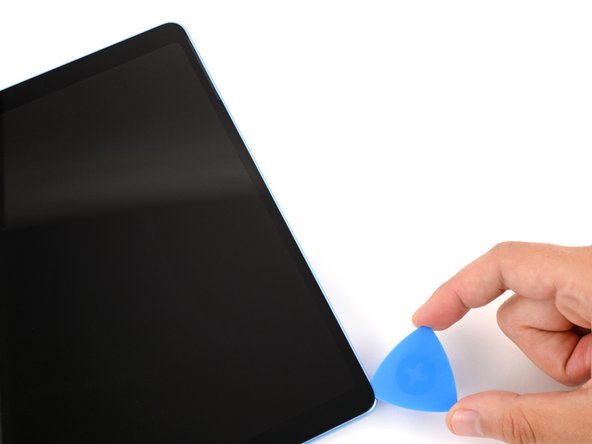
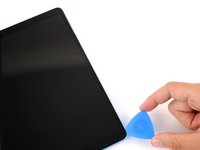
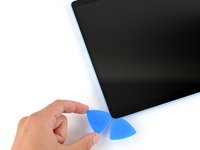
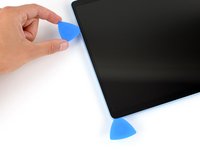
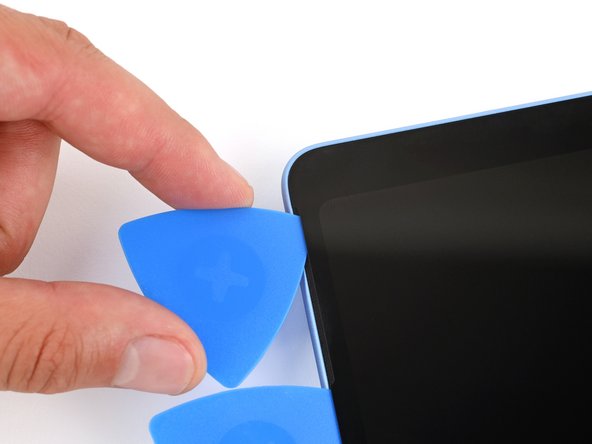
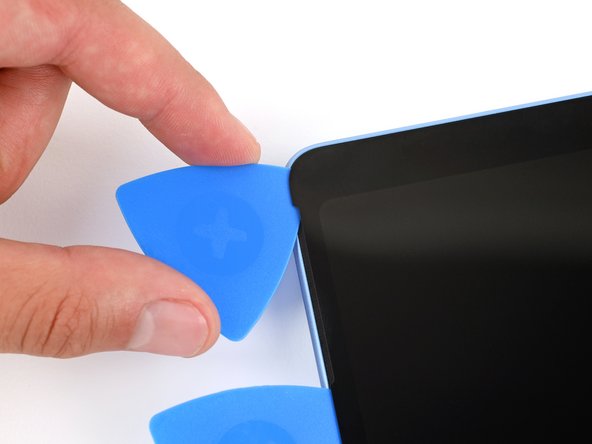
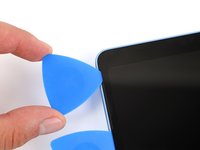
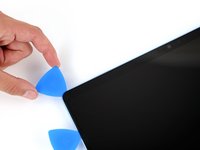
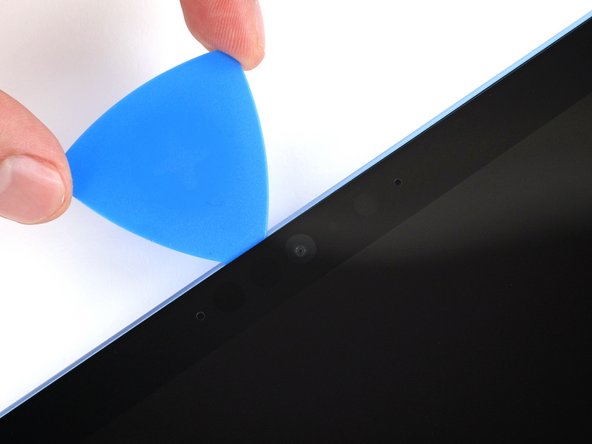
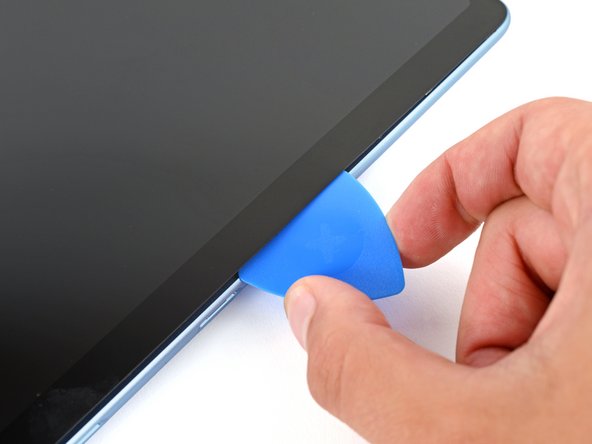
Insert the tip of an opening pick under the screen near the bottom of the right speaker cutout.
-
Slide your pick towards the bottom edge and slightly rotate it so the tip goes under the notch in the screen.
-
-
-
crwdns2935201:0crwdne2935201:0 crwdns2935203:0crwdne2935203:0
-
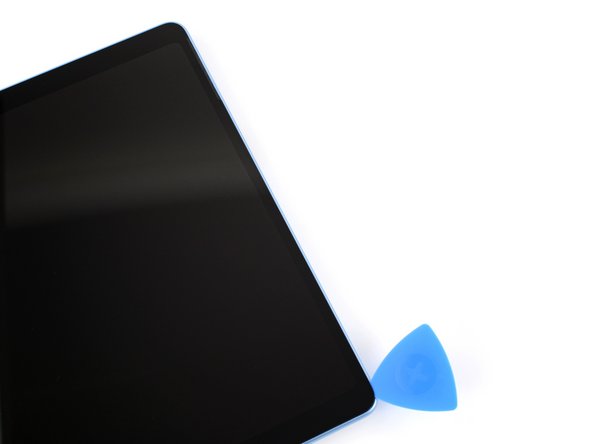
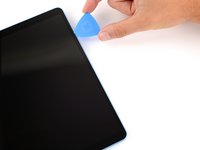
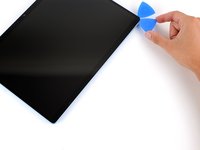
Slide your pick down the right edge to separate the adhesive securing it.
-
Leave your pick inserted under the bottom right corner to prevent the adhesive from re‑sealing.
-
-
crwdns2935201:0crwdne2935201:0 crwdns2935203:0crwdne2935203:0
-
Heat the bottom edge of the screen with an iOpener, hair dryer, or heat gun to soften the adhesive.
-
-
crwdns2935201:0crwdne2935201:0 crwdns2935203:0crwdne2935203:0
-
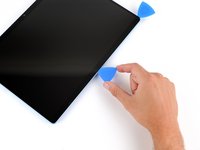
Insert a second pick under the bottom right corner of the screen and slide it along the bottom edge to separate the adhesive.
-
Leave your second pick inserted under the bottom left corner to prevent the adhesive from re‑sealing.
-
-
crwdns2935201:0crwdne2935201:0 crwdns2935203:0crwdne2935203:0
-
Heat the left edge of the screen with an iOpener, hair dryer, or heat gun to soften the adhesive.
-
-
crwdns2935201:0crwdne2935201:0 crwdns2935203:0crwdne2935203:0
-
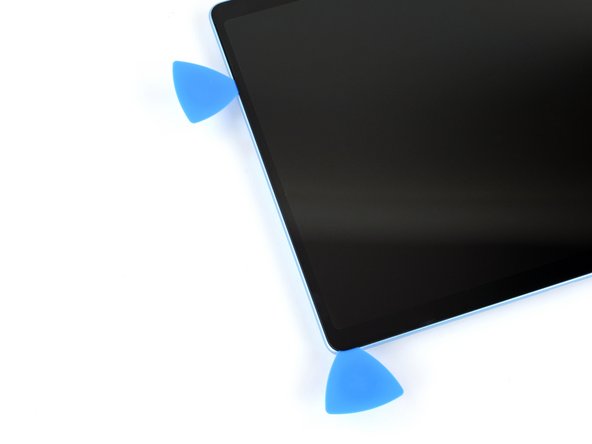
Insert a third pick under the bottom left corner of the screen and slide it up the left edge, stopping when you get to the bottom of the left speaker cutout.
-
Leave the pick inserted under the screen to prevent the adhesive from re-sealing.
-
-
crwdns2935201:0crwdne2935201:0 crwdns2935203:0crwdne2935203:0
-
Heat the top edge of the screen with an iOpener, hair dryer, or heat gun to soften the adhesive.
-
-
crwdns2935201:0crwdne2935201:0 crwdns2935203:0crwdne2935203:0
-
Insert a fourth pick under the screen near the top of the left speaker cutout.
-
Slide your pick towards the top edge and slightly rotate it so the tip goes under the notch in the screen.
-
-
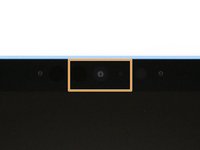
crwdns2935201:0crwdne2935201:0 crwdns2935203:0crwdne2935203:0
-
Slide the pick along the top edge and stop before you get to the front facing camera.
-
-
crwdns2935201:0crwdne2935201:0 crwdns2935203:0crwdne2935203:0
-
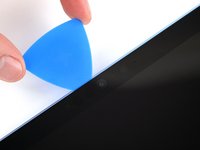
Remove the pick enough that it can pass above the front facing camera.
-
Slide the pick along the top edge until it's past the camera.
-
-
crwdns2935201:0crwdne2935201:0 crwdns2935203:0crwdne2935203:0
-
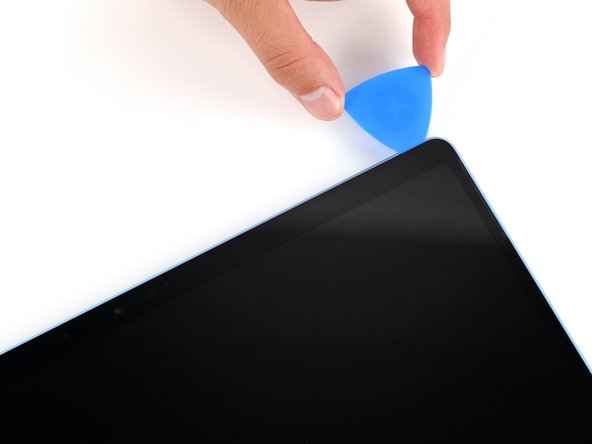
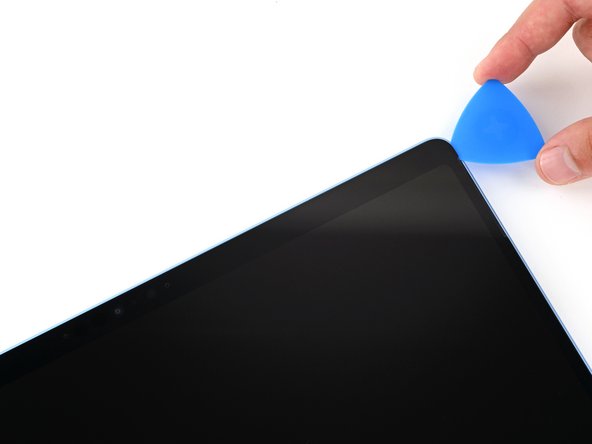
Insert your pick 8 mm under the screen and slide it to the top right corner to separate the remaining adhesive.
-
-
crwdns2935201:0crwdne2935201:0 crwdns2935203:0crwdne2935203:0
-
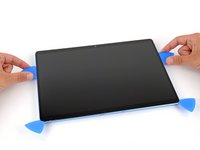
Insert the flat edge of two picks under the screen, below the two speaker cutouts.
-
Use the picks to gently pry up the screen, fully separating it from the frame.
-
If the screen feels stuck anywhere, use your pick to separate the adhesive in that area. Remember not to insert your pick too far under the screen.
-
-
crwdns2935201:0crwdne2935201:0 crwdns2935203:0crwdne2935203:0
-
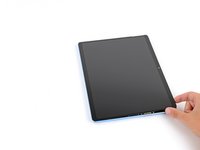
Once the screen is fully separated, flip the top edge over the bottom edge and lay the screen down flat, being careful not to strain the ribbon cable.
-
-
crwdns2935201:0crwdne2935201:0 crwdns2935203:0crwdne2935203:0
-
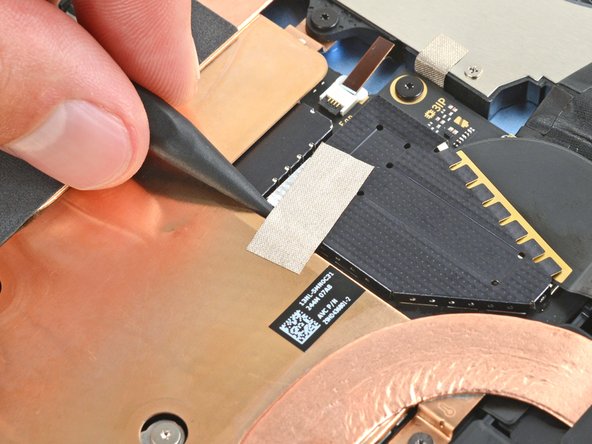
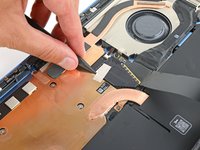
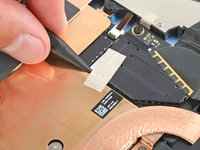
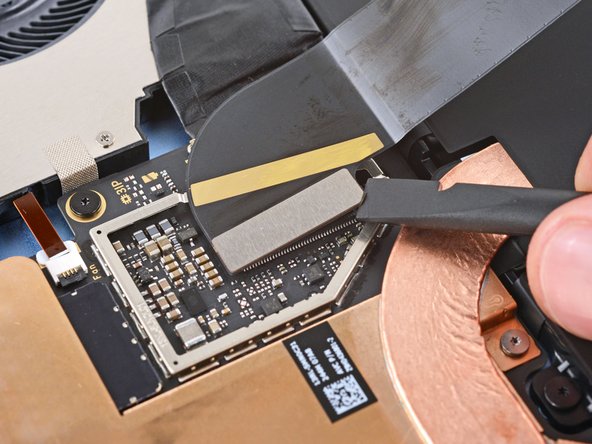
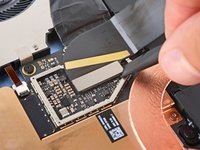
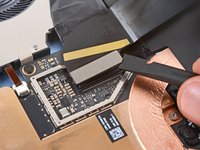
Use the tip of a spudger to lift the conductive tape off the copper shield, near the center of your device.
-
-
crwdns2935201:0crwdne2935201:0 crwdns2935203:0crwdne2935203:0
-
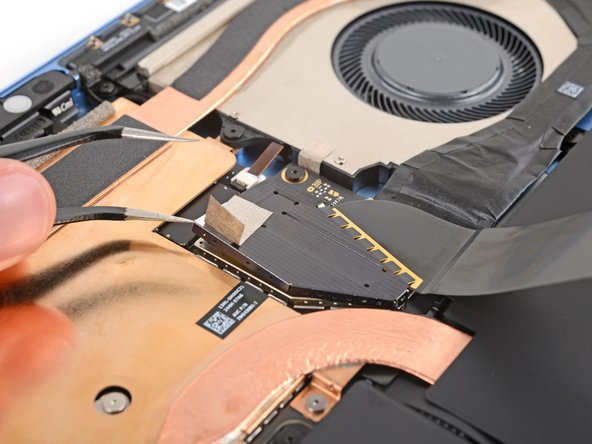
Insert an arm of a pair of angled tweezers in one of the gaps on the edge of the screen cable shield.
-
Use your tweezers to gently pry up and remove the shield.
-
-
crwdns2935201:0crwdne2935201:0 crwdns2935203:0crwdne2935203:0
-
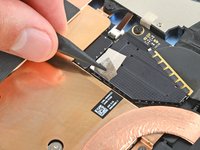
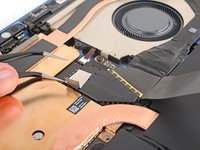
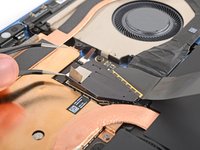
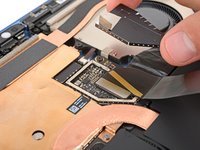
Insert the flat end of a spudger under the notched corner of the screen cable press connector and pry up to disconnect it.
-
-
crwdns2935201:0crwdne2935201:0 crwdns2935203:0crwdne2935203:0
-
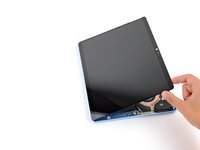
Grip the screen with both hands and remove it.
-