crwdns2933423:0crwdne2933423:0

Microsoft Surface Pro 11 SSD Replacement

crwdns2942213:0crwdne2942213:0

  1. Microsoft Surface Pro 11 SSD Replacement, Before you begin: crwdns2935265:01crwdnd2935265:01crwdnd2935265:03crwdne2935265:0 Microsoft Surface Pro 11 SSD Replacement, Before you begin: crwdns2935265:01crwdnd2935265:02crwdnd2935265:03crwdne2935265:0 Microsoft Surface Pro 11 SSD Replacement, Before you begin: crwdns2935265:01crwdnd2935265:03crwdnd2935265:03crwdne2935265:0
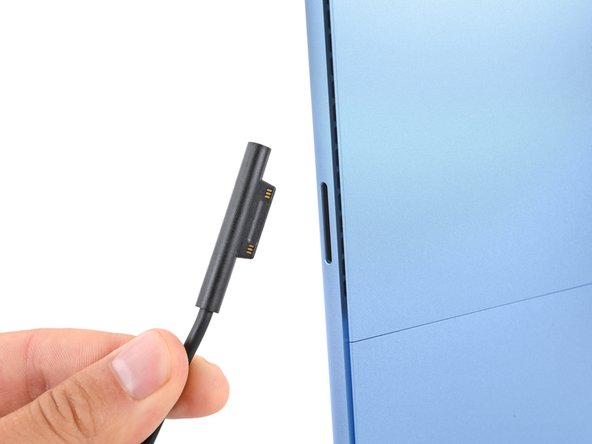
    • Before starting this repair, allow your laptop's battery to drain below 25%. A charged battery may catch fire if damaged.

    • Unplug all cables and fully shut down your laptop.

  2. Microsoft Surface Pro 11 SSD Replacement, Open the kickstand: crwdns2935265:02crwdnd2935265:01crwdnd2935265:03crwdne2935265:0 Microsoft Surface Pro 11 SSD Replacement, Open the kickstand: crwdns2935265:02crwdnd2935265:02crwdnd2935265:03crwdne2935265:0 Microsoft Surface Pro 11 SSD Replacement, Open the kickstand: crwdns2935265:02crwdnd2935265:03crwdnd2935265:03crwdne2935265:0
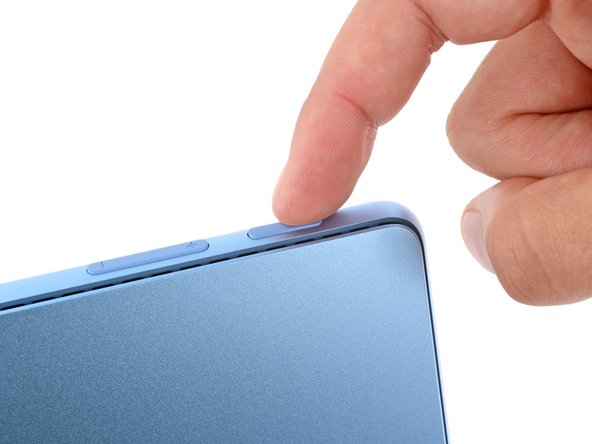
    • Lay your Surface Pro screen side down and open the kickstand to about a 90‑degree angle.

  3. Microsoft Surface Pro 11 SSD Replacement, Remove the SSD door: crwdns2935265:03crwdnd2935265:01crwdnd2935265:03crwdne2935265:0 Microsoft Surface Pro 11 SSD Replacement, Remove the SSD door: crwdns2935265:03crwdnd2935265:02crwdnd2935265:03crwdne2935265:0 Microsoft Surface Pro 11 SSD Replacement, Remove the SSD door: crwdns2935265:03crwdnd2935265:03crwdnd2935265:03crwdne2935265:0
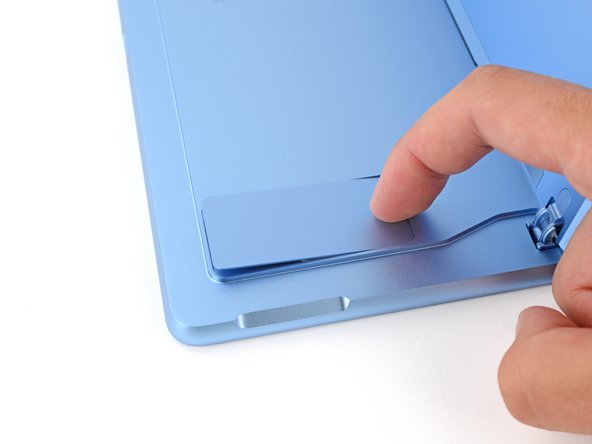
    • Use your finger to firmly press down on the SSD door indent until the door pops up.

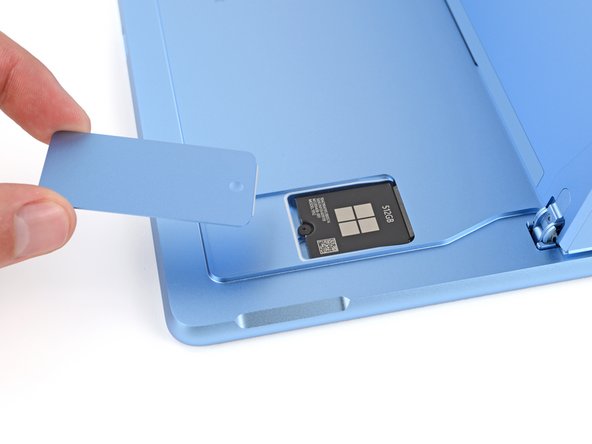
    • Remove the SSD door.

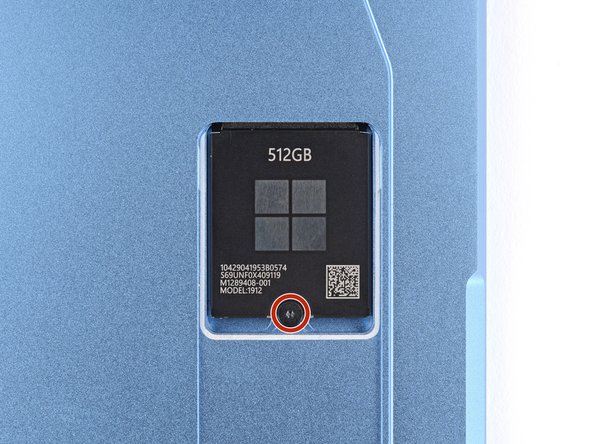
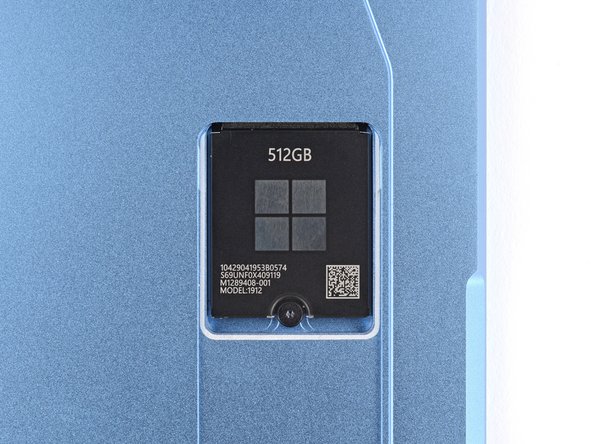
  4. Microsoft Surface Pro 11 SSD Replacement, Remove the SSD screw: crwdns2935265:04crwdnd2935265:01crwdnd2935265:02crwdne2935265:0 Microsoft Surface Pro 11 SSD Replacement, Remove the SSD screw: crwdns2935265:04crwdnd2935265:02crwdnd2935265:02crwdne2935265:0
    • Use a Torx Plus 3IP screwdriver to remove the 2.4 mm‑long screw securing the SSD.

    • Removing the SSD also functions as a battery disconnect and should be done before all major repairs.

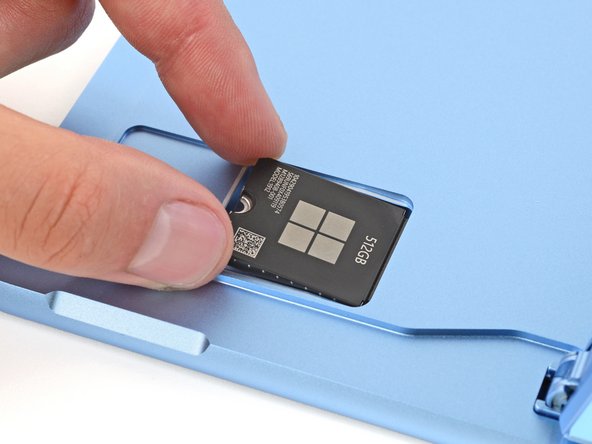
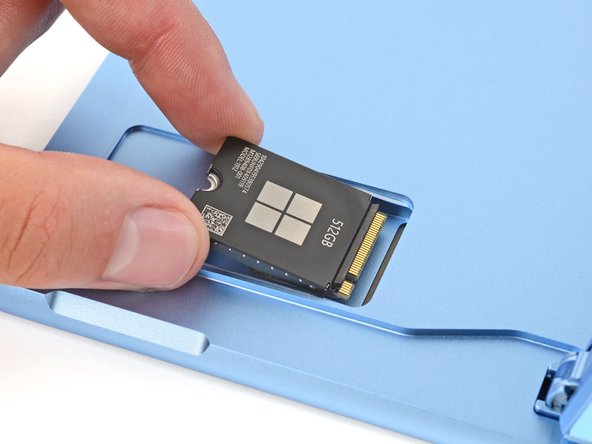
  5. Microsoft Surface Pro 11 SSD Replacement, Remove the SSD: crwdns2935265:05crwdnd2935265:01crwdnd2935265:03crwdne2935265:0 Microsoft Surface Pro 11 SSD Replacement, Remove the SSD: crwdns2935265:05crwdnd2935265:02crwdnd2935265:03crwdne2935265:0 Microsoft Surface Pro 11 SSD Replacement, Remove the SSD: crwdns2935265:05crwdnd2935265:03crwdnd2935265:03crwdne2935265:0
    • Don't pull up at a sharp angle, or you may damage the SSD and its socket.

    • Use the flat end of a spudger to gently lift the notched edge of the SSD enough that you can grip the bottom corners with your fingers.

    • Use your fingers or tweezers to pull the SSD straight out of its socket and remove it.

    • During reassembly, getting the SSD fully inserted in its socket can be tricky. If you're having trouble, hold the SSD in place and use the flat end of a spudger to push on the notched edge.

crwdns2915888:0crwdne2915888:0

To reassemble your device, follow these instructions in reverse order.

Once your laptop is reassembled, follow Microsoft's post SSD replacement guide.

Take your e-waste to an R2 or e-Stewards certified recycler.

Repair didn’t go as planned? Try some basic troubleshooting, or ask our Answers community for help.

Spencer Day

crwdns2935283:009/14/22crwdne2935283:0

116.461 crwdns2915208:0crwdne2915208:0

crwdns2935297:0837crwdne2935297:0

crwdns2915084:0crwdne2915084:0

iFixit crwdns2935289:0iFixitcrwdne2935289:0

Staff

crwdns2931471:0121crwdne2931471:0

crwdns2935297:020.543crwdne2935297:0

crwdns2947412:00crwdne2947412:0

crwdns2917038:0crwdne2917038:0

crwdns2936625:0crwdne2936625:0:

crwdns2936751:024crwdne2936751:0 7

crwdns2936753:07crwdne2936753:0 58

crwdns2936753:030crwdne2936753:0 59

crwdns2942667:0crwdne2942667:0 88