crwdns2942213:0crwdne2942213:0
-
crwdns2935201:0crwdne2935201:0 crwdns2935203:0crwdne2935203:0
-
Prepare an iOpener and apply it to the rear glass for at least two minutes to loosen the adhesive underneath.
-
-
crwdns2935201:0crwdne2935201:0 crwdns2935203:0crwdne2935203:0
-
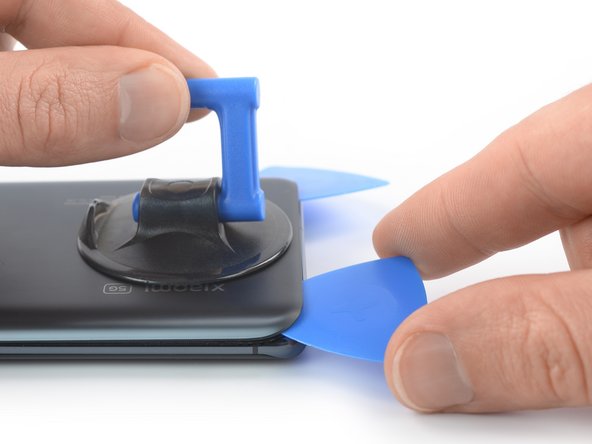
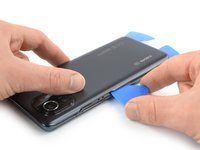
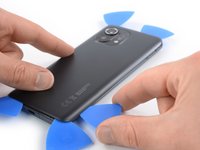
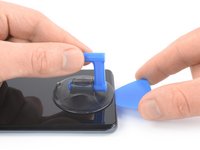
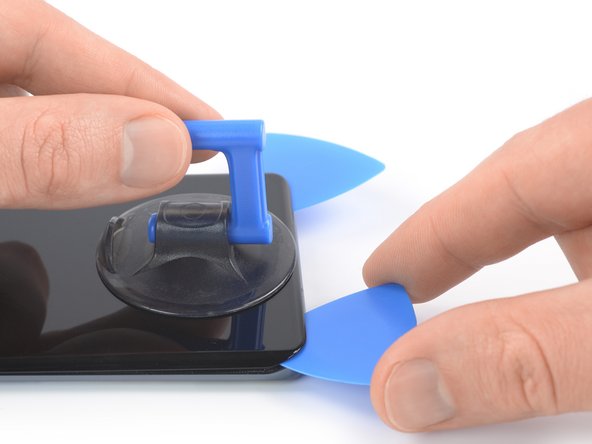
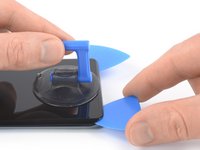
Secure a suction handle to the bottom edge of the rear glass, as close to the edge as possible.
-
Lift the back cover with the suction handle to create a small gap between the back cover and the frame.
-
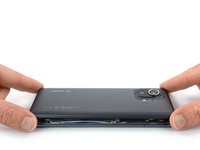
Insert an opening pick into the gap you created.
-
Slide the opening pick to the bottom right corner to slice the adhesive.
-
Leave the opening pick in place to prevent the adhesive from resealing.
-
-
crwdns2935201:0crwdne2935201:0 crwdns2935203:0crwdne2935203:0
-
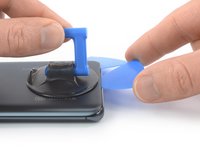
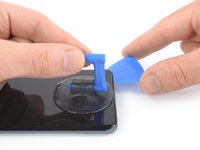
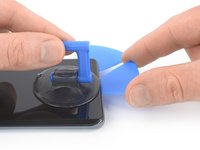
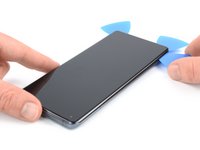
Insert a second opening pick at the bottom edge of your phone.
-
Slide the opening pick to the bottom left corner to slice the adhesive.
-
Leave the opening pick in place to prevent the adhesive from resealing.
-
-
crwdns2935201:0crwdne2935201:0 crwdns2935203:0crwdne2935203:0
-
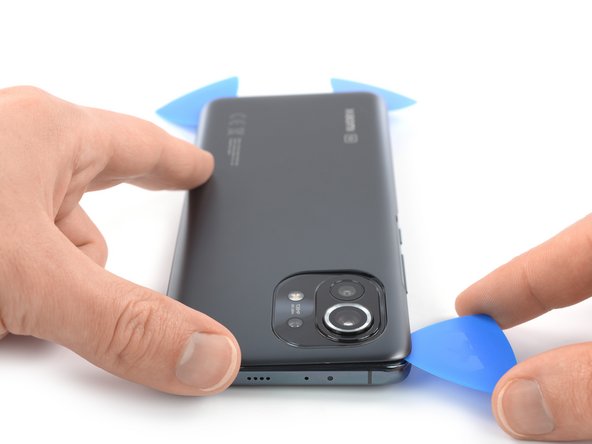
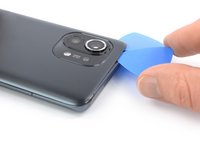
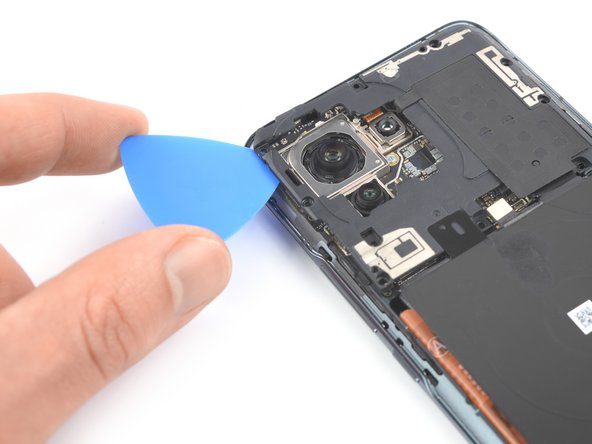
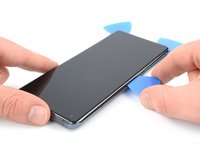
Insert a third opening pick at the bottom left corner of your phone.
-
Slide the opening pick along the left edge of your Xiaomi Mi 11 to slice the adhesive.
-
Leave the opening pick in the top left corner to prevent the adhesive from resealing.
-
-
crwdns2935201:0crwdne2935201:0 crwdns2935203:0crwdne2935203:0
-
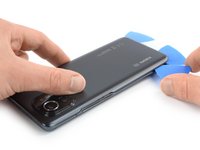
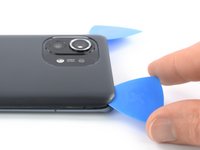
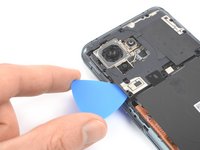
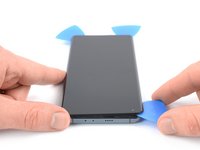
Insert a fourth opening pick underneath the top left corner of your phone.
-
Slide the opening pick along the top edge to slice the adhesive.
-
Leave the opening pick in the top right corner to prevent the adhesive from resealing.
-
-
crwdns2935201:0crwdne2935201:0 crwdns2935203:0crwdne2935203:0
-
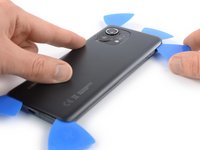
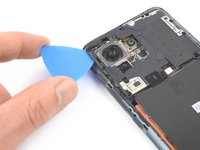
Insert a fifth opening pick underneath the top right corner.
-
Slide the opening pick along the right edge of the rear glass to slice the remaining adhesive.
-
-
crwdns2935201:0crwdne2935201:0 crwdns2935203:0crwdne2935203:0
-
Use a Phillips screwdriver to remove the screws securing the connector metal bracket and the camera cover:
-
Two 4.4 mm-long screws
-
One 4.9 mm-long screw
-
Two 3.9 mm-long screws
-
-
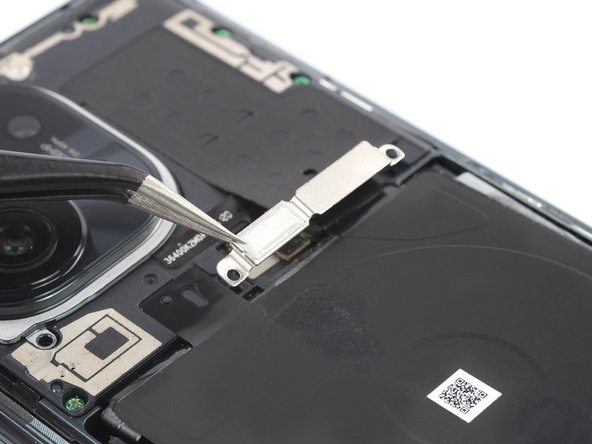
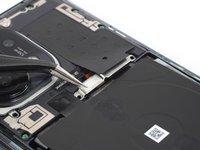
crwdns2935201:0crwdne2935201:0 crwdns2935203:0crwdne2935203:0
crwdns2935267:0crwdne2935267:0Tweezers$4.99-
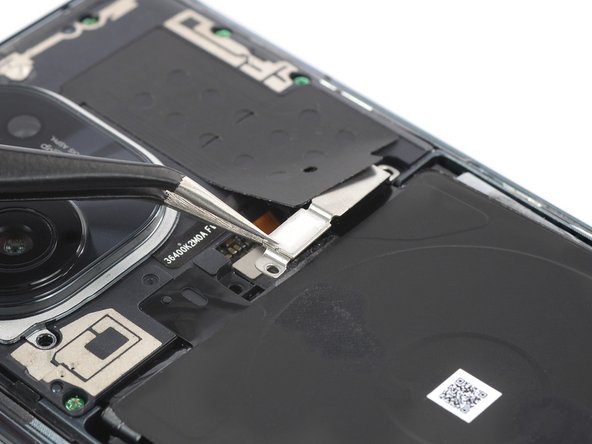
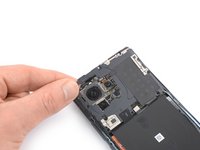
Use a pair of tweezers to remove the connector bracket by pulling it in the direction of the battery.
-
-
-
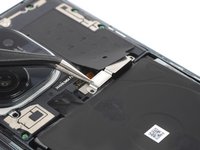
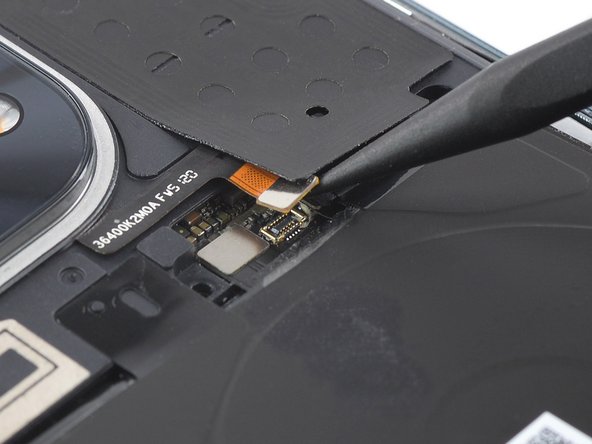
crwdns2935201:0crwdne2935201:0 crwdns2935203:0crwdne2935203:0
-
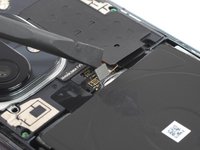
Use the pointed end of a spudger to disconnect the flash assembly cable by prying the connector straight up from its socket.
-
-
crwdns2935201:0crwdne2935201:0 crwdns2935203:0crwdne2935203:0
-
Use a spudger to disconnect the right battery cable by prying the connector straight up from its socket.
-
-
crwdns2935201:0crwdne2935201:0 crwdns2935203:0crwdne2935203:0
-
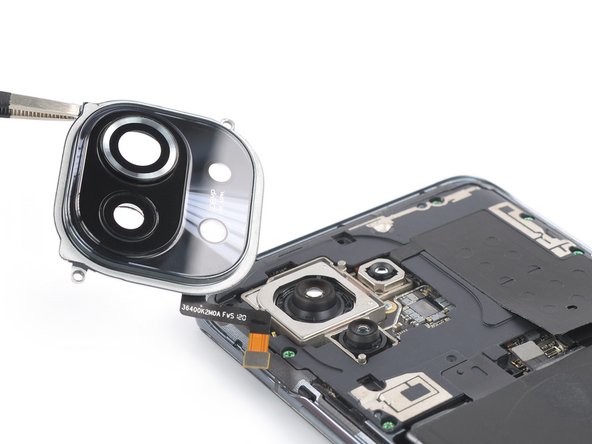
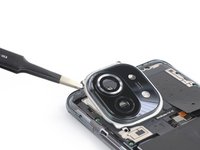
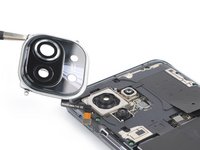
Use your fingers or a pair of tweezers to carefully lift the camera cover including the flash assembly off the camera lenses and remove it.
-
-
crwdns2935201:0crwdne2935201:0 crwdns2935203:0crwdne2935203:0
-
Use a Phillips screwdriver to remove the five 3.9 mm-long screws securing the motherboard cover.
-
-
crwdns2935201:0crwdne2935201:0 crwdns2935203:0crwdne2935203:0
-
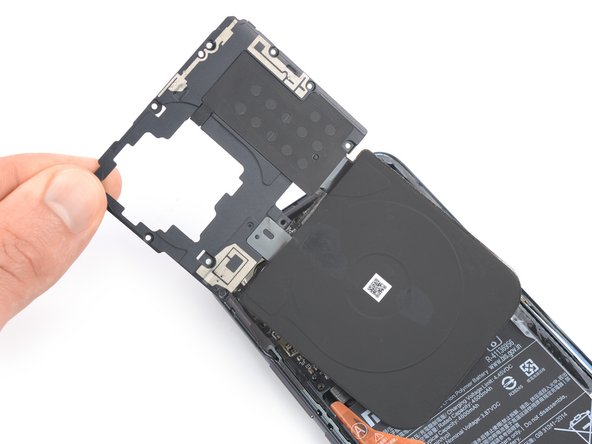
Insert an opening pick underneath the bottom left edge of the motherboard cover.
-
Slide the opening pick along the left edge of the motherboard cover and pry it up.
-
-
crwdns2935201:0crwdne2935201:0 crwdns2935203:0crwdne2935203:0
-
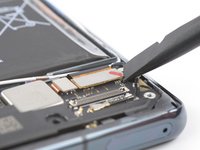
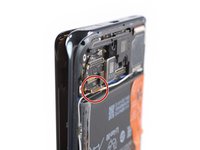
Use a spudger to disconnect the left battery cable by prying the connector straight up from its socket.
-
-
crwdns2935201:0crwdne2935201:0 crwdns2935203:0crwdne2935203:0
-
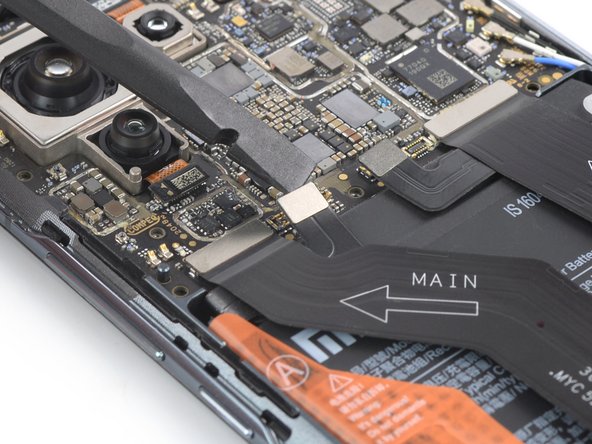
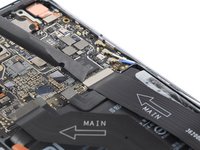
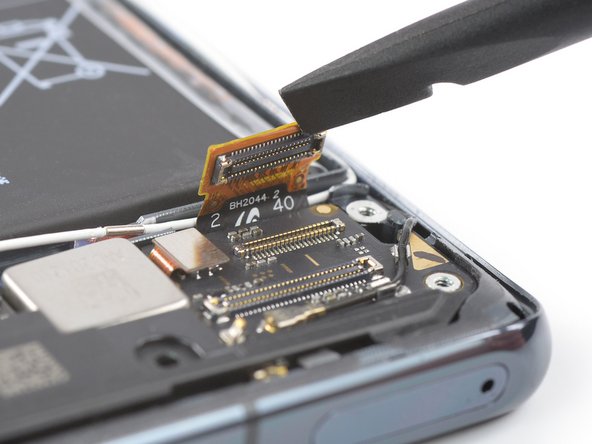
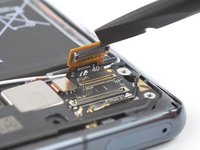
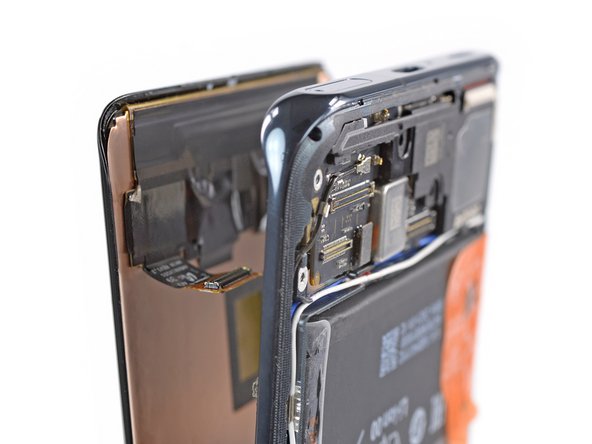
Use a spudger to disconnect the right interconnect cable from the motherboard by prying the connector straight up from its socket.
-
-
crwdns2935201:0crwdne2935201:0 crwdns2935203:0crwdne2935203:0
-
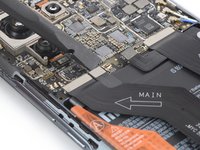
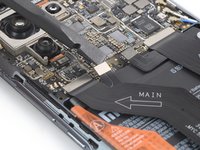
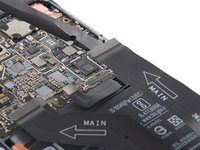
Use a spudger to disconnect the right interconnect cable from the daughterboard by prying the connector straight up from its socket.
-
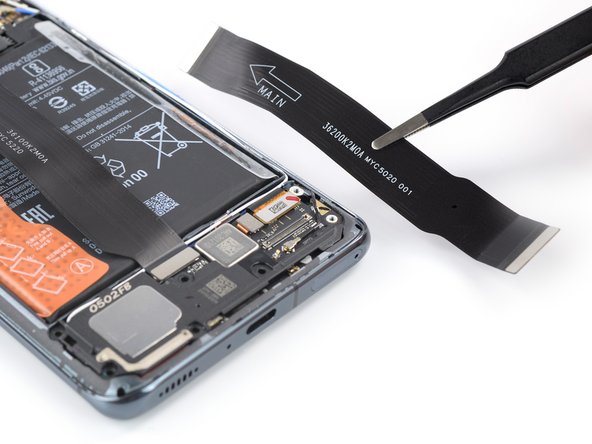
Remove the right interconnect cable.
-
-
crwdns2935201:0crwdne2935201:0 crwdns2935203:0crwdne2935203:0
-
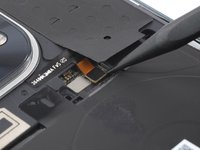
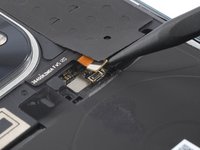
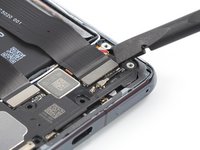
Use a spudger to disconnect the display flex cable by prying the connector straight up from its socket.
-
-
crwdns2935201:0crwdne2935201:0 crwdns2935203:0crwdne2935203:0
-
Apply a heated iOpener or a heat gun to the screen for two minutes to loosen the adhesive underneath.
-
-
crwdns2935201:0crwdne2935201:0 crwdns2935203:0crwdne2935203:0
-
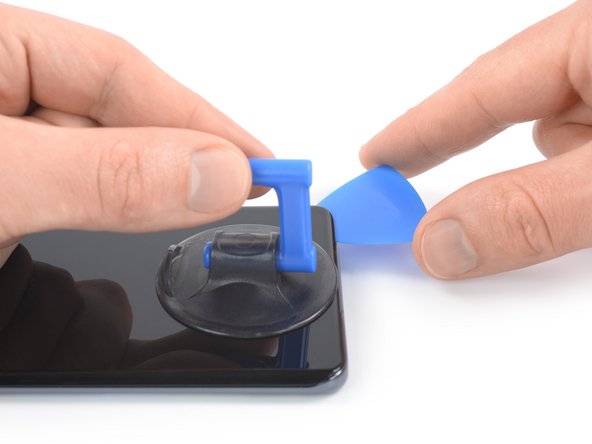
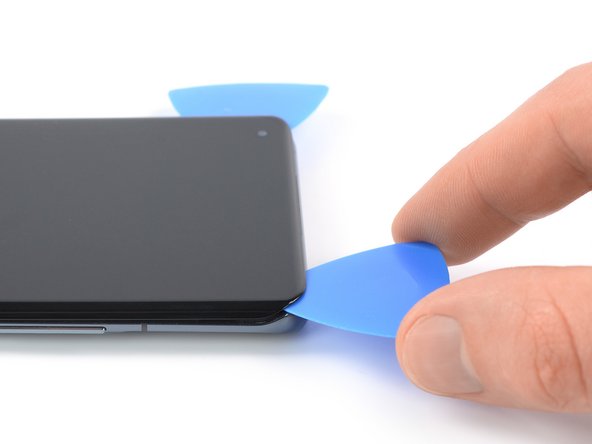
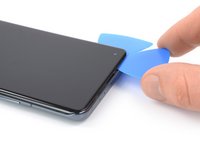
Once the screen is warm to the touch, apply a suction cup to the bottom edge of the phone.
-
Lift the screen with the suction handle to create a small gap between the screen and the frame.
-
Insert an opening pick in the gap between the midframe and the screen.
-
Slide the opening pick to the bottom right corner of the screen to slice its adhesive. Leave the opening pick in place to prevent the adhesive from resealing.
-
-
crwdns2935201:0crwdne2935201:0 crwdns2935203:0crwdne2935203:0
-
Insert a second opening pick and slide it to the bottom left corner of the screen to cut the adhesive.
-
Leave the opening picks in place to prevent the adhesive from resealing.
-
-
crwdns2935201:0crwdne2935201:0 crwdns2935203:0crwdne2935203:0
-
Insert a third opening pick underneath the bottom left corner of the screen.
-
Slide the opening pick along the left edge of the screen to slice the adhesive. Leave it in the top left corner to prevent the adhesive from resealing.
-
-
crwdns2935201:0crwdne2935201:0 crwdns2935203:0crwdne2935203:0
-
Insert a fourth opening pick at the top left corner of the screen.
-
Slide the opening pick along the top edge of the phone to slice the adhesive.
-
Leave the opening pick in the top right corner of the screen to prevent the adhesive from resealing.
-
-
crwdns2935201:0crwdne2935201:0 crwdns2935203:0crwdne2935203:0
-
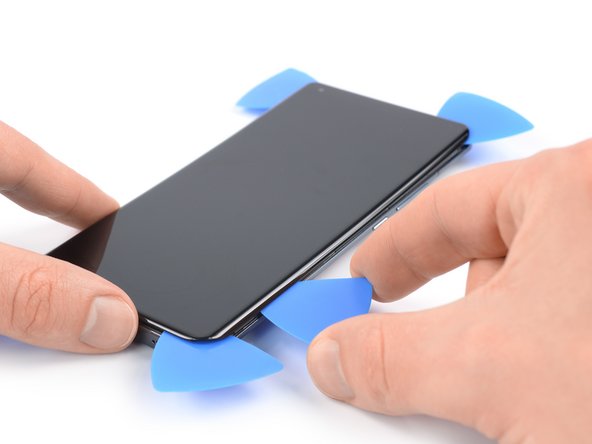
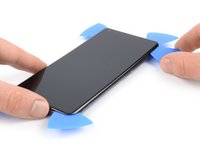
Insert a fifth opening pick and slide it along the right edge of the phone to slice the remaining adhesive.
-
-
crwdns2935201:0crwdne2935201:0 crwdns2935203:0crwdne2935203:0
-
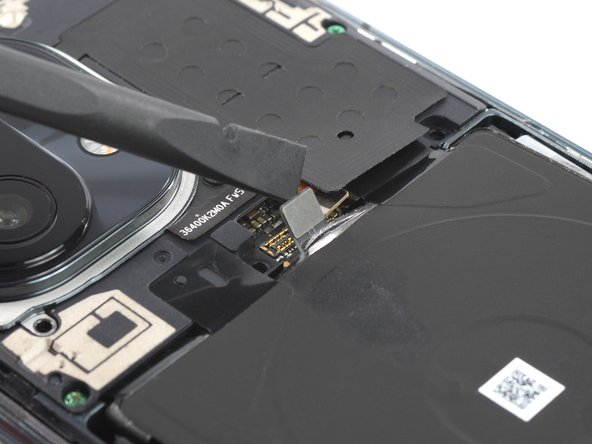
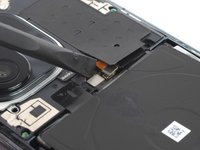
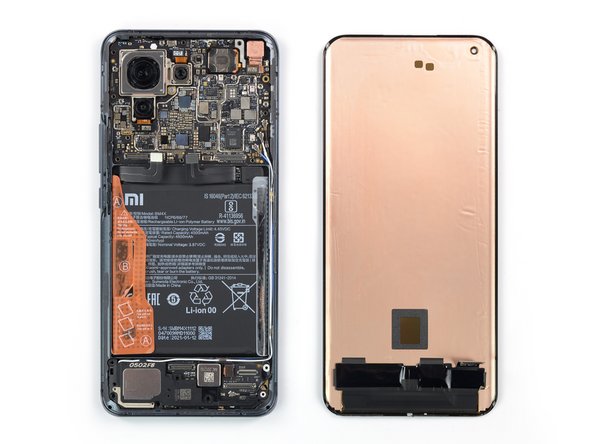
Thread the display flex cable through the gap in the midframe and remove the screen.
-


crwdns2935221:0crwdne2935221:0
crwdns2935229:08crwdne2935229:0


crwdns2947412:02crwdne2947412:0
After new screen substitution is Impossible to add new fingerprint
You need to calibrate the fingerprint sensor. There are guides on Youtube and parts on Aliexpress