crwdns2942213:0crwdne2942213:0
-
crwdns2935201:0crwdne2935201:0 crwdns2935203:0crwdne2935203:0
-
Prepare an iOpener and apply it to the rear glass for at least two minutes to loosen the adhesive underneath.
-
-
crwdns2935201:0crwdne2935201:0 crwdns2935203:0crwdne2935203:0
-
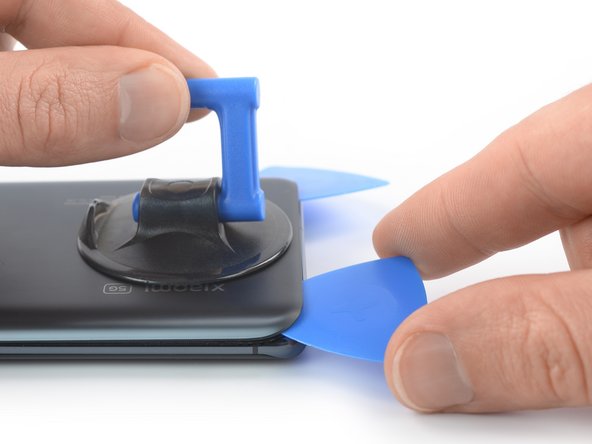
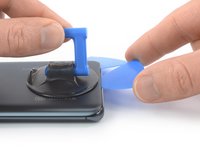
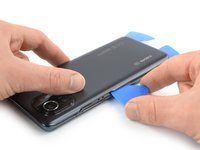
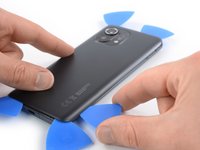
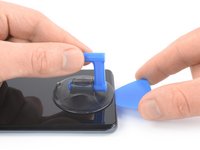
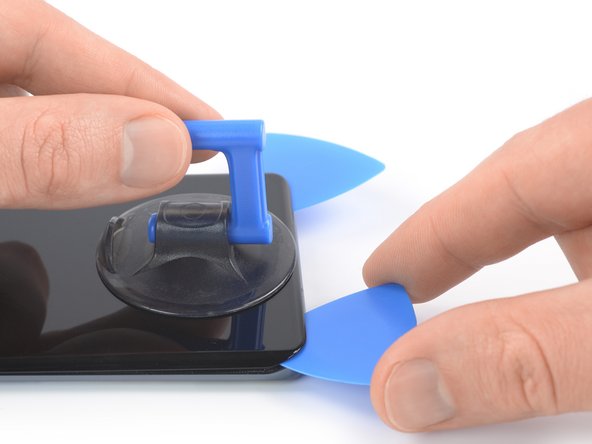
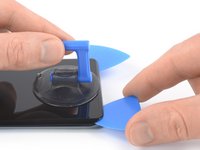
Secure a suction handle to the bottom edge of the rear glass, as close to the edge as possible.
-
Lift the back cover with the suction handle to create a small gap between the back cover and the frame.
-
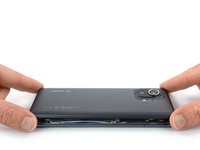
Insert an opening pick into the gap you created.
-
Slide the opening pick to the bottom right corner to slice the adhesive.
-
Leave the opening pick in place to prevent the adhesive from resealing.
-
-
crwdns2935201:0crwdne2935201:0 crwdns2935203:0crwdne2935203:0
-
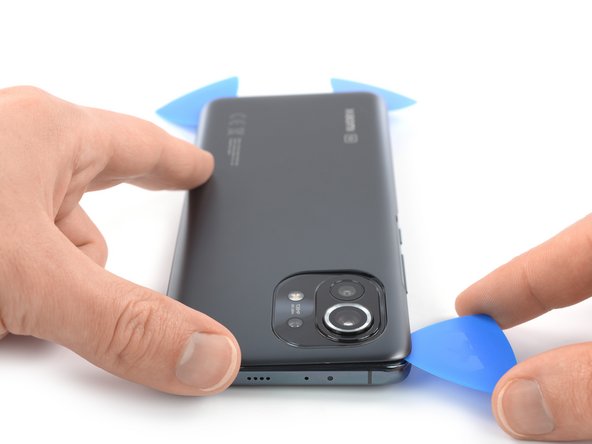
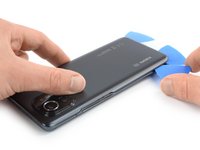
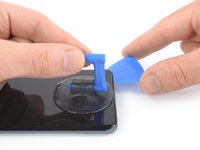
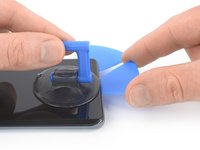
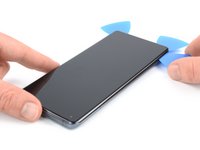
Insert a second opening pick at the bottom edge of your phone.
-
Slide the opening pick to the bottom left corner to slice the adhesive.
-
Leave the opening pick in place to prevent the adhesive from resealing.
-
-
crwdns2935201:0crwdne2935201:0 crwdns2935203:0crwdne2935203:0
-
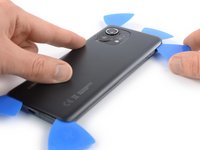
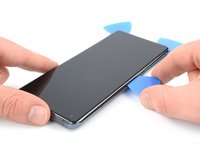
Insert a third opening pick at the bottom left corner of your phone.
-
Slide the opening pick along the left edge of your Xiaomi Mi 11 to slice the adhesive.
-
Leave the opening pick in the top left corner to prevent the adhesive from resealing.
-
-
crwdns2935201:0crwdne2935201:0 crwdns2935203:0crwdne2935203:0
-
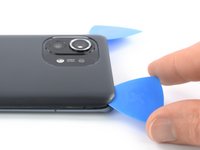
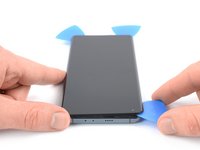
Insert a fourth opening pick underneath the top left corner of your phone.
-
Slide the opening pick along the top edge to slice the adhesive.
-
Leave the opening pick in the top right corner to prevent the adhesive from resealing.
-
-
crwdns2935201:0crwdne2935201:0 crwdns2935203:0crwdne2935203:0
-
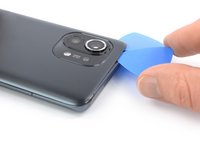
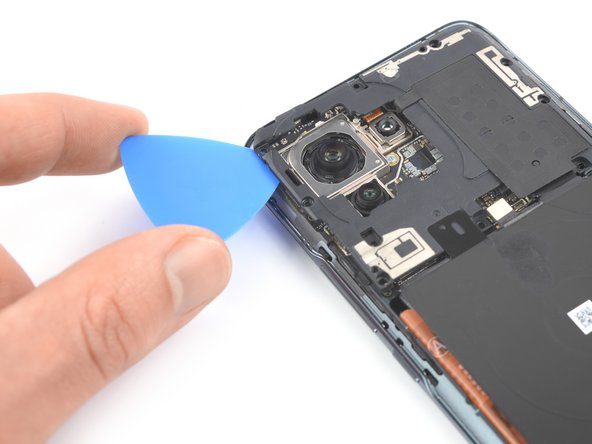
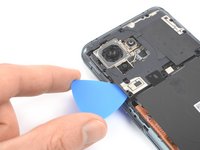
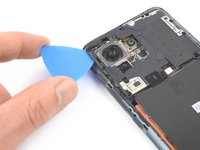
Insert a fifth opening pick underneath the top right corner.
-
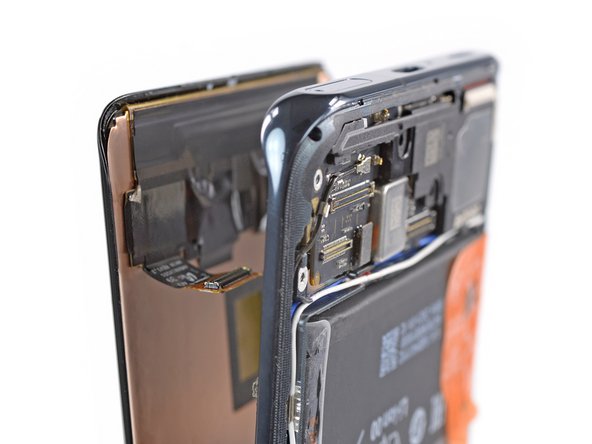
Slide the opening pick along the right edge of the rear glass to slice the remaining adhesive.
There's lots of adhesive around the camera module so you'll need to heat here too.
The comment about adhesive around camera module should be mentioned as a warning in the guide as it is very easy to break the glass. I didn't see this comment until it was too late and I cracked the back glass
-
-
crwdns2935201:0crwdne2935201:0 crwdns2935203:0crwdne2935203:0
-
Use a Phillips screwdriver to remove the screws securing the connector metal bracket and the camera cover:
-
Two 4.4 mm-long screws
-
One 4.9 mm-long screw
-
Two 3.9 mm-long screws
-
-
crwdns2935201:0crwdne2935201:0 crwdns2935203:0crwdne2935203:0
crwdns2935267:0crwdne2935267:0Tweezers$4.99-
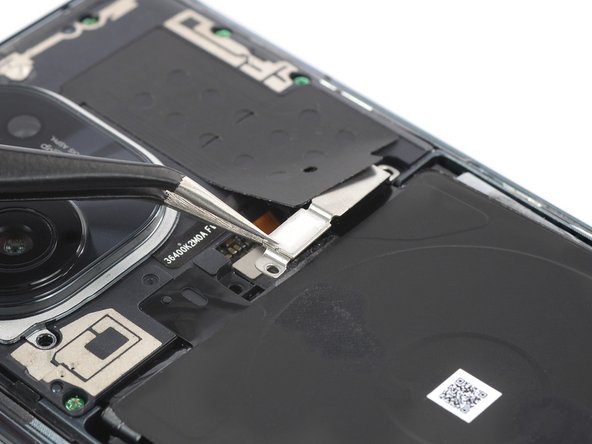
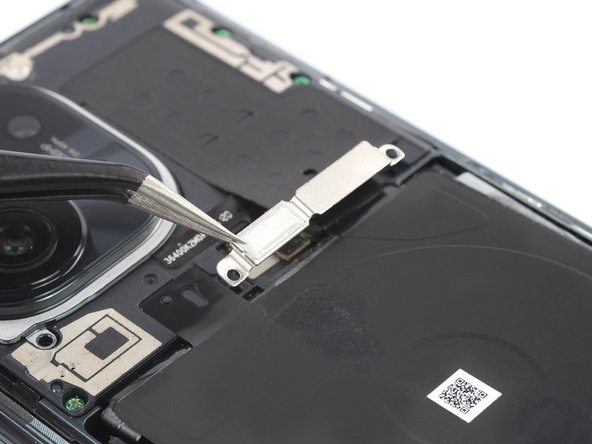
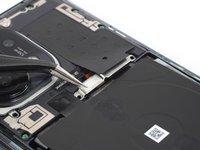
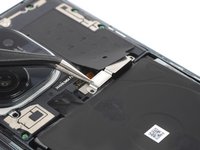
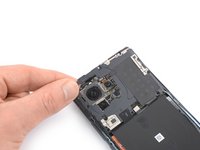
Use a pair of tweezers to remove the connector bracket by pulling it in the direction of the battery.
-
-
-
crwdns2935201:0crwdne2935201:0 crwdns2935203:0crwdne2935203:0
-
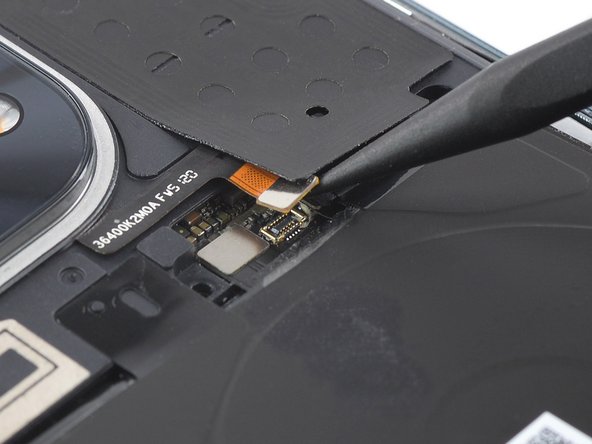
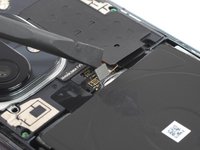
Use the pointed end of a spudger to disconnect the flash assembly cable by prying the connector straight up from its socket.
-
-
crwdns2935201:0crwdne2935201:0 crwdns2935203:0crwdne2935203:0
-
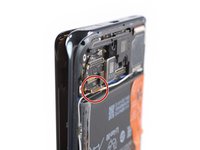
Use a spudger to disconnect the right battery cable by prying the connector straight up from its socket.
-
-
crwdns2935201:0crwdne2935201:0 crwdns2935203:0crwdne2935203:0
-
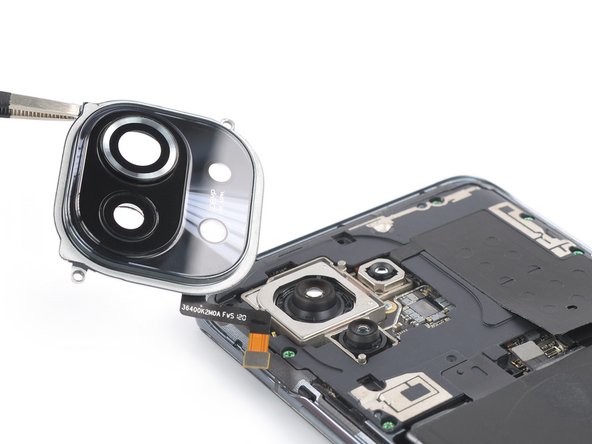
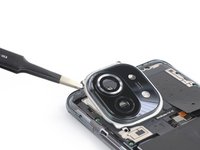
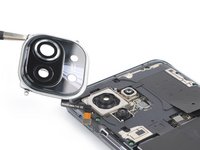
Use your fingers or a pair of tweezers to carefully lift the camera cover including the flash assembly off the camera lenses and remove it.
-
-
crwdns2935201:0crwdne2935201:0 crwdns2935203:0crwdne2935203:0
-
Use a Phillips screwdriver to remove the five 3.9 mm-long screws securing the motherboard cover.
The screw on the bottom left is covered with a Mi-sticker
-
-
crwdns2935201:0crwdne2935201:0 crwdns2935203:0crwdne2935203:0
-
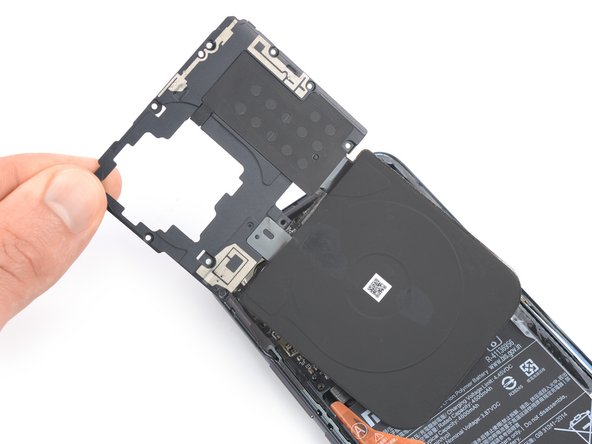
Insert an opening pick underneath the bottom left edge of the motherboard cover.
-
Slide the opening pick along the left edge of the motherboard cover and pry it up.
-
-
crwdns2935201:0crwdne2935201:0 crwdns2935203:0crwdne2935203:0
-
Use a spudger to disconnect the left battery cable by prying the connector straight up from its socket.
-
-
crwdns2935201:0crwdne2935201:0 crwdns2935203:0crwdne2935203:0
-
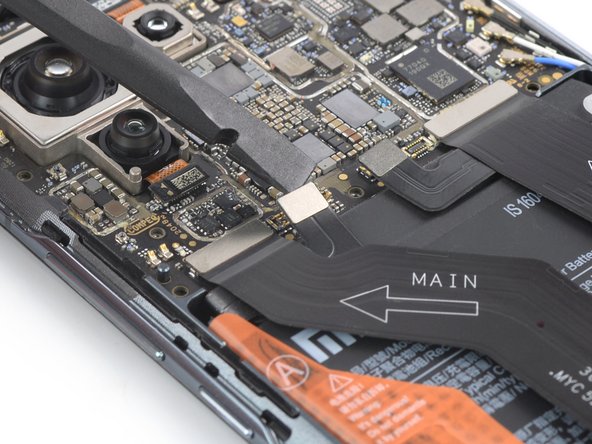
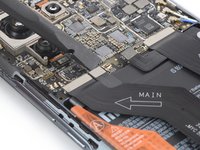
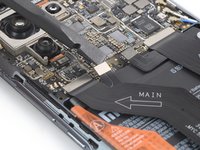
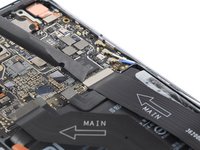
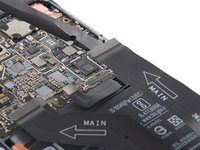
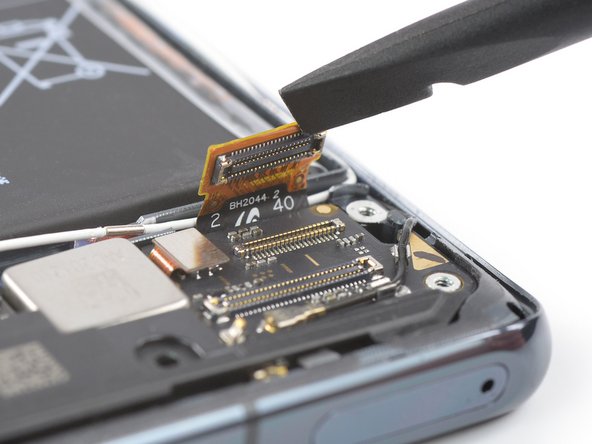
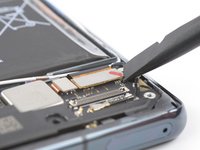
Use a spudger to disconnect the right interconnect cable from the motherboard by prying the connector straight up from its socket.
-
-
crwdns2935201:0crwdne2935201:0 crwdns2935203:0crwdne2935203:0
-
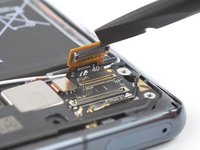
Use a spudger to disconnect the right interconnect cable from the daughterboard by prying the connector straight up from its socket.
-
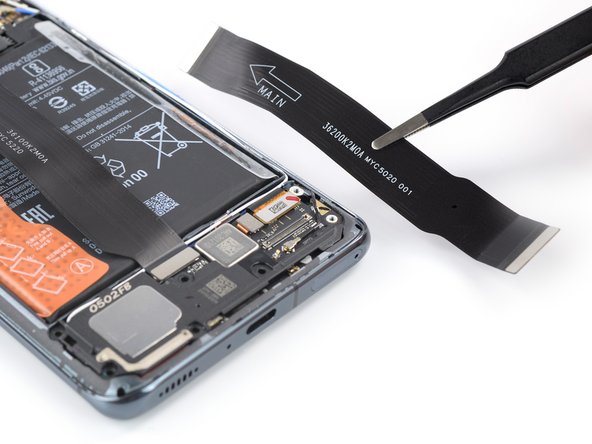
Remove the right interconnect cable.
-
-
crwdns2935201:0crwdne2935201:0 crwdns2935203:0crwdne2935203:0
-
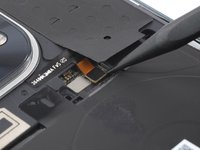
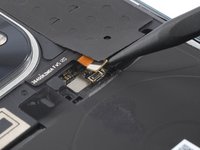
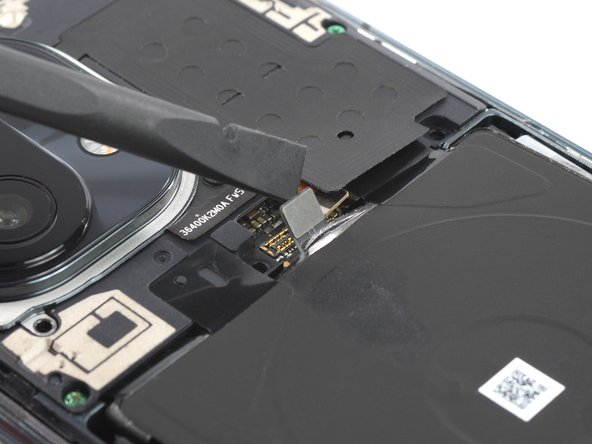
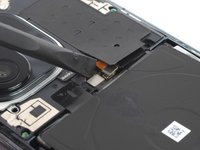
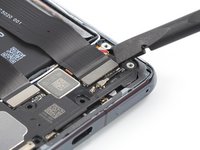
Use a spudger to disconnect the display flex cable by prying the connector straight up from its socket.
-
-
crwdns2935201:0crwdne2935201:0 crwdns2935203:0crwdne2935203:0
-
Apply a heated iOpener or a heat gun to the screen for two minutes to loosen the adhesive underneath.
-
-
crwdns2935201:0crwdne2935201:0 crwdns2935203:0crwdne2935203:0
-
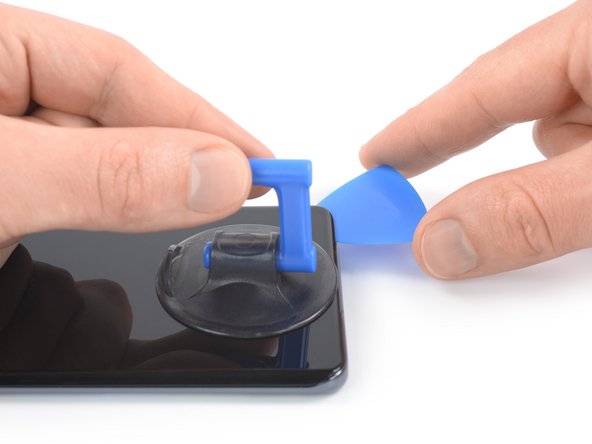
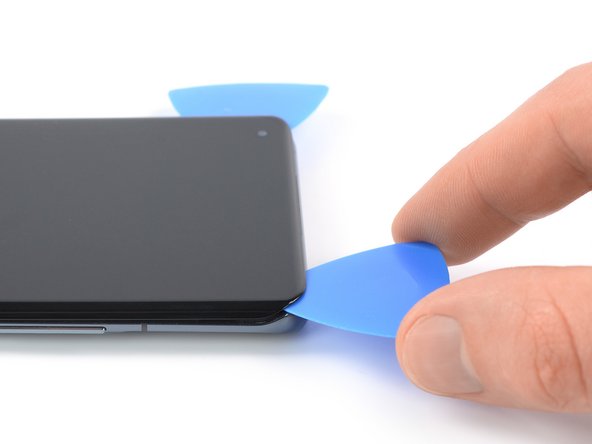
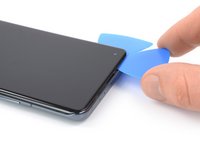
Once the screen is warm to the touch, apply a suction cup to the bottom edge of the phone.
-
Lift the screen with the suction handle to create a small gap between the screen and the frame.
-
Insert an opening pick in the gap between the midframe and the screen.
-
Slide the opening pick to the bottom right corner of the screen to slice its adhesive. Leave the opening pick in place to prevent the adhesive from resealing.
-
-
crwdns2935201:0crwdne2935201:0 crwdns2935203:0crwdne2935203:0
-
Insert a second opening pick and slide it to the bottom left corner of the screen to cut the adhesive.
-
Leave the opening picks in place to prevent the adhesive from resealing.
-
-
crwdns2935201:0crwdne2935201:0 crwdns2935203:0crwdne2935203:0
-
Insert a third opening pick underneath the bottom left corner of the screen.
-
Slide the opening pick along the left edge of the screen to slice the adhesive. Leave it in the top left corner to prevent the adhesive from resealing.
-
-
crwdns2935201:0crwdne2935201:0 crwdns2935203:0crwdne2935203:0
-
Insert a fourth opening pick at the top left corner of the screen.
-
Slide the opening pick along the top edge of the phone to slice the adhesive.
-
Leave the opening pick in the top right corner of the screen to prevent the adhesive from resealing.
-
-
crwdns2935201:0crwdne2935201:0 crwdns2935203:0crwdne2935203:0
-
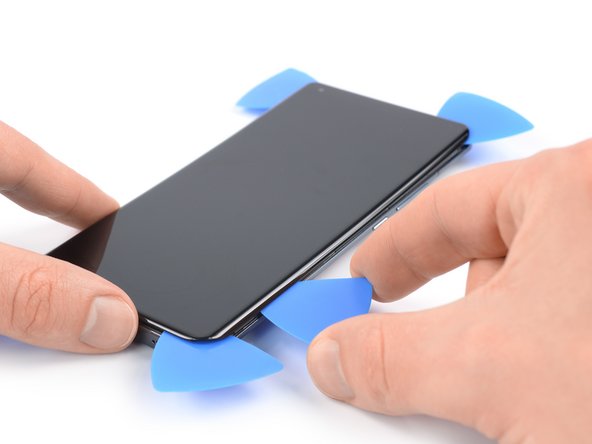
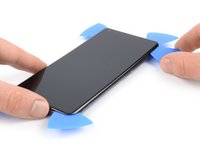
Insert a fifth opening pick and slide it along the right edge of the phone to slice the remaining adhesive.
-
-
crwdns2935201:0crwdne2935201:0 crwdns2935203:0crwdne2935203:0
-
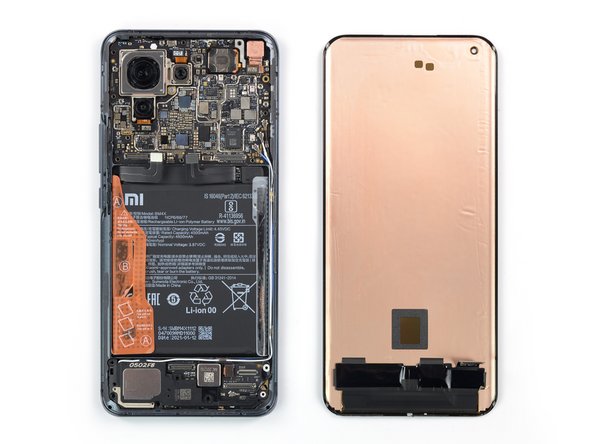
Thread the display flex cable through the gap in the midframe and remove the screen.
-


crwdns2935221:0crwdne2935221:0
crwdns2935229:08crwdne2935229:0


crwdns2947412:02crwdne2947412:0
After new screen substitution is Impossible to add new fingerprint
You need to calibrate the fingerprint sensor. There are guides on Youtube and parts on Aliexpress