crwdns2915892:0crwdne2915892:0
This guide shows how to remove and replace a cracked controller ring shell for your Meta Quest 2 controller.
This guide is written with the right controller. If you're repairing the left controller, you can still use this guide, as the procedure is identical.
crwdns2942213:0crwdne2942213:0
-
-
Use your fingers to slide the battery cover down towards the strap end of the controller.
-
Remove the battery cover.
-
-
-
Use your fingers to grasp the wrist strap near the anchor peg.
-
Lift the wrist strap anchor peg straight out of its recess.
-
Remove the wrist strap.
-
-
-
Heat an iOpener and apply it to the bottom edge of the controller faceplate for a minute.
Why is this step needed? Yes there is adhesive on it, but it isn't that bad.
you dont need it, prob better to have it but not required to get the cover off
For anyone stumbling across this like me, I can agree with the others: it is almost definitely a nice to have I'm sure, but I was able to get in just fine using an opening pick and opening tool.
-
-
-
The controller faceplate is secured with adhesive and three friction pegs.
-
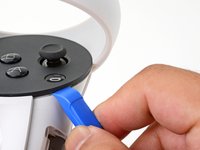
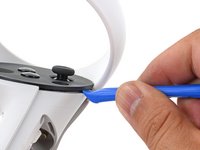
Press the edge of an opening tool into the seam between the controller faceplate and shell, near the Oculus button.
-
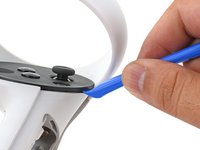
Slide the opening tool to the base of the ring shell to loosen the adhesive.
-
-
-
-
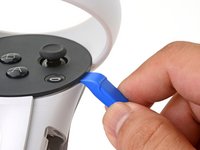
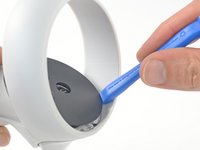
Use an opening tool to pry up on the seam to loosen the first friction peg.
-
-
-
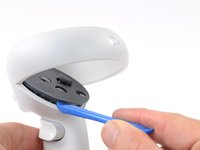
Continue prying around the entire faceplate to separate the remaining friction pegs and adhesive.
-
-
-
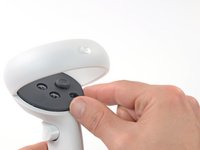
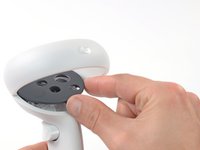
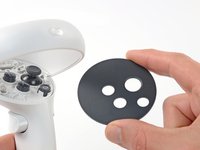
Remove the controller faceplate.
-
-
-
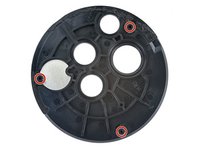
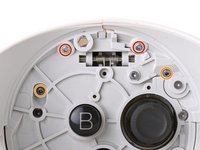
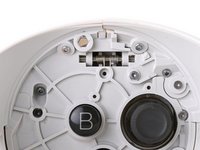
Use a Torx T5 driver to remove the four screws securing the controller ring shell to the controller:
-
Two 4.7 mm‑long screws
-
Two 5.9 mm‑long screws
those top screws in red are in very tight, and at an angle that prevents using a long screwdriver. I've found the only way I could get them out is using a bit, held down by my finger at the appropriate angle, while turning it with pliers.
I wasn't able to remove the screws in red with a T5 bit, but switching to a T4 bit did the trick for me
same, used T4 instead
-
-
-
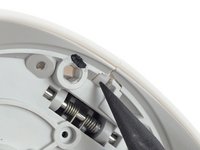
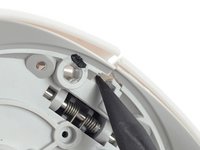
Press the point of a spudger firmly against the white alignment square to release the ring shell.
-
-
-
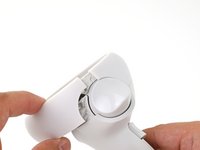
Use your fingers to grab the end of the ring shell that doesn’t have the white alignment square.
-
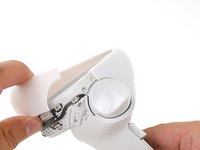
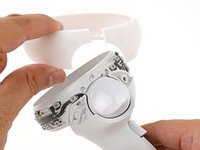
Gently lift the ring shell up and away from the controller to unclip it from the controller.
-
Remove the controller ring shell.
-
To reassemble your device, follow these instructions in reverse order.
Repair didn’t go as planned? Try some basic troubleshooting, or ask our Answers community for help.
To reassemble your device, follow these instructions in reverse order.
Repair didn’t go as planned? Try some basic troubleshooting, or ask our Answers community for help.
crwdns2935221:0crwdne2935221:0
crwdns2935229:02crwdne2935229:0
crwdns2947410:01crwdne2947410:0
This Tutorial was really fast and easy also, I fixed my controller and it works very well now, Thank you!


