crwdns2915892:0crwdne2915892:0
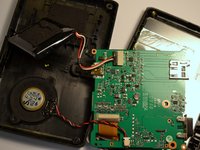
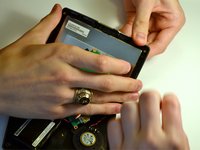
After removing the back cover and battery, follow this guide in order to remove the screen from the device.
crwdns2942213:0crwdne2942213:0
-
-
Place the GPS with the screen facing down.
-
-
-
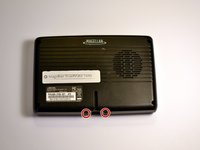
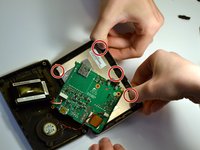
Remove the four 4.2 mm screws on the back cover of the device using a Phillips #0 screwdriver.
-
-
-
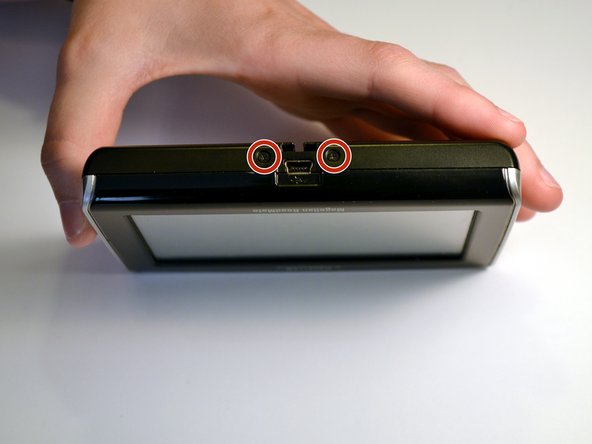
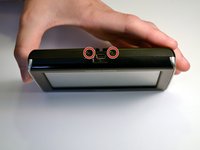
Remove the two 4.2mm screws at the bottom of the device using a Phillips #0 screwdriver.
-
-
-
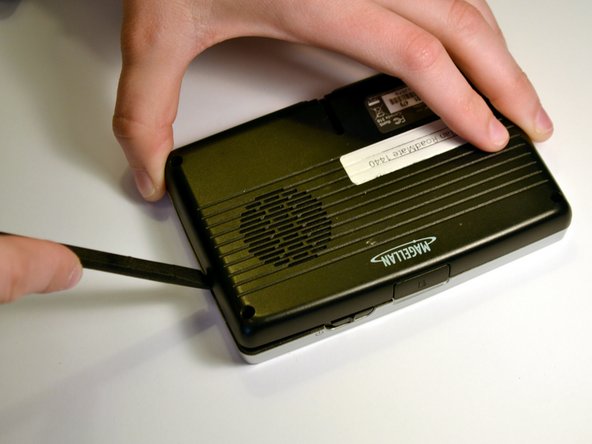
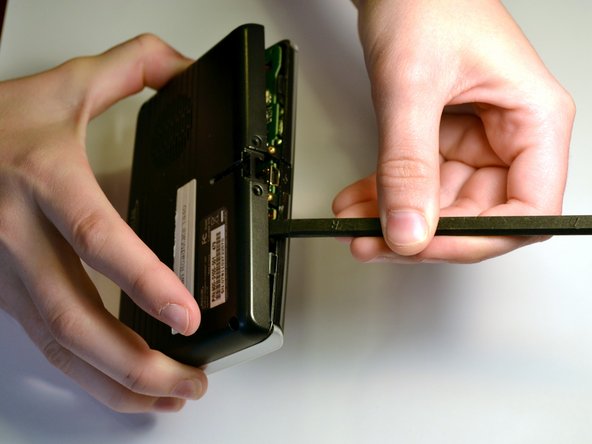
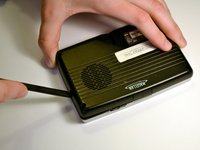
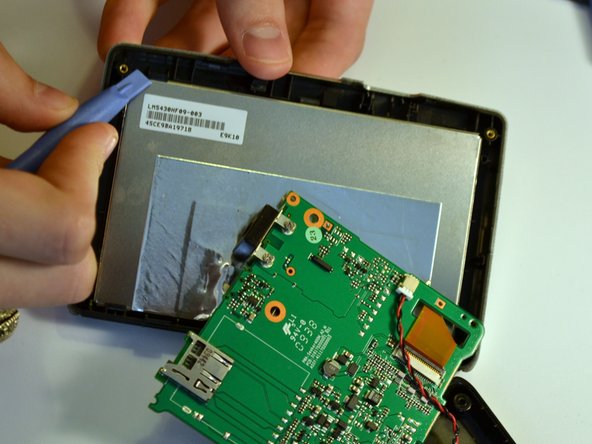
Insert the black spudger into the crease in the side of the GPS.
-
Move the end of the spudger down to break the seal between the two plastic shells.
-
Continue doing this along each side of the GPS to ensure a smooth removal.
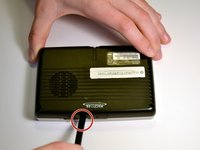
Before seperating the cover panels secure the on/off slider to the front panel with tape. If it falls out the micro swith is easy to damage. The small white tab breaks with ease.
-
-
-
-
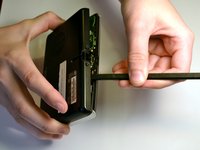
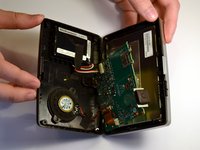
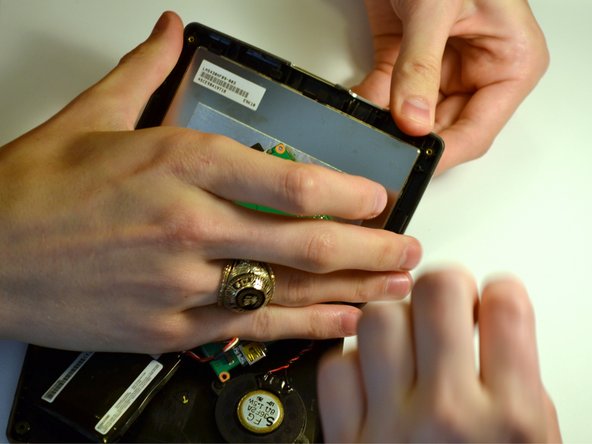
Fully separate the two sides of the case.
-
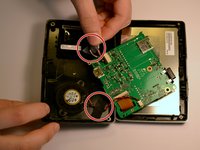
Remove the tape on the battery wires and the tape on the speaker wires.
-
-
-
Use the black spudger to break the seal between the adhesive and battery. Use the same spudger to continue to pry the battery from the backing
-
-
crwdns2935267:0crwdne2935267:0Tweezers$4.99
-
Lift the battery from the device
-
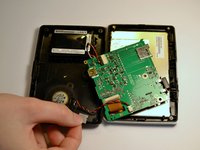
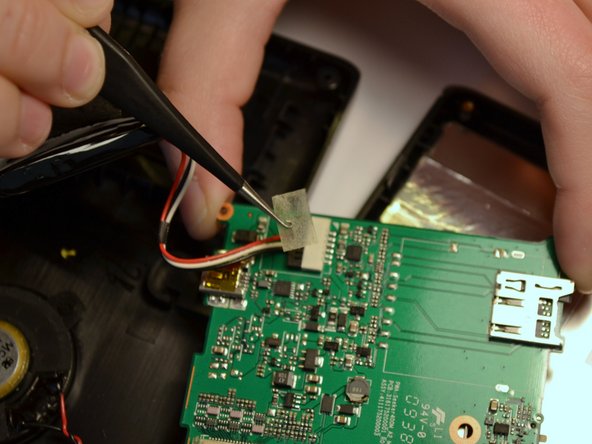
Once the battery is free from the adhesive, remove the piece of tape with a pair of tweezers that is covering the connection of the battery to the motherboard.
-
-
-
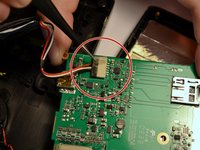
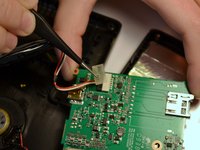
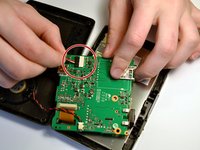
Unplug the battery from the mother board by pulling back the clips and pulling the wires away from the motherboards receptacle
-
-
-
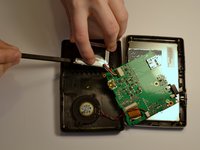
Using two hands, pull back the tabs holding the screen in place.
-
Use a spudger to help use leverage to remove the screen, if necessary
-
-
-
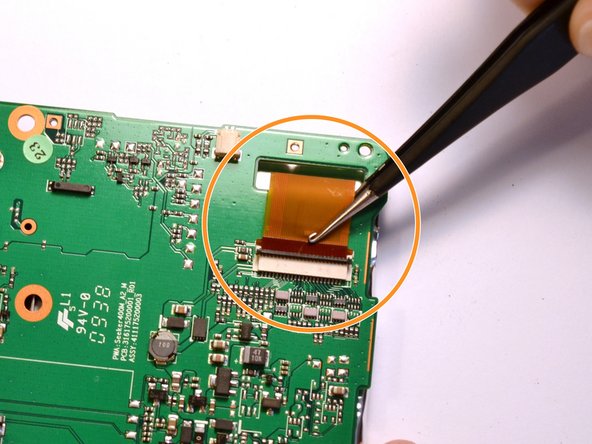
Raise the switch locking the ribbon cable in place.
-
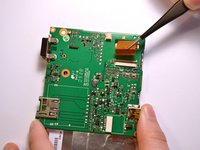
Using twesers, pull the ribbon cable from the socket.
-
-
-
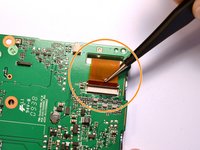
With the ribbon cable removed, the screen is completely disconnected from the device.
-
To replace the ribbon cable, press the two tabs to push the head into the socket.
-


To reassemble your device, follow these instructions in reverse order.
To reassemble your device, follow these instructions in reverse order.
crwdns2935221:0crwdne2935221:0
crwdns2935227:0crwdne2935227:0
crwdns2915084:0crwdne2915084:0

Clemson, Team 7-3, Benson Spring 2016 crwdns2935289:0Clemson, Team 7-3, Benson Spring 2016crwdne2935289:0
CLEM-BENSON-S16S7G3
crwdns2931471:04crwdne2931471:0
crwdns2935297:07crwdne2935297:0
crwdns2947410:01crwdne2947410:0
This is an amazingly clear and precise set of steps that I was able to use to remove the broken screen on my Magellan Roadmate 1475T.
I followed the directions exactly up to step 9(“removing the screen”) which I skipped over and went directly to step 11(“removing the ribbon cable from the socket”).
By detaching the ribbon cable from the mother board at this point, it eliminated the fumbling and possible damage to the connections on the mother board, and gave me direct access to the front frame which was holding the screen. When the front frame was separated from the rest of the device it was very easy then to just pop out the broken screen from the frame without needing any tools or extra hands.
Thank you for this extremely helpful tutorial!