crwdns2915892:0crwdne2915892:0
Use this guide to replace the battery, after removing the logic board and fans, in your MacBook Pro 16" late 2023 (M3 Pro/M3 Max).
You'll need replacement adhesive in order to complete this repair.
Some photos in this guide are of the previous model MacBook Pro and may contain slight visual discrepancies, but they won't affect the procedure.
crwdns2942213:0crwdne2942213:0
-
-
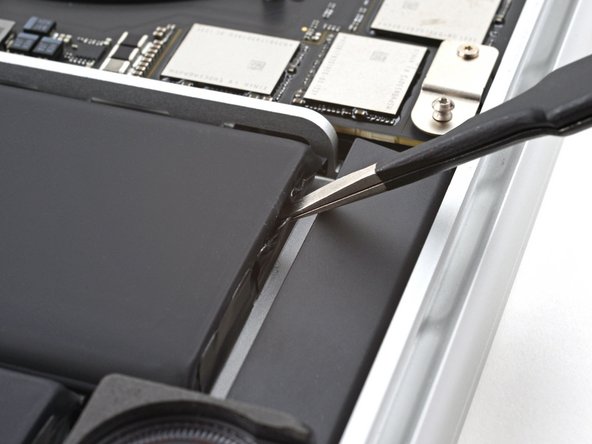
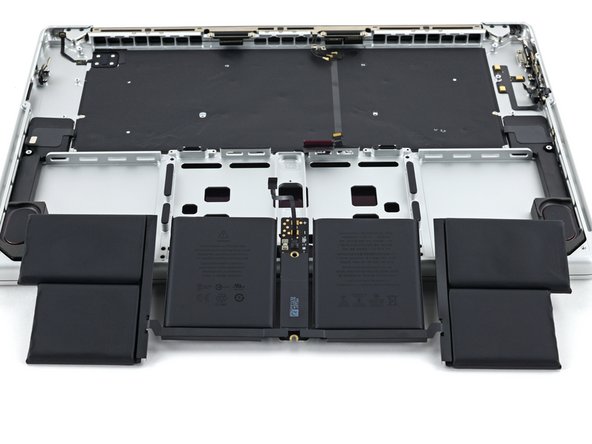
Use a 5IP Torx Plus driver to remove the two screws securing the battery board:
-
One 4.5 mm screw
-
One 3.8 mm screw
-
-
-
There are eight adhesive strips that are accessed from the bottom of the device.
-
There are six more adhesive strips accessed from the trackpad's location on the frame.
-
-
-
crwdns2935267:0crwdne2935267:0Tweezers$4.99
-
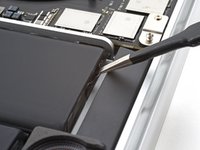
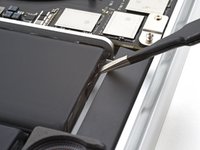
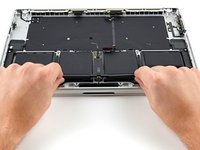
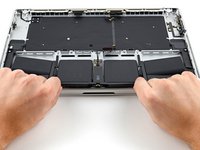
Use tweezers, or your fingers, to grasp the black pull-tab on one of the adhesive strips.
-
-
-
Pull the strip out slowly and steadily at a low angle. Give it plenty of time to stretch and un-stick from under the battery.
-
If the adhesive strip breaks off, try to retrieve it using your fingers or blunt tweezers, and continue pulling—but do not pry under the battery.
-
Repeat the process for all 14 stretch release adhesive strips.
-
-
crwdns2935267:0crwdne2935267:0Stretch Release Battery Adhesive$3.99
-
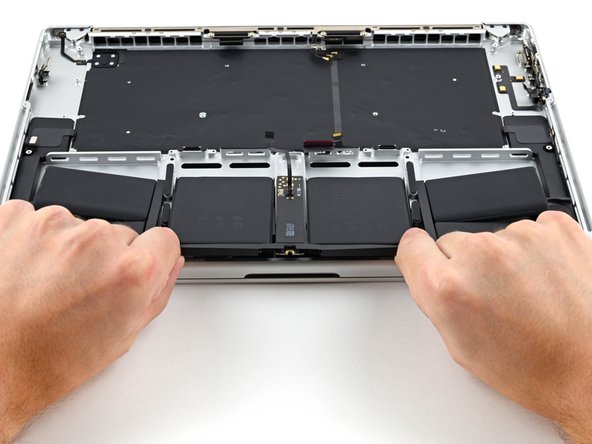
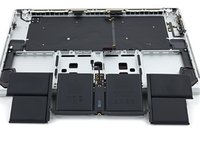
Slide the battery out of the frame to remove it.
-


To reassemble your device, follow these instructions in reverse order.
For optimal performance, calibrate your newly installed battery after completing this guide.
Compare your new replacement part to the original part—you may need to transfer remaining components or remove adhesive backings from the new part before you install it.
Take your e-waste to an R2 or e-Stewards certified recycler.
Repair didn’t go as planned? Try some basic troubleshooting, or ask our MacBook Pro 16" Late 2023 Answers community for help.

