crwdns2915892:0crwdne2915892:0
If your trackpad is broken or needs to be removed for easier access to the battery, follow these steps.
For your safety, discharge your MacBook Pro's battery below 25% before you begin this procedure. A charged lithium-ion battery can create a dangerous and uncontrollable fire if accidentally punctured.
Some photos in this guide are from a different model and may contain slight visual discrepancies, but they won't affect the guide procedure.
crwdns2942213:0crwdne2942213:0
-
crwdns2935267:0crwdne2935267:0Magnetic Project Mat$19.95
-
If your MacBook is running Big Sur v11.1 or later, disabling Auto Boot may not work. You can proceed normally, but make sure to disconnect the battery as soon as you're inside.
-
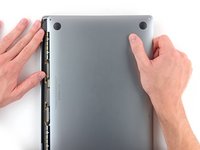
Use a P5 Pentalobe driver to remove the six screws securing the lower case:
-
Two 6.8 mm screws
-
Two 5.3 mm screws
-
Two 3.4 mm screws
-
-
-
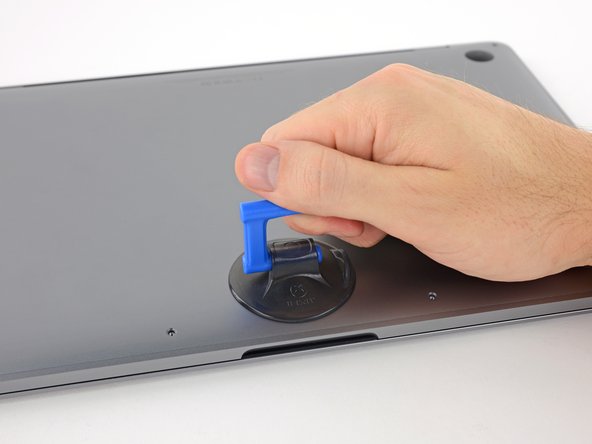
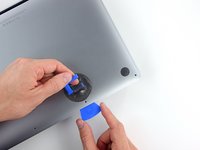
Apply a suction handle to the lower case near the front-center area of the MacBook Pro.
-
Lift the suction handle to create a slight separation between the lower case and the chassis.
-
-
-
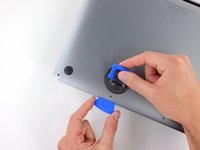
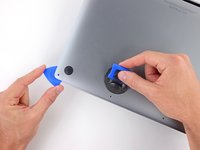
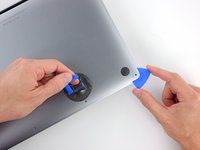
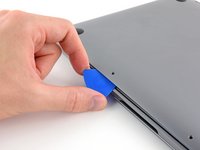
Insert one corner of an opening pick into the space between the lower case and the chassis.
-
Slide the opening pick around the nearest corner and halfway up the side of the case.
-
-
-
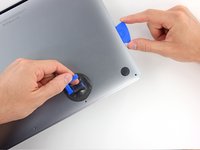
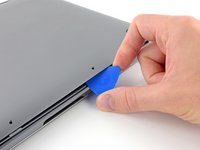
Repeat the previous step on the opposite side, sliding your opening pick under the lower case and up the side to pop the second clip free.
-
-
-
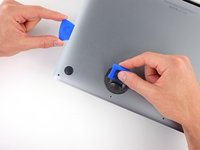
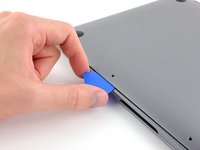
Insert your opening pick once again under the front edge of the lower case, near one of the two centermost screw holes.
-
Give the pick a firm twist to pop free the third clip securing the lower case to the chassis.
-
Repeat this procedure near the other of the two centermost screw holes, popping the fourth clip free.
-
-
-
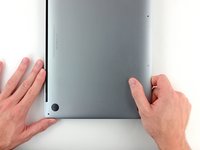
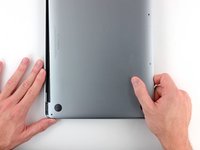
Pull the lower case firmly towards the front of the MacBook (away from the hinge area) to separate the last of the clips securing the lower case.
-
-
-
Remove the lower case.
-
Set it in place and align the sliding clips near the display hinge. Press down and slide the cover toward the hinge. It should stop sliding as the clips engage.
-
When the sliding clips are fully engaged and the lower case looks correctly aligned, press down firmly on the lower case to engage the four hidden clips underneath. You should feel and hear them snap into place.
-
-
-
-
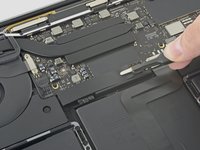
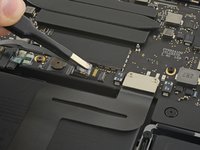
Carefully peel up the large piece of tape covering the battery connector, on the edge of the logic board nearest the battery.
-
Remove the tape.
-
-
-
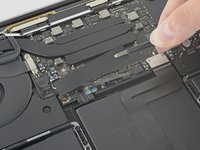
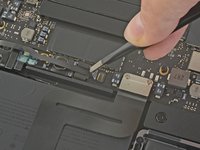
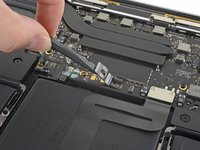
Gently peel back the small piece of tape covering the battery board data cable connector.
-
-
-
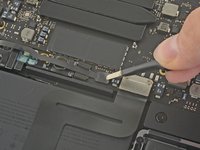
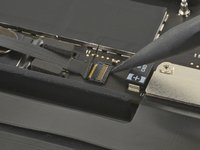
Use the tip of a spudger to flip up the small black locking tab securing the cable in its connector.
-
-
-
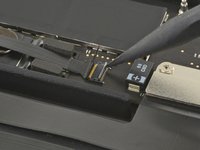
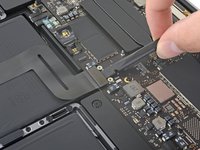
Disconnect the battery board data cable by sliding it out from its socket.
-
Slide parallel to the logic board, in the direction of the cable.
-
-
-
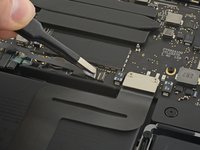
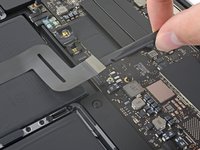
Fold the battery board data cable back and out of the way.
-
-
-
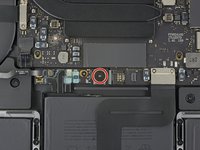
Use a T5 Torx driver to remove the 3.7 mm pancake screw securing the battery power connector.
-
-
-
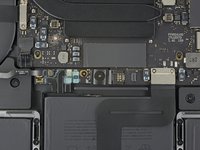
Use a spudger to gently lift the battery power connector, disconnecting the battery.
-
Lift the connector high enough so that it stays separated from its socket.
-
-
-
Use a T5 Torx driver to remove the two 1.9 mm screws securing the trackpad cable connector bracket.
-
-
-
Remove the trackpad cable connector bracket.
-
-
-
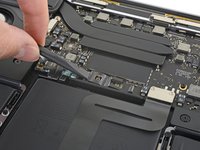
Use a spudger to disconnect the trackpad ribbon cable by gently prying its connector straight up from the logic board.
-
-
-
Prepare an iOpener and lay it on top of the trackpad ribbon cable for about a minute, in order to soften the adhesive securing the trackpad ribbon cable to the top of the battery.
-
If you don't have an iOpener, use a hair dryer to warm up the cable instead. The cable should be warm, but not too hot to touch. Be careful not to overheat the battery.
-
-
-
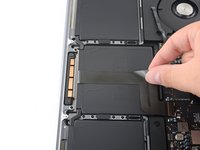
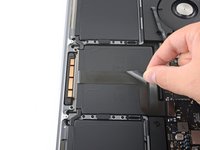
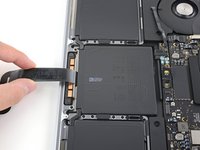
Carefully peel the trackpad ribbon cable up off the battery, and push it out of the way.
-
-
-
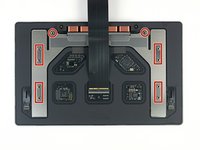
Use a T5 Torx driver to remove the ten screws securing the trackpad assembly:
-
Two 4.3 mm screws
-
Eight 5.8 mm screws
-
-
-
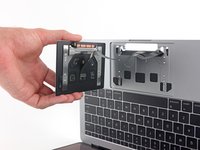
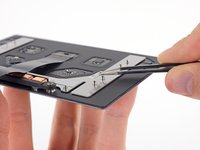
Remove the trackpad assembly.
-
Be sure not to lose the six small washers (two circular and four rectangular) resting on the underside of the trackpad.
-
Compare your new replacement part to the original part—you may need to transfer remaining components or remove adhesive backings from the new part before installing.
To reassemble your device, follow the above steps in reverse order.
Take your e-waste to an R2 or e-Stewards certified recycler.
Repair didn’t go as planned? Try some basic troubleshooting or search our Answers community for help.
crwdns2947412:02crwdne2947412:0
Wichtig, ich habe das MacBook 3 Mal noch zerlegt und wieder zusammen gebaut, weil es nicht booten wollten. Im Endeffekt habe ich alles richtig gemacht, aber nachdem der Akku getrennt wurde, muss es kurz am Strom angeschlossen werden, damit es booted...
Ein Tip für die kleinen scheiben, die zwischen Ramen und Trackpad liegen habe ich leider nicht. Ich habe sie beim montieren hingelegt und das Trackpad vorsichtig platziert. Ich gehe davon aus, dass sie gut liegen.
Tip 2: wenn man das neue Trackpad eingesetzt hat, die 10 Schrauben aus Schritt 20 nur leicht anziehen und dann dass Trackpad in seine Position schieben, sonst klingt es sehr hohl und macht keine Freude. Wenn es richtig in Position ist(bei mir war das ein Einrastgeräusch) dann erst die Schrauben festzeihen.


