crwdns2915892:0crwdne2915892:0
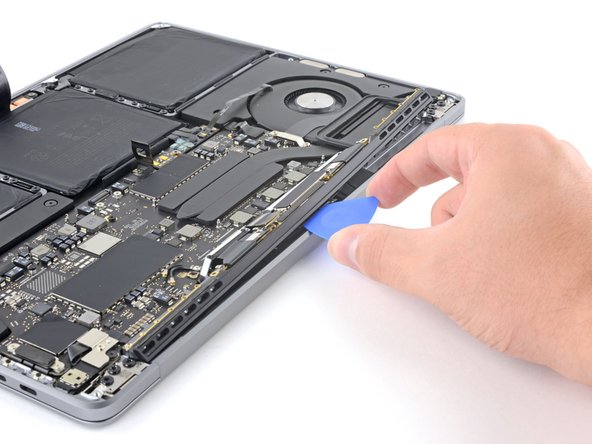
Use this guide to replace the display assembly of your MacBook Pro 13" 2020.
For your safety, drain your MacBook Pro's battery below 25% charge before starting repairs.
Some photos in this guide are from a different model and may contain slight visual discrepancies, but they won't affect the guide procedure.
crwdns2942213:0crwdne2942213:0
-
crwdns2935267:0crwdne2935267:0Magnetic Project Mat$19.95
-
If your MacBook is running Big Sur v11.1 or later, disabling Auto Boot may not work. You can proceed normally, but make sure to disconnect the battery as soon as you're inside.
-
Use a P5 Pentalobe driver to remove the six screws securing the lower case:
-
Two 6.8 mm screws
-
Two 5.3 mm screws
-
Two 3.4 mm screws
-
-
-
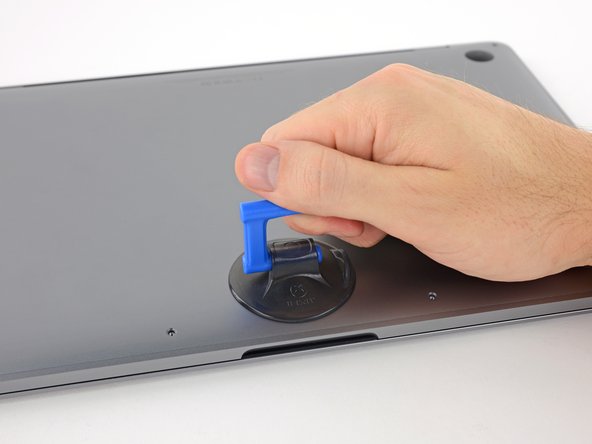
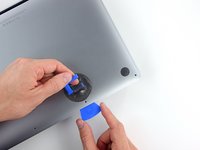
Apply a suction handle to the lower case near the front-center area of the MacBook Pro.
-
Lift the suction handle to create a slight separation between the lower case and the chassis.
-
-
-
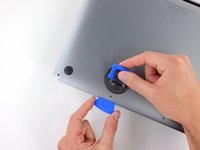
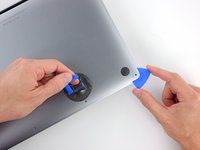
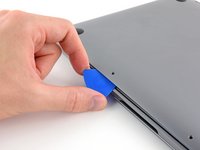
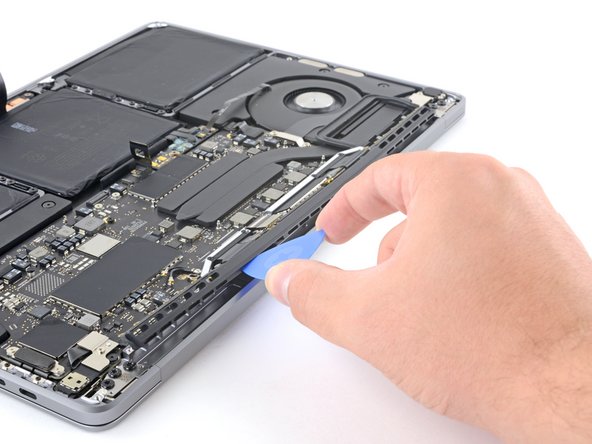
Insert one corner of an opening pick into the space between the lower case and the chassis.
-
Slide the opening pick around the nearest corner and halfway up the side of the case.
-
-
-
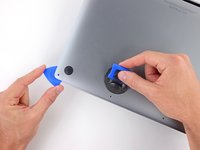
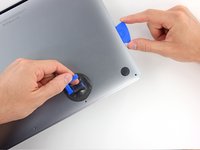
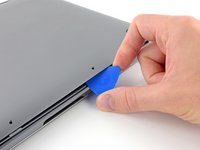
Repeat the previous step on the opposite side, sliding your opening pick under the lower case and up the side to pop the second clip free.
-
-
-
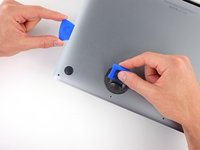
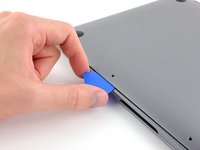
Insert your opening pick once again under the front edge of the lower case, near one of the two centermost screw holes.
-
Give the pick a firm twist to pop free the third clip securing the lower case to the chassis.
-
Repeat this procedure near the other of the two centermost screw holes, popping the fourth clip free.
-
-
-
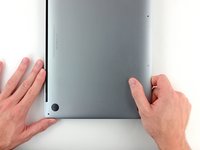
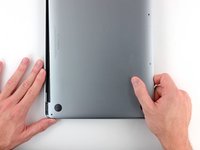
Pull the lower case firmly towards the front of the MacBook (away from the hinge area) to separate the last of the clips securing the lower case.
-
-
-
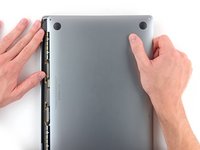
Remove the lower case.
-
Set it in place and align the sliding clips near the display hinge. Press down and slide the cover toward the hinge. It should stop sliding as the clips engage.
-
When the sliding clips are fully engaged and the lower case looks correctly aligned, press down firmly on the lower case to engage the four hidden clips underneath. You should feel and hear them snap into place.
-
-
-
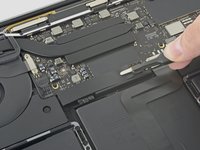
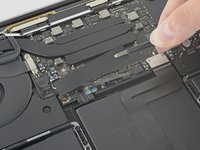
Carefully peel up the large piece of tape covering the battery connector, on the edge of the logic board nearest the battery.
-
Remove the tape.
-
-
-
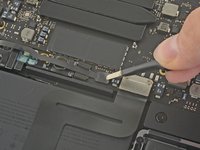
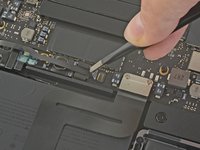
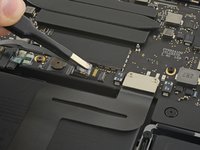
Gently peel back the small piece of tape covering the battery board data cable connector.
-
-
-
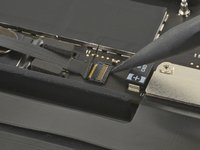
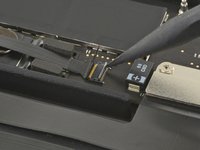
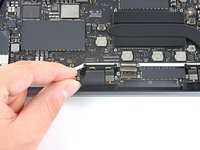
Use the tip of a spudger to flip up the small black locking tab securing the cable in its connector.
-
-
-
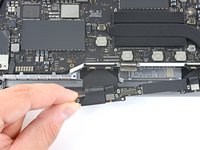
Disconnect the battery board data cable by sliding it out from its socket.
-
Slide parallel to the logic board, in the direction of the cable.
-
-
-
-
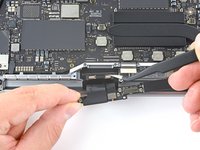
Fold the battery board data cable back and out of the way.
-
-
-
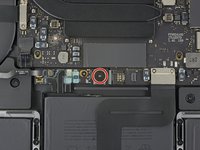
Use a T5 Torx driver to remove the 3.7 mm pancake screw securing the battery power connector.
-
-
-
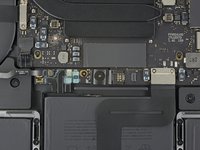
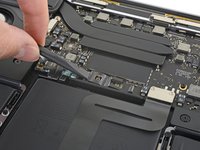
Use a spudger to gently lift the battery power connector, disconnecting the battery.
-
Lift the connector high enough so that it stays separated from its socket.
-
-
-
Remove the four 3.3 mm T3 Torx screws securing the plastic covers on top of the display hinges.
-
-
-
Remove the two 3.1 mm T3 Torx screws securing the aluminum cover on top of the main display cable.
-
Remove the cover.
-
-
-
Remove the two 1.7 mm T3 Torx screws securing the aluminum cover on top of the display cable flex connector.
-
Remove the cover.
-
-
-
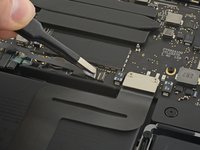
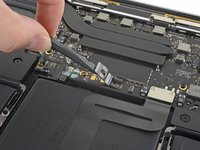
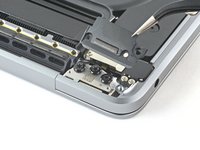
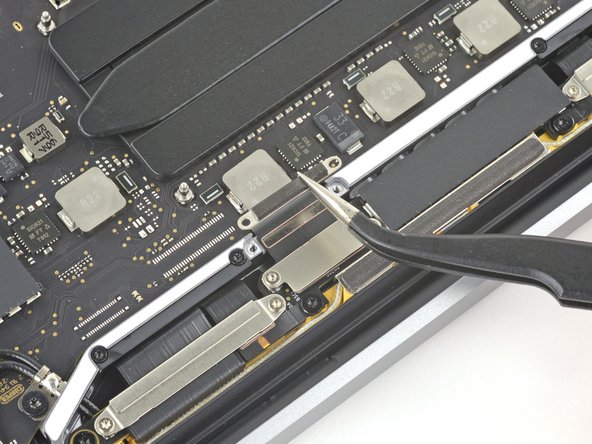
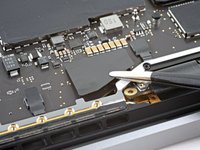
Pry the display board flex cable straight up from its socket to disconnect it from the display board.
-
-
crwdns2935267:0crwdne2935267:0Tweezers$4.99
-
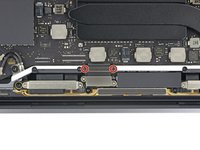
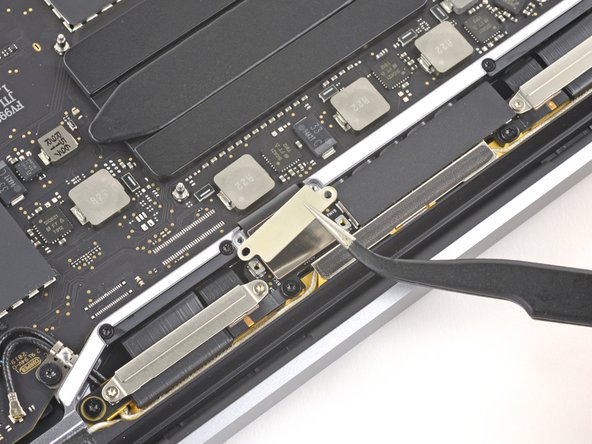
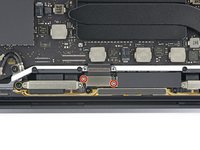
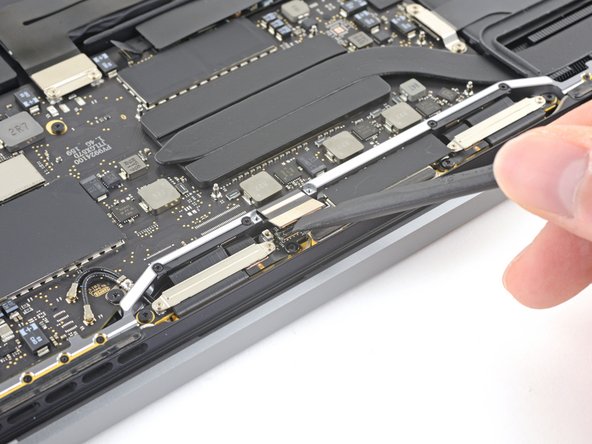
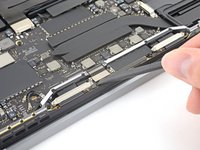
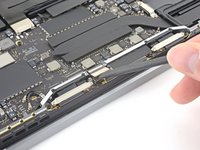
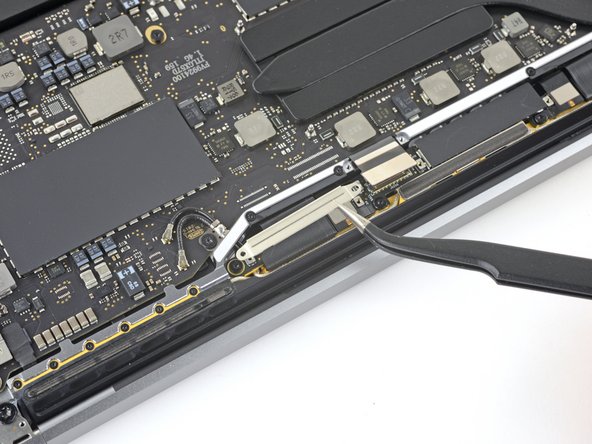
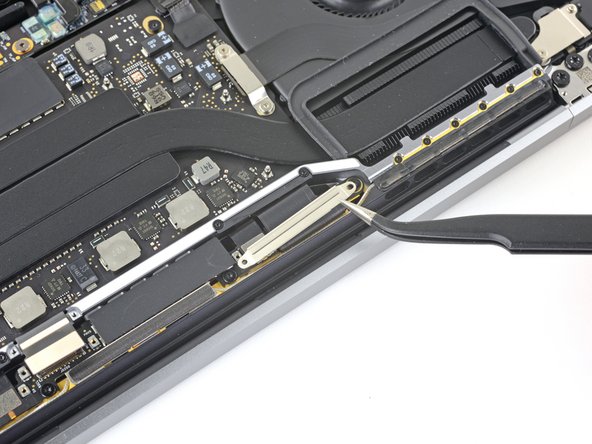
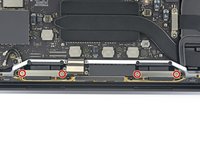
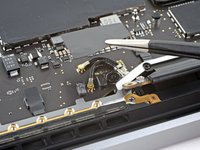
Remove the four 1.5 mm T3 Torx screws securing the two aluminum covers on top of the two display cable connectors.
-
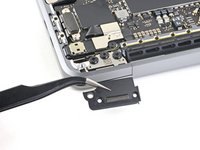
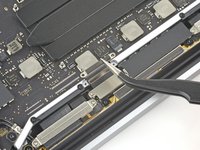
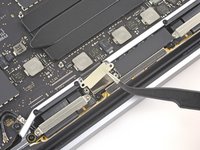
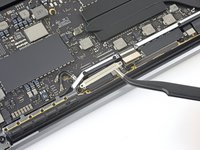
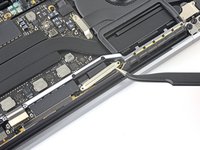
Use a pair of tweezers to remove the two aluminum covers.
-
-
-
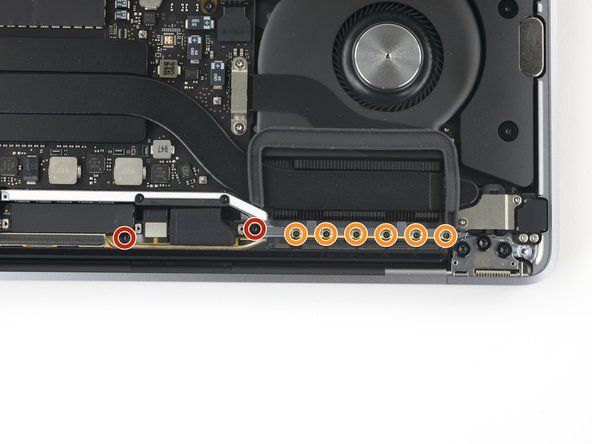
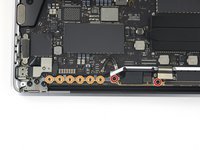
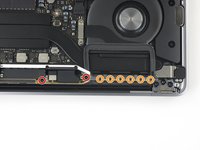
Remove the four 3.3 mm T5 Torx screws (two on each side) which secure the antenna cable assembly.
-
Also remove the twelve 1.1 mm P2 pentalobe screws (six on each side).
-
-
-
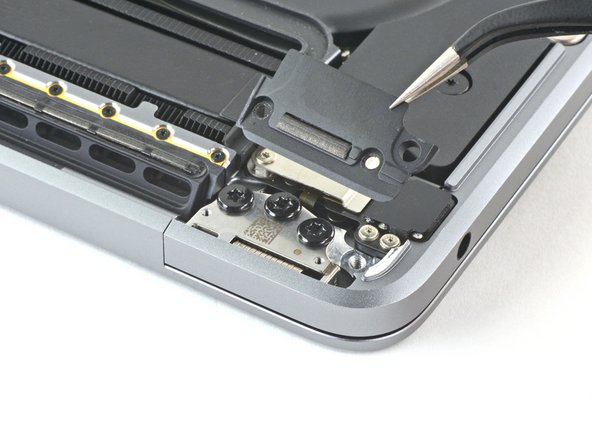
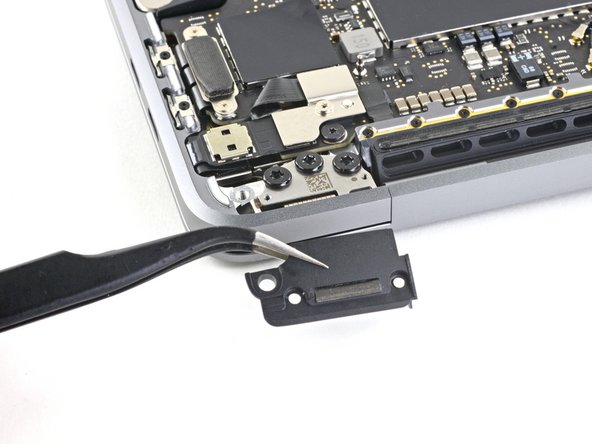
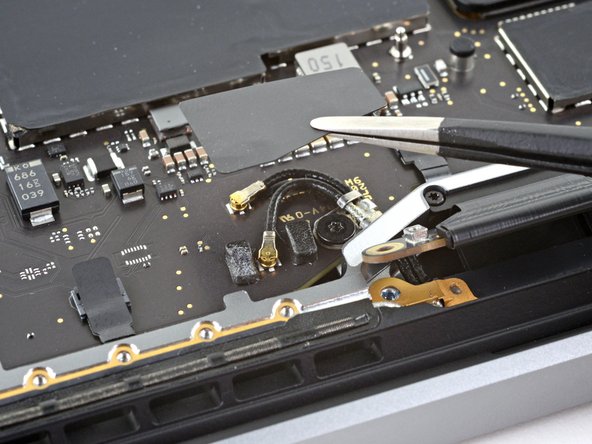
Use a pair of tweezers to remove the plastic antenna cable cover.
-
-
-
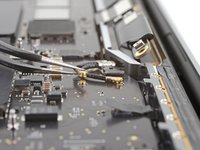
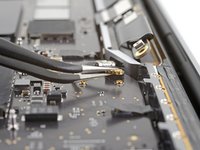
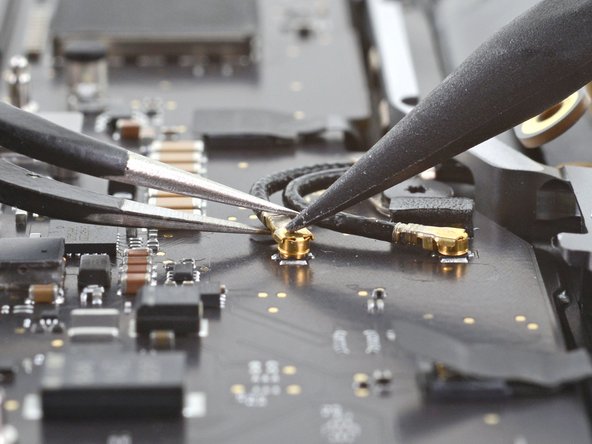
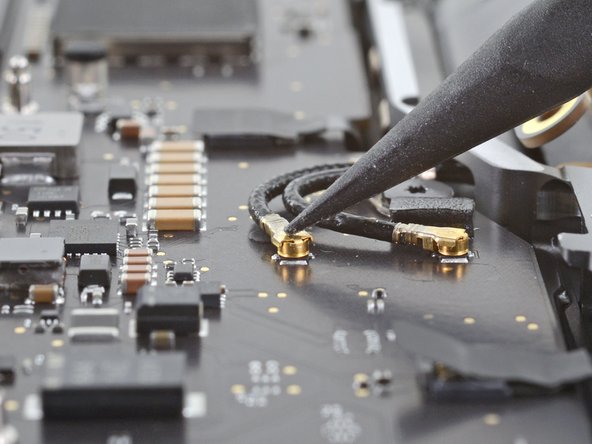
Carefully disconnect the two antenna coax cables by prying them straight up from the logic board.
-
Slide your tweezers or the flat end of your spudger underneath each cable until it's near the socket, and then gently twist or pry up to disconnect it.
-
-
-
Remove the 3.7 mm T5 Torx screw securing the two antenna coax cables to the main board.
-
-
-
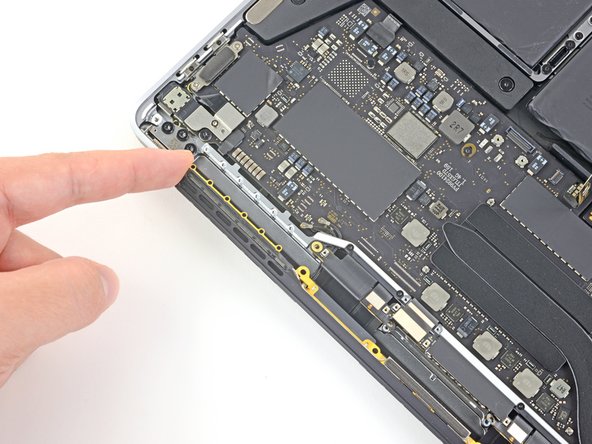
Use an opening pick to lever out the antenna cable assembly in the areas shown.
-
-
-
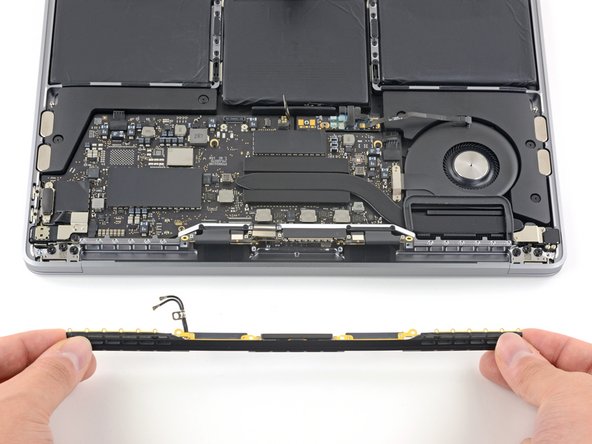
Carefully remove the antenna assembly while simultaneously feeding the antenna cable bundle out from underneath the heat pipe.
-
Remove the antenna cable assembly.
-
-
-
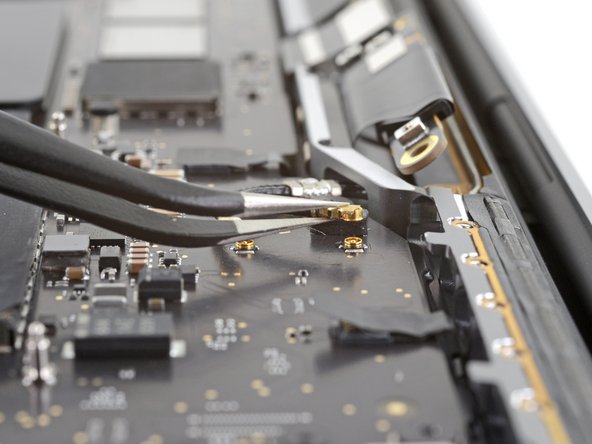
Remove the four 3.9 mm T3 Torx screws securing the spring hinges of the two display cables.
-
-
crwdns2935267:0crwdne2935267:0Tweezers$4.99
-
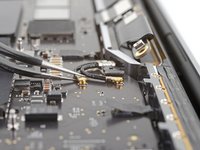
Grab the left side of the display cable assembly and pull it towards the bottom end of the MacBook and away from the spring hinge.
-
Use a pair of tweezers to pull the spring hinge of the display cable out of its bracket.
-
Repeat this step with the right spring hinge of the display cable assembly.
-
-
-
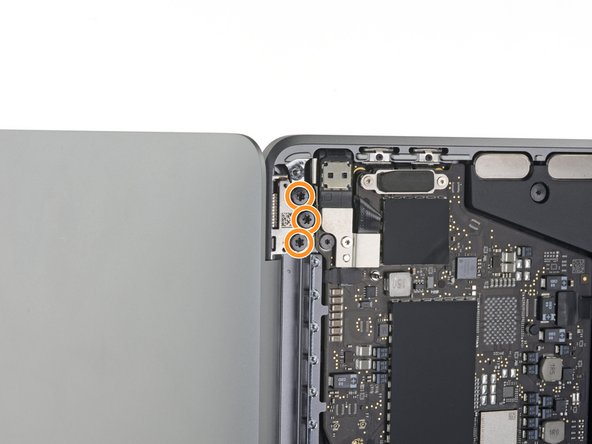
While steadying the MacBook pro with your free hand, remove the three T8 Torx screws from the lower display hinge.
-
Remove the remaining three T8 Torx screws from the upper display bracket.
-
-
-
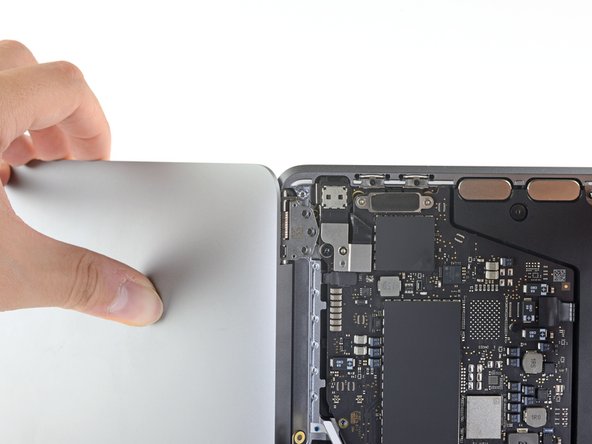
Push both halves of the MacBook Pro together so that the hinge brackets can be lifted clear of their recesses in the chassis.
-
Push the main body of the MacBook Pro away from you while pulling the screen toward you to separate it.
-
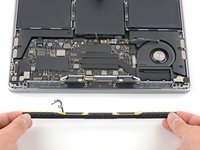
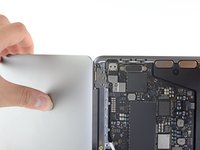
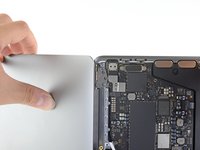
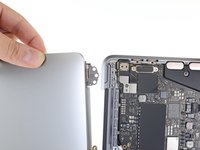
Remove the display/screen assembly, being careful not to snag it on any cables.
-
Compare your new replacement part to the original part—you may need to transfer remaining components or remove adhesive backings from the new part before installing.
To reassemble your device, follow the above steps in reverse order.
Take your e-waste to an R2 or e-Stewards certified recycler.
Repair didn’t go as planned? Try some basic troubleshooting or search our Answers community for help.
crwdns2935221:0crwdne2935221:0
crwdns2935229:033crwdne2935229:0
crwdns2947412:08crwdne2947412:0
I’ve followed all these steps but the screen doesn’t power up and the backlight on the keyboard stays off. It just seems to be infinitely rebooting itself. Any ideas what might be wrong?
You have to connect it to original charger and it should power right up
I followed this guide and successfully and happily repaired my MacBook Pro. Thank you Carsten and iFixit! I will add that you need to be very careful and aware of your finger placement and/or wear gloves when you separate the lower case from the main body. The inner and outer edges of the case is very sharp and can slice your finger open. Unfortunately, I am speaking from a painful experience. This disclaimer should be added to that portion of the tutorial out of the safety of all DIY professional technicians. This guide is great and helped me complete the job successfully. The finger slice could have been an amateur move but it could honestly happen to anybody. Happy repairing!
Does anyone know if the camera will work with an oem replacement? Reading a lot of posts that say it wont without config software
Mine works without adding any config software. Followed the guide through and through without any issues or extra configurations. Happy fixing!


