crwdns2915892:0crwdne2915892:0
This serves as the starting point for every repair on your MacBook Pro. You'll need a P5 Pentalobe screwdriver to remove the lower case and get into the device.
For your safety, discharge your MacBook Pro's battery before you begin this procedure. A charged lithium-ion battery can create a dangerous and uncontrollable fire if accidentally punctured.
crwdns2942213:0crwdne2942213:0
-
-
Power on your Mac and launch Terminal.
-
Copy and paste the following command (or type it exactly) into Terminal:
-
sudo nvram AutoBoot=%00
-
Press [return]. If prompted, enter your administrator password and press [return] again. Note: Your return key may also be labeled ⏎ or "enter."
-
sudo nvram AutoBoot=%03
-
-
crwdns2935267:0crwdne2935267:0Magnetic Project Mat$19.95
-
Use a P5 Pentalobe driver to remove the six screws securing the lower case:
-
Two 6.2 mm screws
-
Two 5.3 mm screws
-
Two 3.4 mm screws
-
-
-
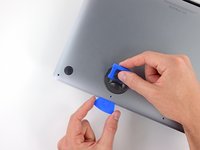
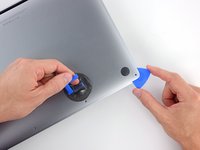
Apply a suction handle to the lower case near the front-center area of the MacBook Pro.
-
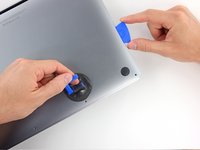
Lift the suction handle to create a slight separation between the lower case and the chassis.
-
-
-
-
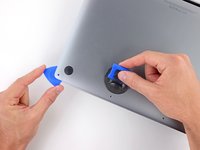
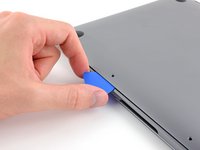
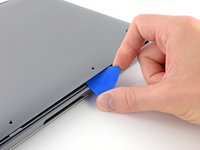
Insert one corner of an opening pick into the space between the lower case and the chassis.
-
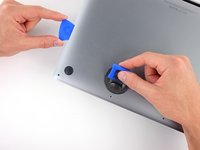
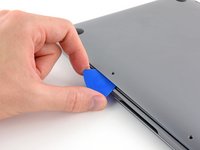
Slide the opening pick around the nearest corner and halfway up the side of the case.
-
-
-
Repeat the previous step on the opposite side, sliding your opening pick under the lower case and up the side to pop the second clip free.
-
-
-
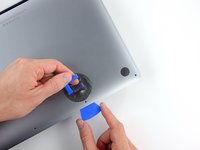
Insert your opening pick once again under the front edge of the lower case, near one of the two centermost screw holes.
-
Give the pick a firm twist to pop free the third clip securing the lower case to the chassis.
-
Repeat this procedure near the other of the two centermost screw holes, popping the fourth clip free.
-
-
-
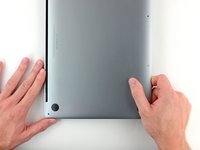
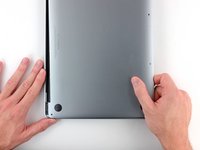
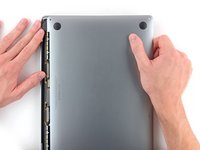
Pull the lower case firmly towards the front of the MacBook (away from the hinge area) to separate the last of the clips securing the lower case.
-
To reassemble your device, follow the above steps in reverse order.
Take your e-waste to an R2 or e-Stewards certified recycler.
Repair didn’t go as planned? Check out our Answers community for troubleshooting help.
To reassemble your device, follow the above steps in reverse order.
Take your e-waste to an R2 or e-Stewards certified recycler.
Repair didn’t go as planned? Check out our Answers community for troubleshooting help.
crwdns2935221:0crwdne2935221:0
crwdns2935229:025crwdne2935229:0
crwdns2947410:01crwdne2947410:0
Une ventouse de fixation de crochet sur carrelage,
permet de soulever le fond du macBP.


