crwdns2915892:0crwdne2915892:0
The motherboard of the DVR is the main operating piece that processes and controls the device. This may be damaged through rough use, which would require
crwdns2942213:0crwdne2942213:0
-
-
Before beginning, disconnect the DVR from power and unplug all peripheries.
-
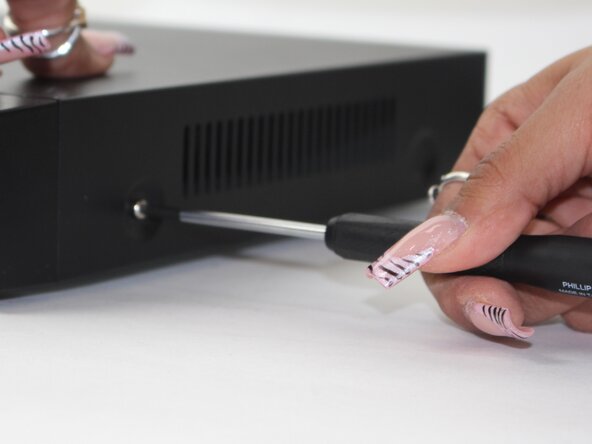
Remove each of the two 1 cm screws on the right and left sides of the DVR with a Phillips screwdriver.
-
-
-
Remove the four 1 cm Phillips screws on the rear panel.
-
-
-
-
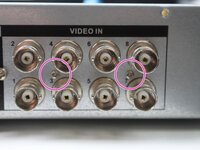
Unscrew the 1cm Hex crews with the Driver and a size 8 hex socket
-
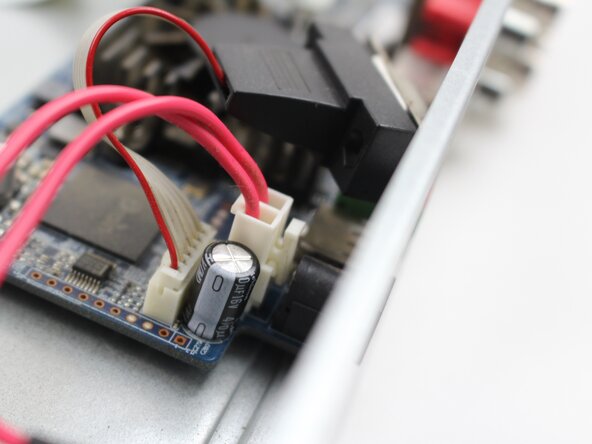
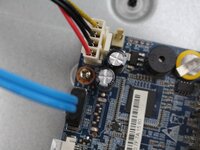
Unplug the chord from the socket in the other board
-
-
-
Remove two 1cm screws from the back panel
-
Making it easier to slide out with no issue
-
-
-
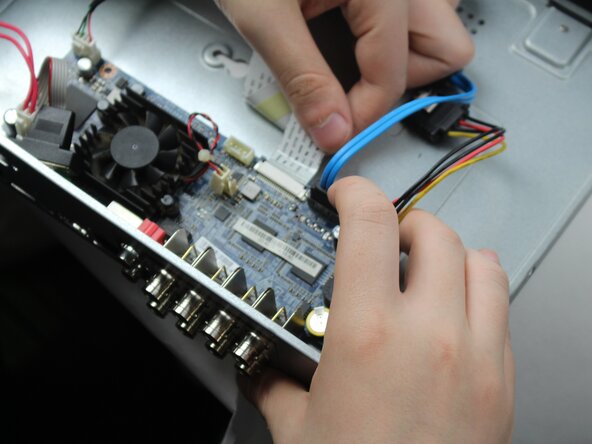
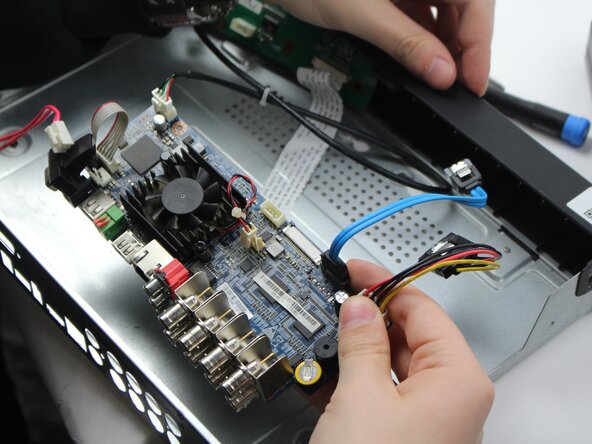
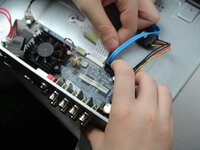
Once all the screw are off the back panel remove the power source
-
That would be the white box woth the R/B/G cables attached along with the blue and other whie box with R/B/B/Y cords
-
-
-
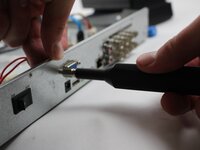
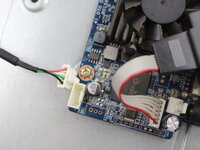
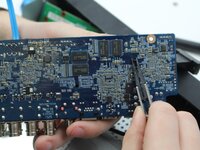
Remove this pin in order to take off the fan.
-
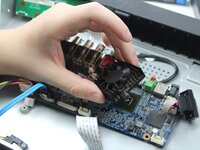
Remove the fan in order to access the motherboard.
-


To reassemble your device, follow the above steps in reverse order.
Take your e-waste to an R2 or e-Stewards certified recycler.
Repair didn’t go as planned? Try some basic troubleshooting or ask our Answers community for help.
To reassemble your device, follow the above steps in reverse order.
Take your e-waste to an R2 or e-Stewards certified recycler.
Repair didn’t go as planned? Try some basic troubleshooting or ask our Answers community for help.
crwdns2915084:0crwdne2915084:0

Sam Houston State, Team 17-1, Thornton Spring 2025 crwdns2935289:0Sam Houston State, Team 17-1, Thornton Spring 2025crwdne2935289:0
SHSU-THORNTON-S25S17G1
crwdns2931471:03crwdne2931471:0
crwdns2935297:05crwdne2935297:0