crwdns2915892:0crwdne2915892:0
If your Logitech Zone Vibe 100 isn't starting up, or having a constant low-battery life- use this guide to replace the battery.
Before using this guide, make sure your charging device is working properly and is not a broken charger. Sometimes, if the charger is broken the device will not be charging properly causing the headphones to die fast or not hold a charge.
Make sure to power off your headset completely and disconnect from any external power source.
For your safety, discharge the battery below 25% before beginning disassembly.
crwdns2942213:0crwdne2942213:0
-
-
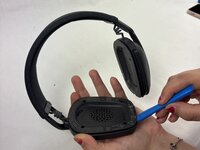
Pry open both the right earpad and left earpad carefully with your hands.
-
-
-
Remove the four Phillips #00 screws that secure the right driver cover.
-
-
-
-
Gently lift off the right driver cover with your hands.
-
-
crwdns2935267:0crwdne2935267:0Tesa 61395 Tape$2.99
-
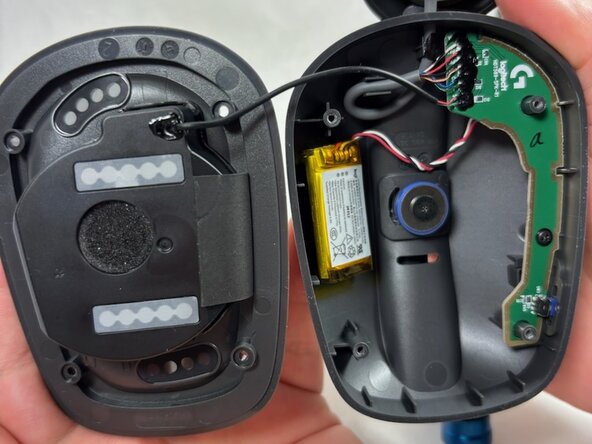
Grip and pull the white battery connector directly out of its socket.
-
Use an opening tool to gently pry the battery up and off of the housing.
-
Remove the battery.
-
If your replacement battery comes with adhesive pre-installed, remove the plastic liner and press the battery into place.
-
If your replacement battery doesn't come with adhesive pre-installed, use strips of double-sided tape to secure it in the recess.
-


For optimal performance, calibrate your newly installed battery after completing this guide.
Compare your new replacement part to the original part—you may need to transfer remaining components or remove adhesive backings from the new part before installing.
To reassemble your device, follow the above steps in reverse order.
Take your e-waste to an R2 or e-Stewards certified recycler.

crwdns2915084:0crwdne2915084:0

UMass Dartmouth, Team 2-8, Botvin Spring 2025 crwdns2935289:0UMass Dartmouth, Team 2-8, Botvin Spring 2025crwdne2935289:0
UMASSD-BOTVIN-S25S2G8
crwdns2931471:03crwdne2931471:0
crwdns2935297:04crwdne2935297:0