crwdns2933423:0crwdne2933423:0

Logitech G915 TKL Feet Replacement

crwdns2942213:0crwdne2942213:0

  1. Logitech G915 TKL Feet Replacement, Prepare your keyboard for disassembly: crwdns2935265:01crwdnd2935265:01crwdnd2935265:03crwdne2935265:0 Logitech G915 TKL Feet Replacement, Prepare your keyboard for disassembly: crwdns2935265:01crwdnd2935265:02crwdnd2935265:03crwdne2935265:0 Logitech G915 TKL Feet Replacement, Prepare your keyboard for disassembly: crwdns2935265:01crwdnd2935265:03crwdnd2935265:03crwdne2935265:0
    • Slide the power switch on the top edge of your keyboard into the OFF position.

    • A red indicator should be visible beneath the switch.

    • Unplug all cables from your keyboard.

    • Lay your keyboard down with the feet facing up on a clean work surface.

    • If your work surface may scratch the keyboard, place a soft towel under it.

  2. Logitech G915 TKL Feet Replacement, Remove the feet: crwdns2935265:02crwdnd2935265:01crwdnd2935265:02crwdne2935265:0 Logitech G915 TKL Feet Replacement, Remove the feet: crwdns2935265:02crwdnd2935265:02crwdnd2935265:02crwdne2935265:0
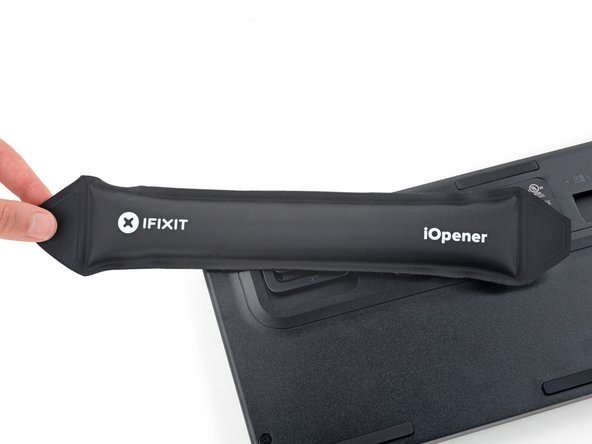
    • Heat an iOpener and lay it on one of the feet for one minute.

    • Alternatively, you can use a hair dryer on the Low heat setting to soften the adhesive.

    • If you're using a hair dryer, only heat the feet a few seconds at a time or you may warp the plastic body.

  3. Logitech G915 TKL Feet Replacement: crwdns2935265:03crwdnd2935265:01crwdnd2935265:03crwdne2935265:0 Logitech G915 TKL Feet Replacement: crwdns2935265:03crwdnd2935265:02crwdnd2935265:03crwdne2935265:0 Logitech G915 TKL Feet Replacement: crwdns2935265:03crwdnd2935265:03crwdnd2935265:03crwdne2935265:0
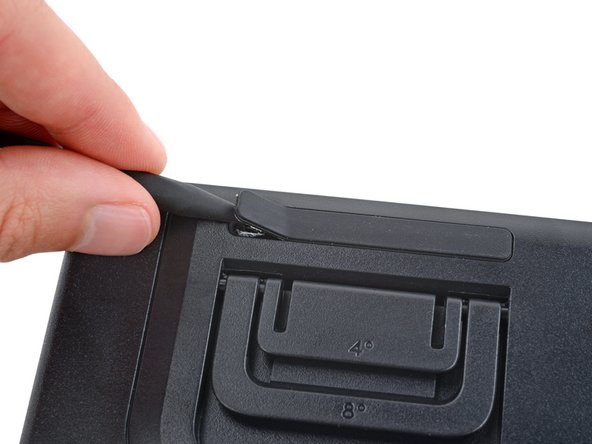
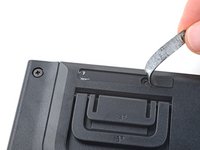
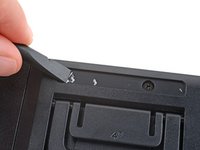
    • Insert the point of a spudger under an end of the foot.

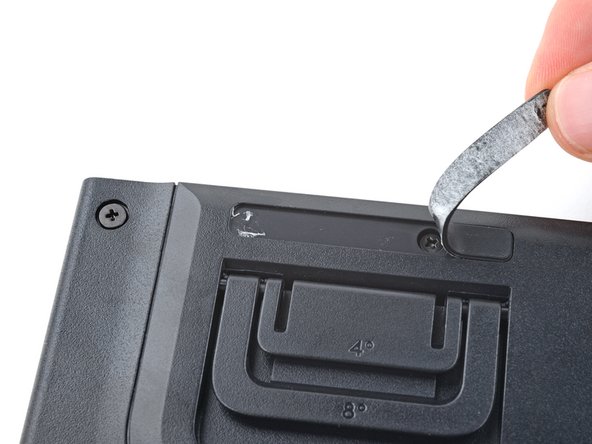
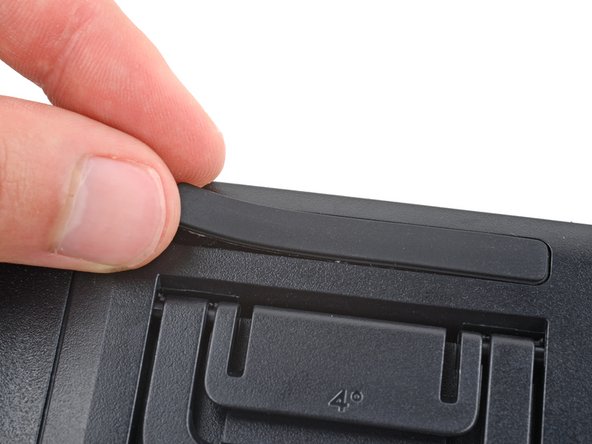
    • Push the spudger underneath the foot and lift until you can grip it with your fingers.

    • The foot should come up without much force. If it feels stuck, apply more heat and try again.

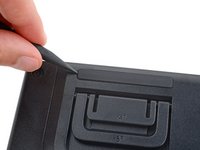
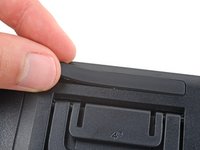
    • Peel the foot up and remove it.

    • Repeat the previous two steps to remove the remaining feet.

  4. Logitech G915 TKL Feet Replacement, Reassembly information: crwdns2935265:04crwdnd2935265:01crwdnd2935265:02crwdne2935265:0 Logitech G915 TKL Feet Replacement, Reassembly information: crwdns2935265:04crwdnd2935265:02crwdnd2935265:02crwdne2935265:0
    • To install a new foot:

    • Use the flat end of a spudger to scrape up and remove any chunks of adhesive from the foot recesses.

    • Remove the new feet from their backing and firmly press them into place.

crwdns2915888:0crwdne2915888:0

Repair didn’t go as planned? Try some basic troubleshooting, or ask our Answers community for help.

Spencer Day

crwdns2935283:009/14/22crwdne2935283:0

111,740 crwdns2915208:0crwdne2915208:0

crwdns2935297:0811crwdne2935297:0

crwdns2915084:0crwdne2915084:0

iFixit crwdns2935289:0iFixitcrwdne2935289:0

Staff

crwdns2931471:0121crwdne2931471:0

crwdns2935297:019,996crwdne2935297:0

crwdns2947412:00crwdne2947412:0

crwdns2917038:0crwdne2917038:0

crwdns2936625:0crwdne2936625:0:

crwdns2936751:024crwdne2936751:0 0

crwdns2936753:07crwdne2936753:0 6

crwdns2936753:030crwdne2936753:0 25

crwdns2942667:0crwdne2942667:0 206