crwdns2915892:0crwdne2915892:0
Use this guide to replace a worn out or dead battery in your Logitech G522 Lightspeed wireless headset.
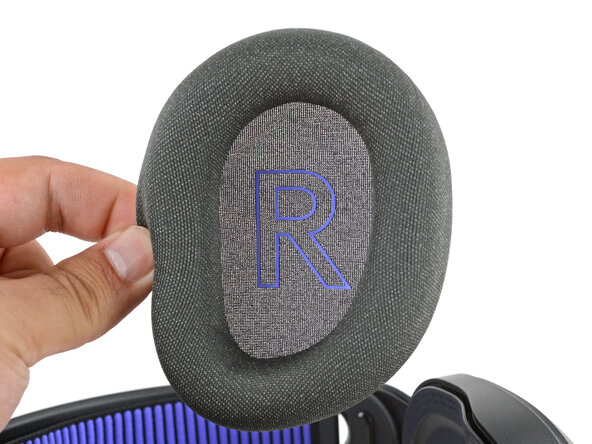
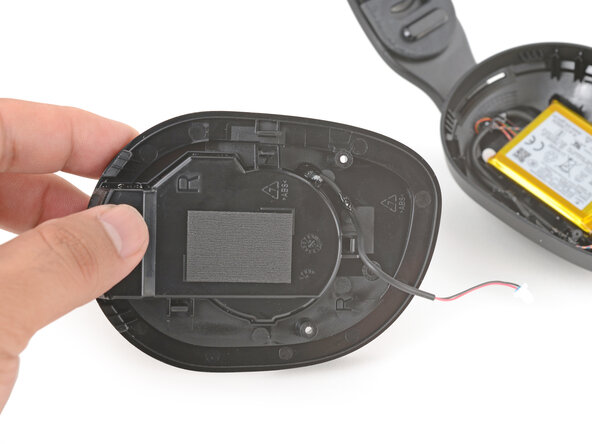
The li-ion battery resides within the right ear cup.
If possible, drain the headset's battery before you begin repairs. You'll hear an audio beep every 30 minutes when the battery's low.
crwdns2942213:0crwdne2942213:0
-
-
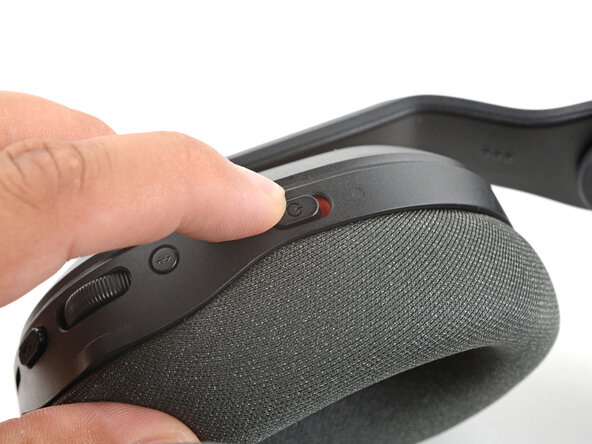
Power off the headset and unplug all cables.
-
-
-
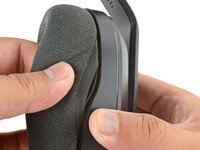
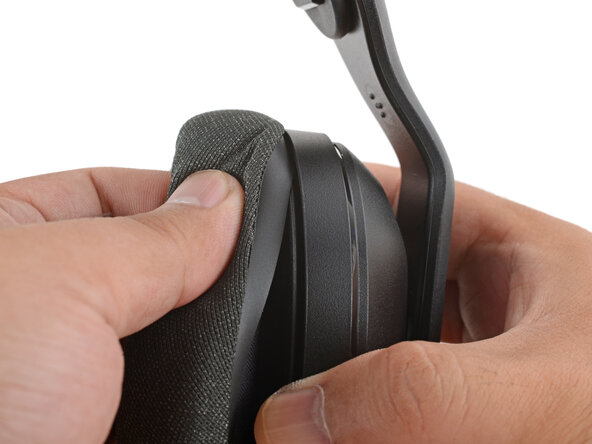
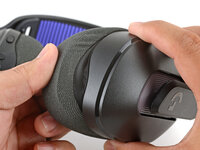
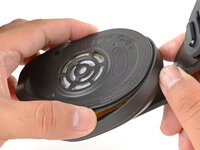
With one hand, firmly hold the right ear cup steady.
-
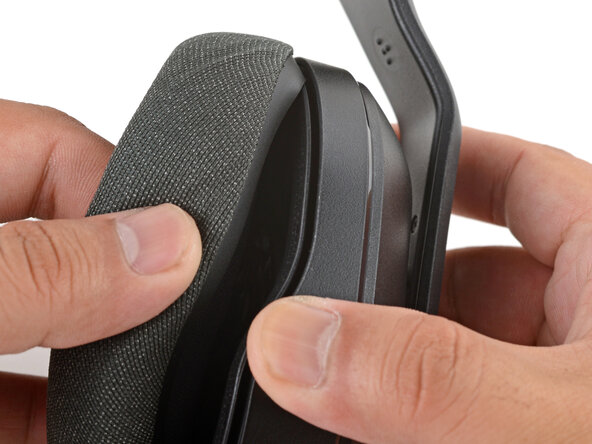
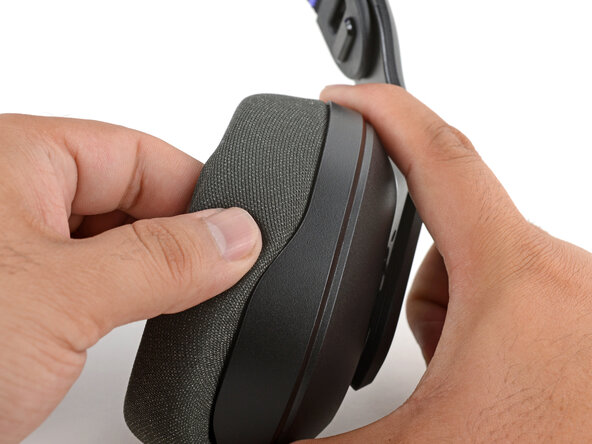
With your free hand, slowly pull the ear pad away from the cup until it slides completely off its plastic lip.
-
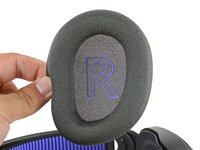
Remove the ear cup and set it aside for reassembly.
-
-
-
With one hand, firmly hold an ear cup steady.
-
With your free hand, place the pad over the top of the cup, so the fabric flap slips over the cup's plastic lip.
-
Thread the rest of the flap over the lip, working your way around the entire cup. Gently stretch the pad as necessary.
-
Check the entire perimeter of the cup to make sure the ear pad is fully on. If any of the fabric flap is sticking out, try to push it over the lip or remove the ear pad and try again.
-
-
-
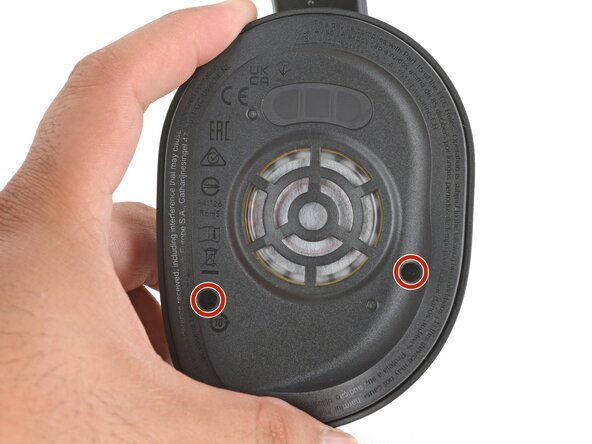
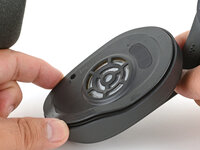
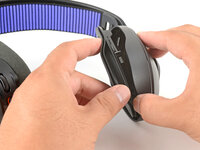
Use a Phillips screwdriver to remove the two 7.2 mm‑long screws securing the right speaker housing.
-
-
-
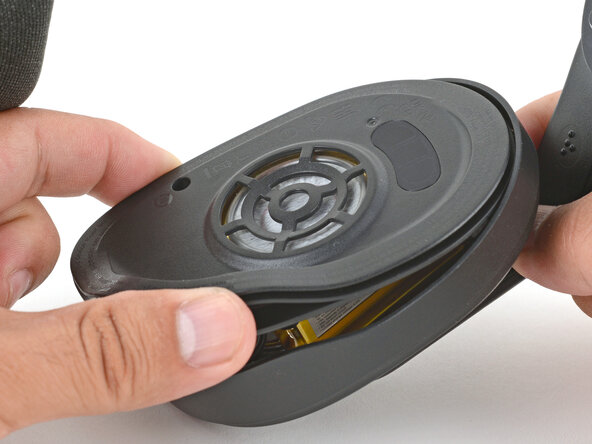
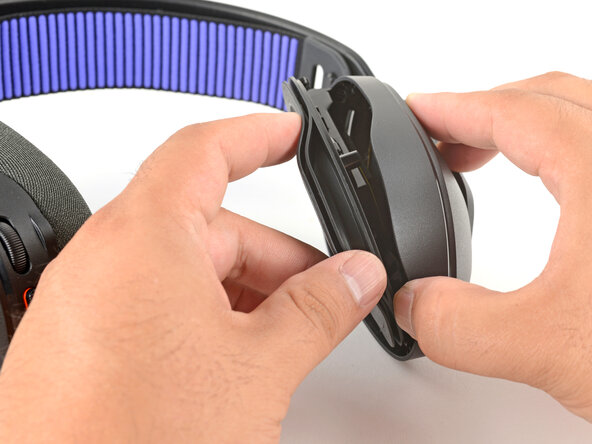
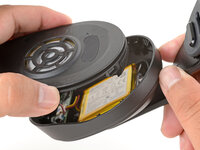
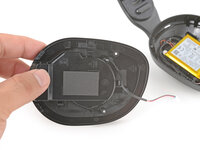
Use your fingers to lift the bottom edge of the speaker housing.
-
Shift the speaker housing down as you lift it to free the top edge from the ear cup.
-
-
-
-
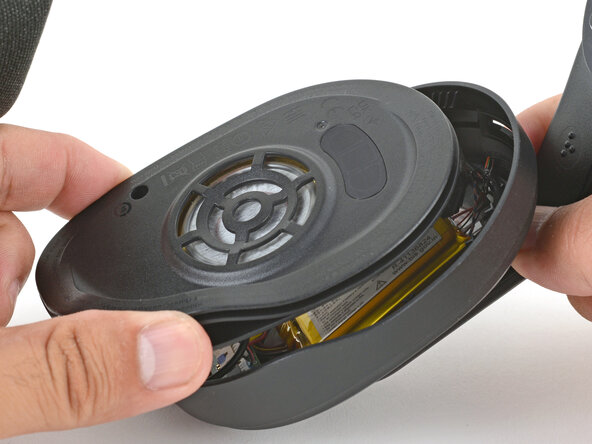
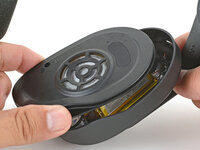
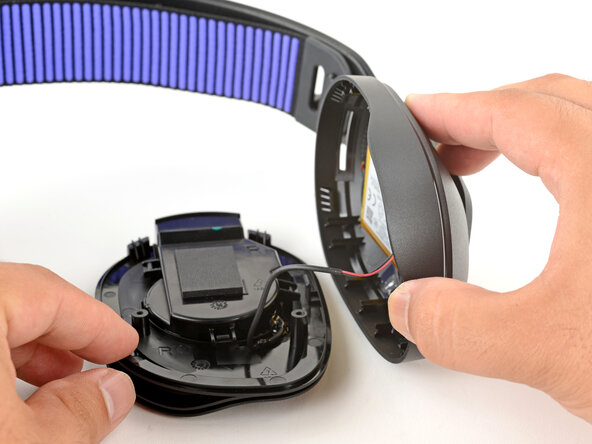
Gently remove the speaker housing and set it next to the ear cup, making sure the cable isn't strained.
-
-
-
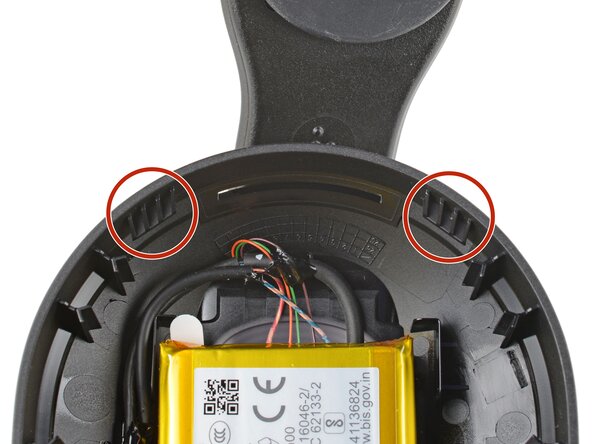
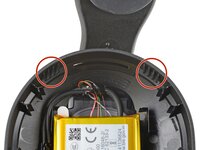
Align the top edge of the speaker housing with the two plastic tabs in the ear cup.
-
Once you've aligned the top edge, lay the speaker housing in place on top of the ear cup.
-
-
-
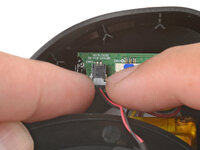
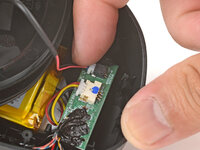
Use your fingernails to grip the edges of the speaker connector and slide it out of its socket.
-
-
-
Set the speaker housing aside for reassembly
-
Align the connector (it connects in only one orientation) and use your finger to gently push it into its socket. You should feel a faint click when it's fully seated.
-
-
-
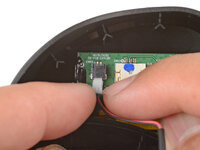
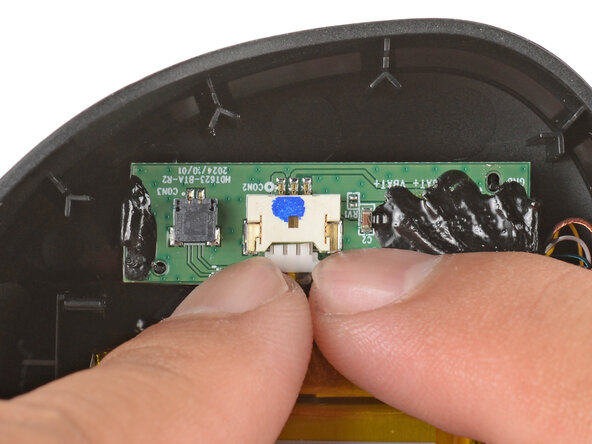
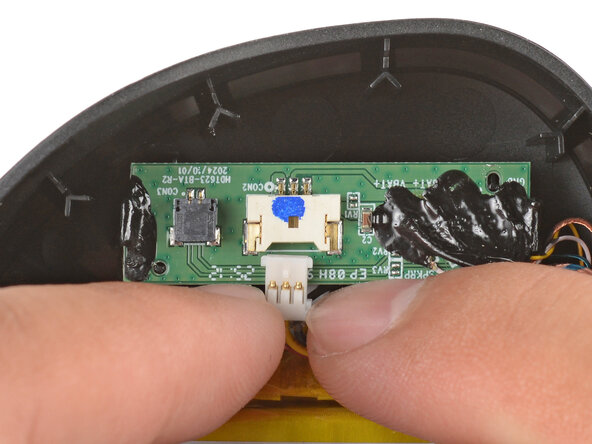
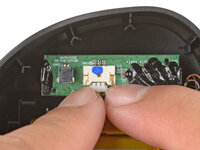
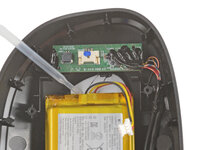
Use your fingernails to grip the edges of the battery connector and slide it out of its socket.
-
If you're having trouble, try rocking the connector side-to-side to help loosen it.
-
-
-
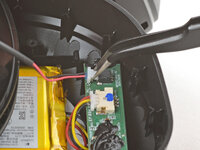
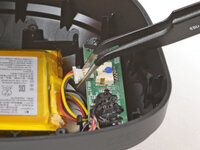
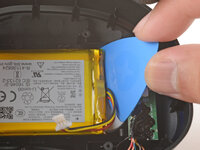
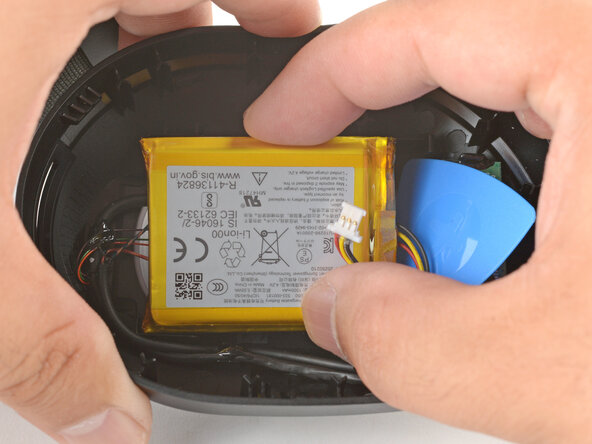
Slowly press an opening pick under the edge of the battery, where the wires come out.
-
Apply pressure until the battery loosens from the ear cup.
-
-
-
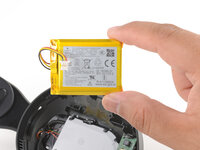
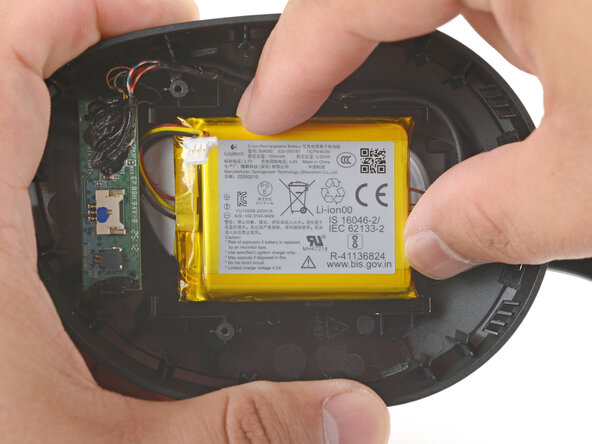
Use your fingers to slowly peel the battery away from the ear cup.
-
Remove the battery.
-
-
crwdns2935267:0crwdne2935267:0Tesa 61395 Tape$2.99
-
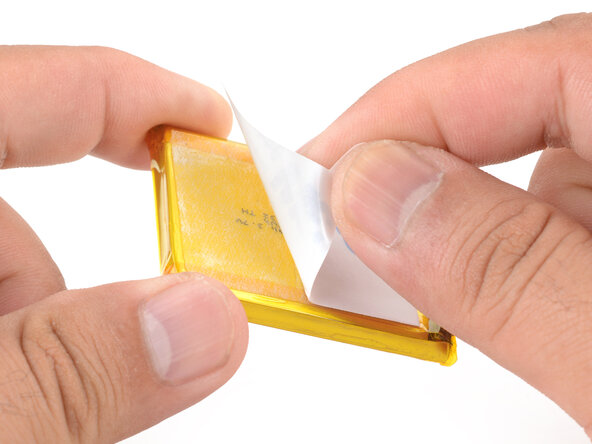
If your replacement battery comes with adhesive pre-installed, remove the liner.
-
If your replacement battery doesn't come with adhesive pre-installed, install strips of double-sided tape onto the battery.
-
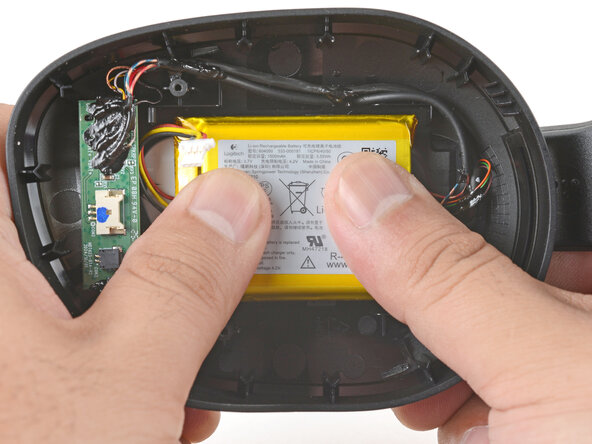
Center the battery in its recess.
-
Use your fingers to firmly press the battery to secure it in place.
-


To reassemble your device, follow these instructions in reverse order.
Take your e-waste to an R2 or e-Stewards certified recycler.
Repair didn’t go as planned? Try some basic troubleshooting, or ask our Answers community for help.
To reassemble your device, follow these instructions in reverse order.
Take your e-waste to an R2 or e-Stewards certified recycler.
Repair didn’t go as planned? Try some basic troubleshooting, or ask our Answers community for help.
