crwdns2915892:0crwdne2915892:0
This guide details the steps involved in replacing the switches for both your left and right mouse buttons with new ones. This might be necessary if your current switches are damaged or if you prefer a quieter option.
---------------------------------------------------------------------------------------
I took over this guide from Reddit to preserve it.
FULL CREDIT GOES TO u/Spook_485
crwdns2942213:0crwdne2942213:0
-
-
First off, remove the magnetic cover and remove the 3 stock skates. You can reuse them if you pull them off carefully. Logitech skates consist of the actual Teflon skates and a second layer of foamy adhesive. Make sure you pull off both still attached to each other.
-
-
-
Start at the back and just clip the whole cover open. Don't be afraid to use a little force. Either use a clipping tool, or just use 3 fingers and your fingernails to grab into the gap and pull it off.
-
-
-
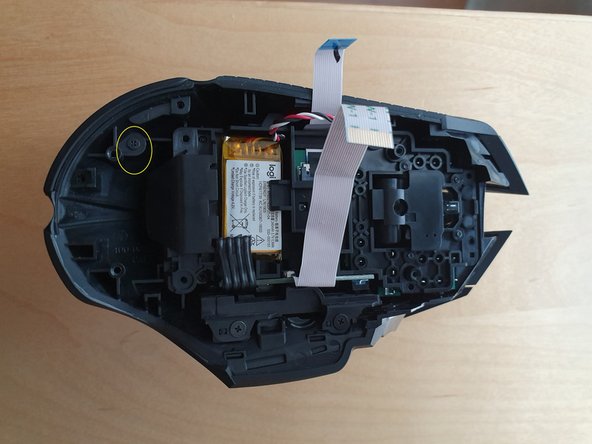
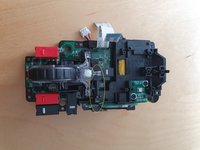
Detach both flat cables and the battery connector.
-
-
-
-
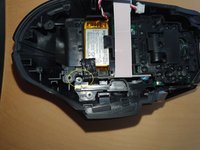
Next remove this screw (it's hidden deep, you will need a thin screwdriver to reach it)
-
And this one, This will allow you to remove the top LED cover.
-
-
-
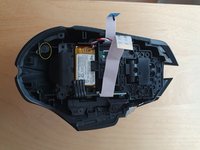
Remove the LED cover and remove this screw to remove the LED cup.
A guide would typically explain HOW to remove the light cover, an explanation would be appreciated before someone ELSE breaks theirs thinking it just pries off
To add to my previous comment, there are several clips that can break if you pry them, also on mine at least one of the places a screw goes into needed to be gently but firmly wiggled and pried at until it came loose. The amount of force needed to just pull it out would have likely snapped the entire cover in half
I'm sorry to hear you had trouble with it. When I replaced mine, the light cover just slipped out without any prying — maybe there's a slight difference in technique or how it's seated.
einself -
-
-
-
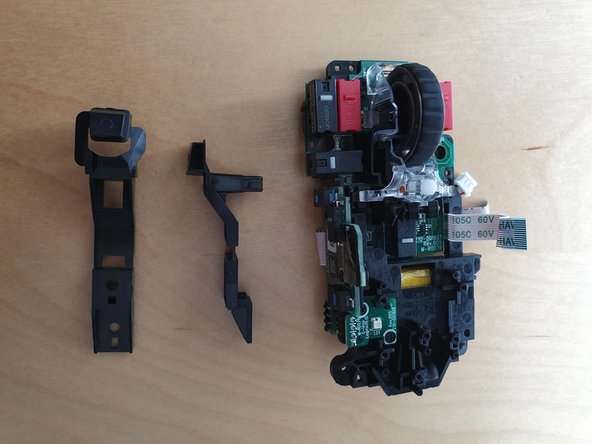
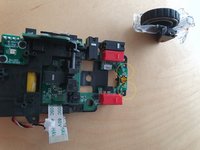
Remove these 4 screws which attach the 2 main buttons to the rest of the module. The right mouse button will fall out, while the left one will stay in place, just put the right one aside for now, you can leave the left one hanging loose. After removing these 4 screws, just pull out the whole internal module.
Removing the internal module can easily be done by lightly pressing down on the mouse-wheel. The module should just pop out.
-
-
-
Remove these 2 screws and remove the 2 top button pieces.
-
-
-
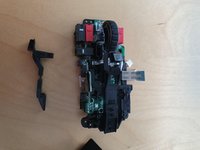
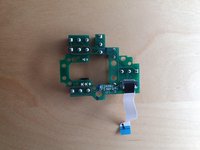
Pull out this plastic bolt which holds the scroll wheel module in place. I suggest you use something sharp to push at the bolt from the one end and pull it with your fingernails from the other side at the same time. It will require some force. After it's out, you can simply lift the whole scroll wheel module off the PCB.
-
-
-
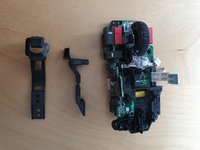
Remove these 2 screws and remove the scroll wheel holder.
-
-
-
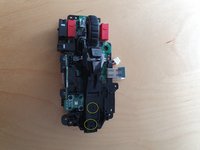
Remove these 5 screws.
-
-
-
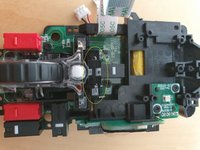
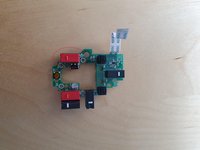
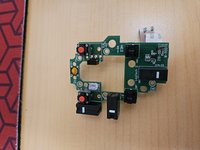
Solder off the Omrons and replace them with switches of your choice.
You can make your life easier by removing (gently with tweezers) the bit of black tape covering the flat cable connector and removing the cable.
Desoldering might be challenging. It becomes easier if you use nippers to cut the legs of the switches you want to remove as short as possible, making them flush with the solder. Use a desoldering pump to get rid of the solder. Adding a bit of fresh solder to the solder joints before trying to desolder might make it easier.
-
-
-
Put everything back together.
-


To reassemble your device, follow these instructions in reverse order.
To reassemble your device, follow these instructions in reverse order.
crwdns2935221:0crwdne2935221:0
crwdns2935229:05crwdne2935229:0

crwdns2947410:01crwdne2947410:0
Thanks for the guide, i used some isopropanol to clean the switches instead of chaning them as i had a problem with the right one and now it works flawless.