crwdns2915892:0crwdne2915892:0
If your trackpad is unresponsive, glitchy, or physically damaged, replacing it may restore proper functionality. The Lenovo Yoga C640-13IML’s trackpad is located beneath the battery and secured with screws and a ribbon cable. This guide will walk you through the steps needed to safely remove and replace the trackpad.
- Caution: Be sure to power off the laptop completely and disconnect it from any power source before starting this repair. Failing to do so could result in electric shock or component damage.
- Note: Because the trackpad is located under the battery, this repair requires removing additional components. Take your time and work gently to avoid damaging internal parts or connectors.
- Reminder: Pay close attention to the routing and orientation of the trackpad’s ribbon cable during removal. Properly reattaching it is essential for the trackpad to function correctly after reassembly.
crwdns2942213:0crwdne2942213:0
-
-
Use a Torx T4 screwdriver to remove the six 4.60 mm screws securing the bottom panel.
-
-
-
Insert a plastic spudger or opening pick into the seam between the bottom panel and the chassis.
-
Gently slide the tool along the edges to release the internal clips and lift the panel off.
-
-
-
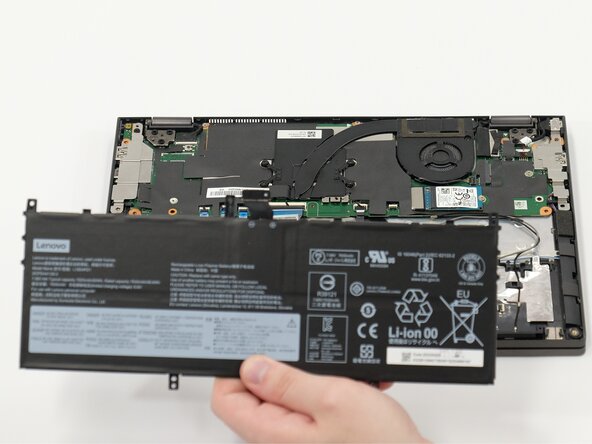
Remove the five 4.60 mm Phillips #0 screws securing the battery to the chassis.
-
-
-
-
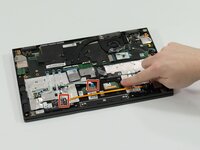
Use the flat end of a spudger to lift and unclip the outer edges of the connector. You may need to use your fingers to pull the connector completely out of its socket.
-
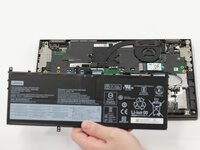
Lift the battery out of the laptop.
-
-
-
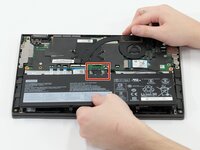
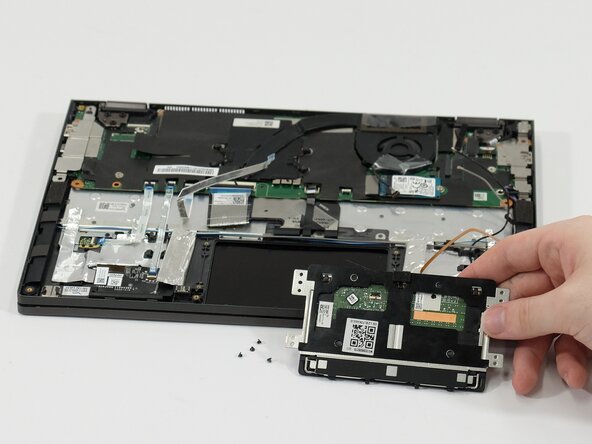
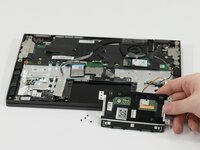
Locate trackpad
-
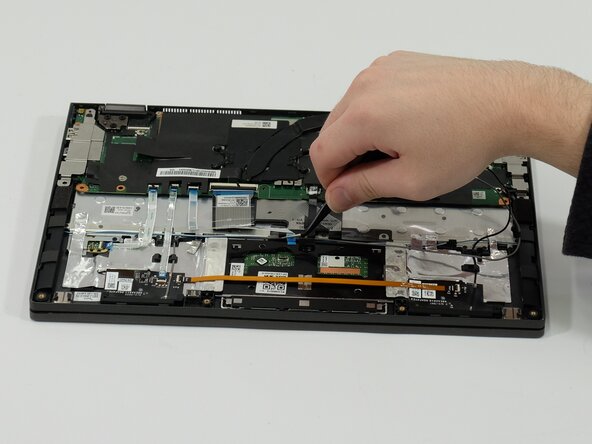
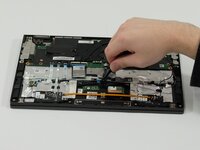
Use a pair of tweezers to gently pull and disconnect the cable attached to the trackpad.
-
Use a spudger or a clean fingernail to flip up the locking flap of the ZIF connector—this is the unlocked position.
-
Use tweezers or your fingers to gently pull the cable out of its socket.
-
Move the orange cable covering the trackpad.
-
-
-
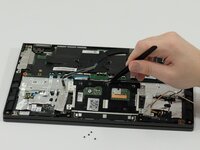
Locate the metal shielding tape on both sides of the trackpad.
-
Gently lift off the tape.
-
-
-
Use a Phillips screw driver to Remove the four 5 mm screws securing the trackpad to the palm rest.
-


To reassemble your device, follow these instructions in reverse order. Take your e-waste to an R2 or e-Stewards certified recycler.
To reassemble your device, follow these instructions in reverse order. Take your e-waste to an R2 or e-Stewards certified recycler.

crwdns2915084:0crwdne2915084:0

Linn Benton Community College, Team 1-1, Karnes Spring 2025 crwdns2935289:0Linn Benton Community College, Team 1-1, Karnes Spring 2025crwdne2935289:0
LBCC-KARNES-S25S1G1
crwdns2931471:04crwdne2931471:0
crwdns2935297:05crwdne2935297:0