crwdns2915892:0crwdne2915892:0
Use this guide to replace the internal speakers in your Lenovo Yoga C640-13IML. If your laptop has distorted audio, no sound (despite working drivers), or one speaker isn’t functioning, replacing the internal speakers can restore clear sound output.
- Caution: Always power off the device, unplug it from any power source, and disconnect the battery before handling internal components to avoid short circuits or damage.
- Note: Speaker failure can be caused by physical damage, water exposure, or worn-out components. If you've already ruled out software and driver issues, hardware replacement is likely necessary.
- Reminder: Be mindful of delicate speaker wires and connectors when removing or installing the new speakers. Keep track of all screws and cable positions to ensure a smooth reassembly.
crwdns2942213:0crwdne2942213:0
-
-
Use a Torx T4 screwdriver to remove the six 4.60 mm screws securing the bottom panel.
-
-
-
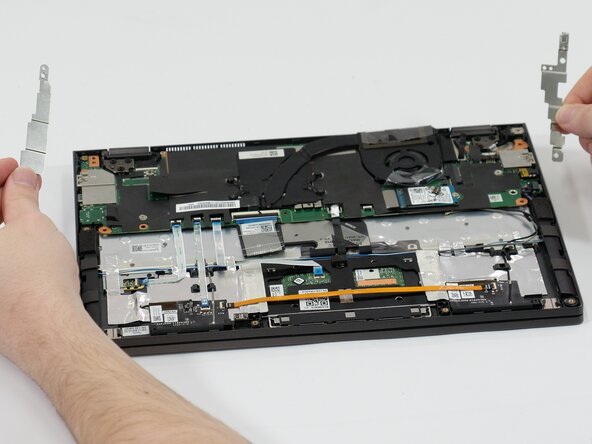
Insert a plastic spudger or opening pick into the seam between the bottom panel and the chassis.
-
Gently slide the tool along the edges to release the internal clips and lift the panel off.
-
-
-
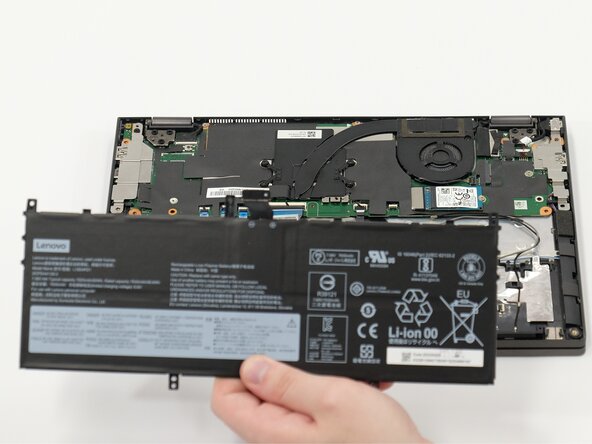
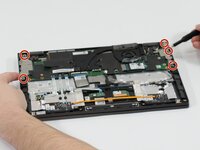
Remove the five 4.60 mm Phillips #0 screws securing the battery to the chassis.
-
-
-
-
Use the flat end of a spudger to lift and unclip the outer edges of the connector. You may need to use your fingers to pull the connector completely out of its socket.
-
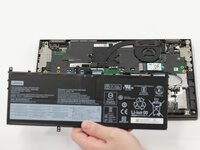
Lift the battery out of the laptop.
-
-
-
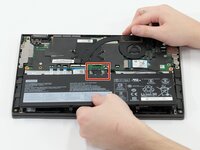
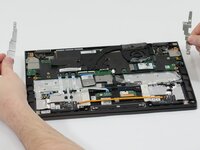
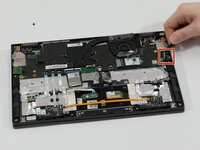
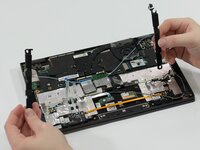
Use a Phillips #0 screwdriver to remove the 2.2 mm screws securing the silver shield.
-
Carefully lift the shield off and set it aside.
-
-
-
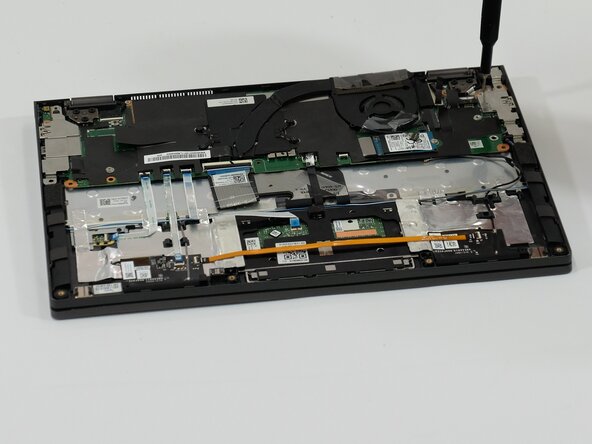
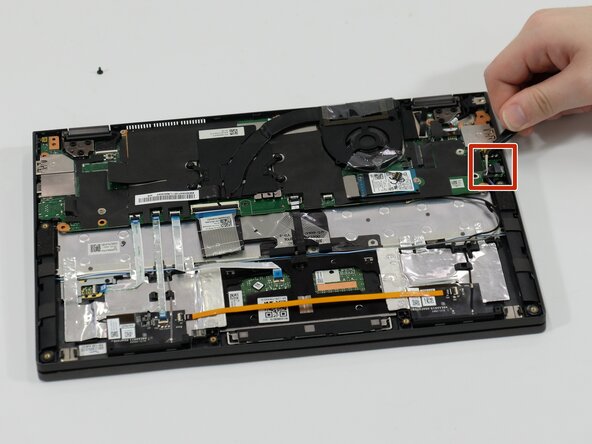
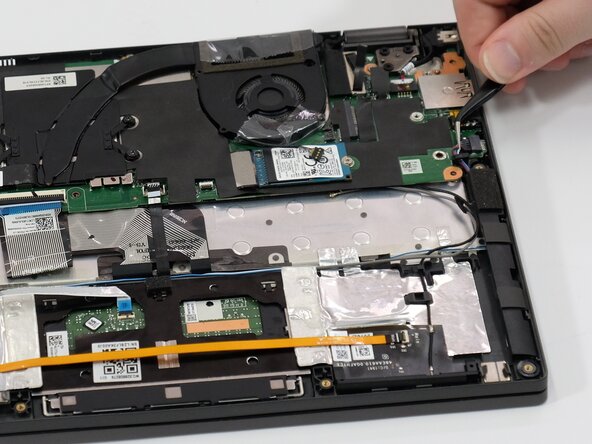
Unplug the speaker cable from the port on the motherboard.
-
-
-
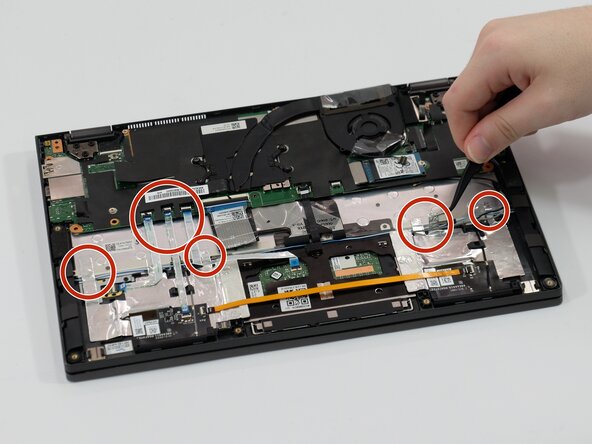
Along the wire path, locate all metal tape and cables holding down or going over the speaker cable.
-
Carefully peel off the tape using tweezers or a spudger.
-
For any cable that fully go over the speaker cable carefully unplug and move the off to the side, be sure to remember where they plug back into.
-
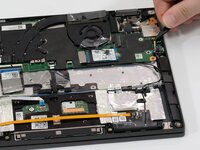
Once the tape is removed, gently move the blue and white speaker cables to the side to clear access to the speaker and port areas.
-
-
-
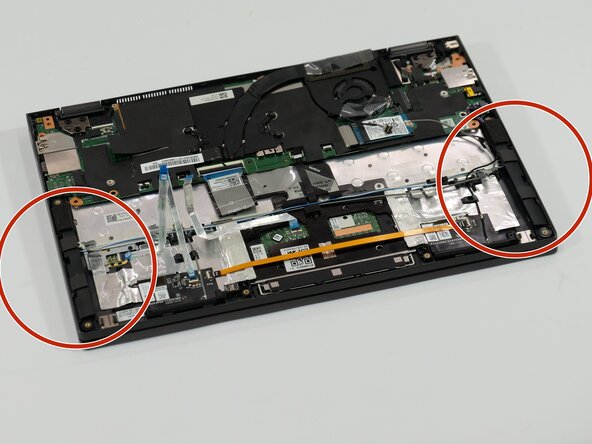
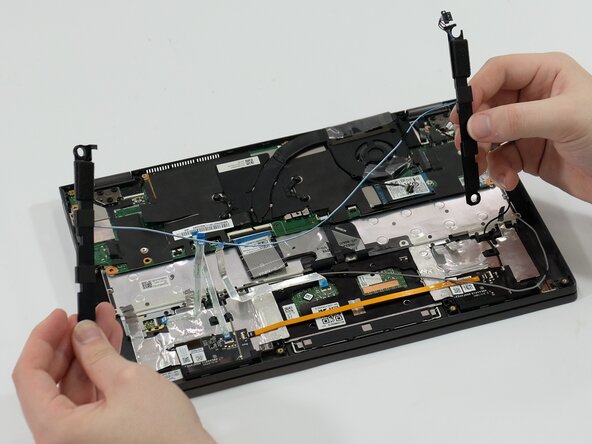
To remove the speakers simply lift them up for where they rest and pull them out.
-
If the blue and white cables snag on any of the tape be sure to go back and make sure there is nothing blocking or preventing the removal.
-


To reassemble your device, follow these instructions in reverse order. Take your e-waste to an R2 or e-Stewards certified recycler.
crwdns2935287:0crwdne2935287:0

Linn Benton Community College, Team 1-1, Karnes Spring 2025 crwdns2935289:0Linn Benton Community College, Team 1-1, Karnes Spring 2025crwdne2935289:0
LBCC-KARNES-S25S1G1
crwdns2931471:04crwdne2931471:0
crwdns2935297:05crwdne2935297:0