crwdns2915892:0crwdne2915892:0
Use this guide to replace the battery in your Lenovo Yoga 6 13ALC6 Laptop.
For your safety, discharge the battery below 25% before disassembling your device. This reduces the risk of fire if the battery is accidentally damaged during the repair. If your battery is swollen, take appropriate precautions.
crwdns2942213:0crwdne2942213:0
-
-
Use a T5 Torx screwdriver to remove the six 7.2 mm screws securing the lower case.
-
-
-
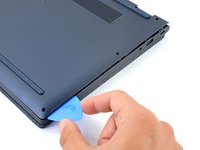
Insert an opening pick between the lower case and the chassis at a hinge corner.
-
Pry up with the pick to release the clips securing the lower case.
-
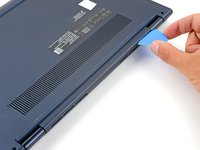
Repeat the process on the other hinge corner.
-
-
-
Slide the pick along the right edge to release the clips securing the lower case.
-
-
-
-
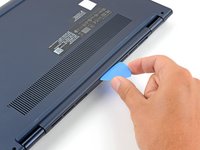
Continue sliding the opening pick along the front and left edges to release the remaining clips.
-
-
-
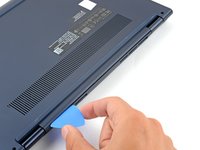
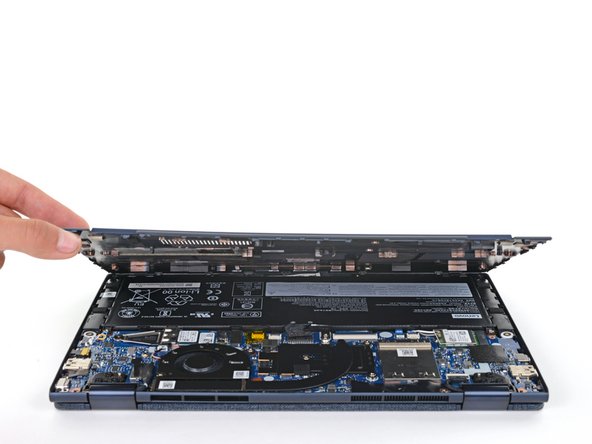
Insert the pick on the hinge edge and slide along the entire edge to release all of the clips.
-
-
-
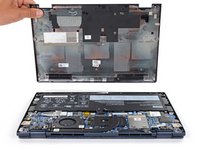
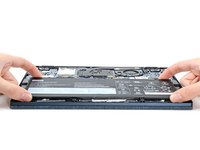
Lift the lower case from the chassis and remove it.
-
-
-
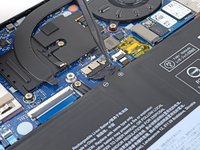
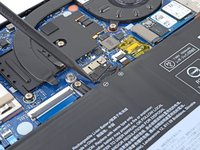
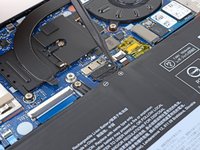
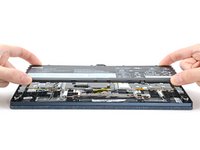
Use the pointed end of a spudger to push each side of the battery connector until it comes out of the socket.
-
-
-
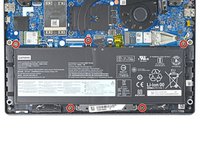
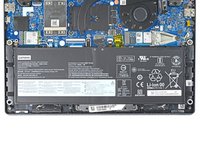
Use a Phillips screwdriver to remove the five 4.2 mm-long screws securing the battery.
-
-
-
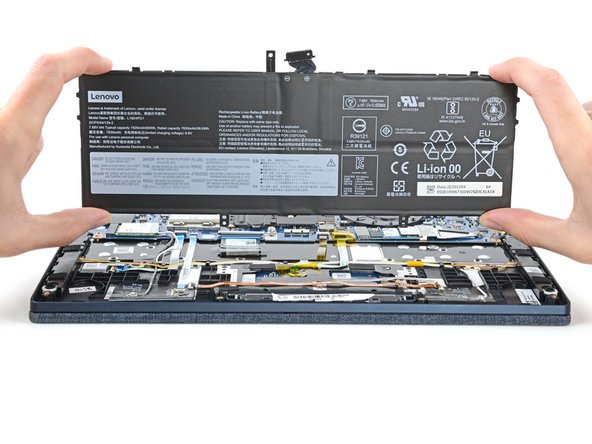
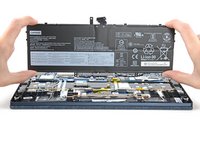
Lift the battery straight out of its recess and remove it.
-


To reassemble your device, follow these instructions in reverse order.
For optimal performance, calibrate your newly installed battery after completing this guide.
Take your e-waste to an R2 or e-Stewards certified recycler.
Repair didn’t go as planned? Try some basic troubleshooting, or ask our Answers community for help.
crwdns2935221:0crwdne2935221:0
crwdns2935229:03crwdne2935229:0

