crwdns2915892:0crwdne2915892:0
This guide will show you how to remove the SSD of the Lenovo Yoga 3 Pro. As an extra precaution, the battery should be removed first before proceeding with the rest of the device.
crwdns2942213:0crwdne2942213:0
-
-
Flip the laptop so that the back panel is facing up.
-
Remove the ten 4.0mm T6 Torx screws from the back of the laptop.
-
-
-
Gently lift the back cover off of the laptop.
-
-
-
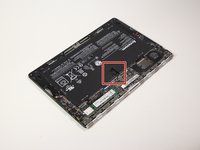
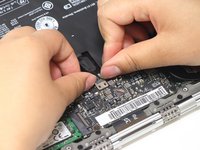
Push the black battery cable towards the battery to disconnect it.
-
-
-
-
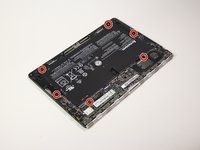
Remove the six #0 3.8mm Phillips screws from the battery.
-
-
-
Gently lift the battery out of the laptop chassis.
-
-
-
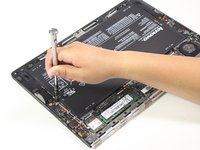
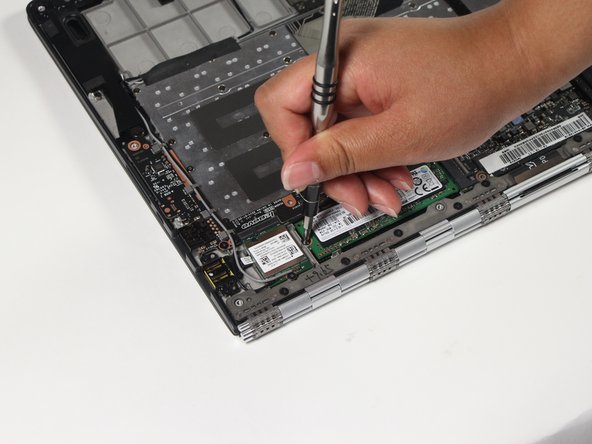
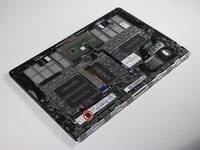
Remove the one #0 2.9mm Phillips screw from the SSD.
This is not necessary just to replace the screen. None of this is - only the battery for safety, and the LCD cable.
-
-
-
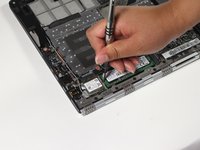
Gently lift and wiggle the SSD side to side to remove it from the laptop chassis.
-
To reassemble your device, follow these instructions in reverse order.
To reassemble your device, follow these instructions in reverse order.
crwdns2935221:0crwdne2935221:0
crwdns2935229:03crwdne2935229:0
crwdns2947412:03crwdne2947412:0
For my Yoga 900 I needed a T5 Torx screw driver. Otherwise spot on.
thanks for the info, what about the data from the original drive??
Why did you remove the battery? Was it necessary?


