crwdns2915892:0crwdne2915892:0
Follow these steps to replace your dysfunctional hard drive!
crwdns2942213:0crwdne2942213:0
-
-
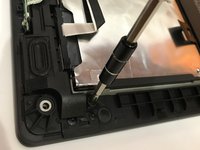
Remove the indicated nine M2 x 6 mm nylon-coated screws using a Phillips head screwdriver.
-
-
-
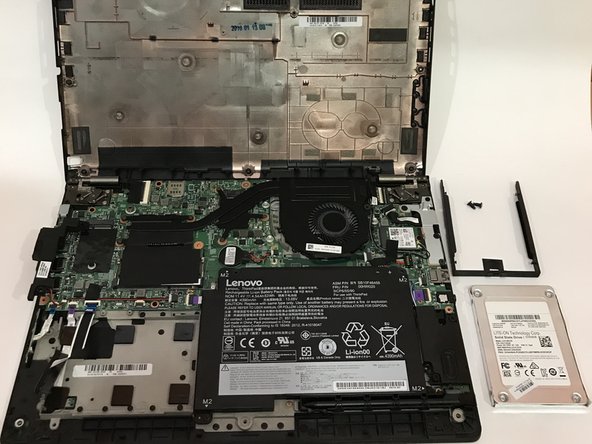
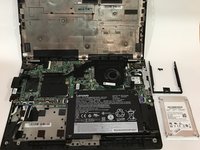
After removing all of the screws, gently lift up on all covers to remove the back plate and reveal the interior of the device.
The stylus blocks removal, just pull it out. In my case something in vicinity of power plug kept case from opening, have not solved that problem as yet.
-
-
-
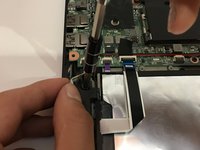
Once the back cover is exposed, remove the two screws holding the hard drive in place.
-
-
-
-
Remove the plastic encasing holding down the hard drive after screws are removed.
-
-
-
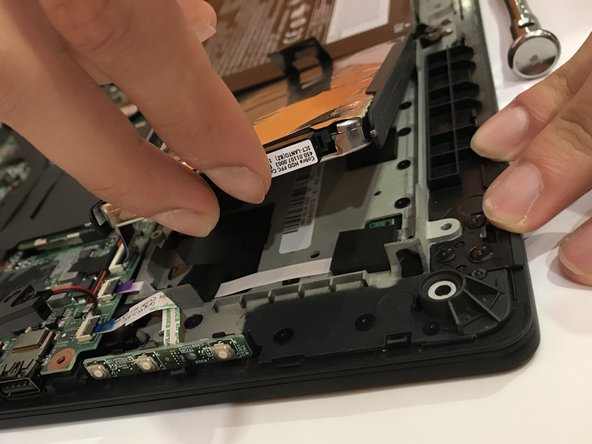
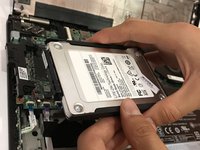
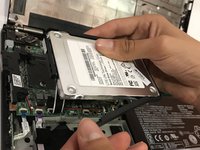
Using two fingers, carefully remove the hard drive.
-
-
-
Carefully remove the plastic encasing surrounding the perimeter of the hard drive.
-
-
-
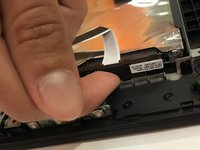
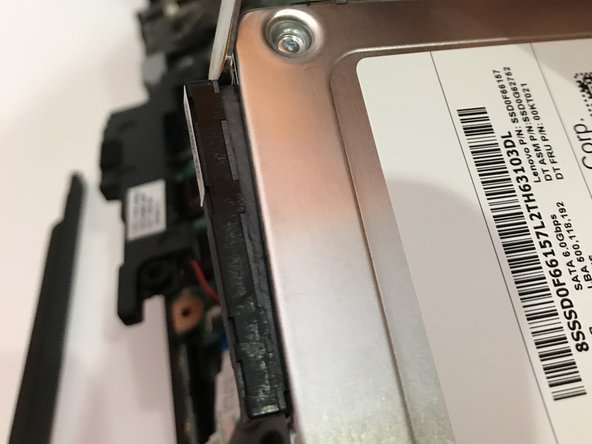
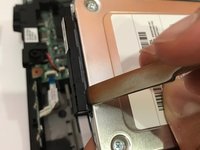
Use a nylon spudger to remove the SATA connector from the hard drive.
-
-
-
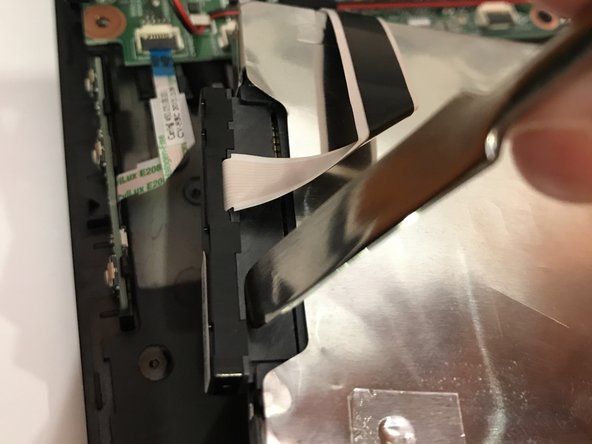
After the SATA connection is removed, gently pop off the hard drive from its socket.
-


To reassemble your device, follow these instructions in reverse order.
To reassemble your device, follow these instructions in reverse order.
crwdns2935221:0crwdne2935221:0
crwdns2935229:05crwdne2935229:0
crwdns2915084:0crwdne2915084:0

Cal Poly, Team S14-G2, Banghart Spring 2017 crwdns2935289:0Cal Poly, Team S14-G2, Banghart Spring 2017crwdne2935289:0
CPSU-BANGHART-S17S14G2
crwdns2931471:05crwdne2931471:0
crwdns2935297:06crwdne2935297:0
crwdns2947410:01crwdne2947410:0
After the SATA connection is removed, gently pop off the hard drive from its socket.
I must have a similar but different model. 11 screws on this type 20FY.
curmudgeon44 - crwdns2934203:0crwdne2934203:0