crwdns2915892:0crwdne2915892:0
This guide will show you how to replace the keyboard in your Lenovo ThinkPad X1 Carbon 7th Generation laptop. Reasons for failure of your keyboard may include the keyboard becoming unresponsive, dust or particles stuck that must be removed to allow functionality of the keyboard, visible damage to the keyboard, or loosened keys. If you are experiencing any of these issues, a keyboard replacement should restore your laptop to working condition.
crwdns2942213:0crwdne2942213:0
-
-
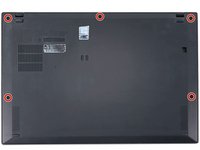
Use a Phillips #1 screwdriver to loosen the five captive screws securing the back cover.
-
-
-
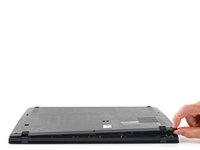
Insert an opening pick at a 45˚ angle between the back cover and frame near the rear middle screw.
-
Pry up on the pick to release the clips securing the back cover to the frame.
-
-
-
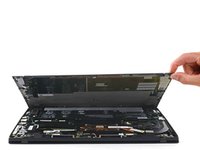
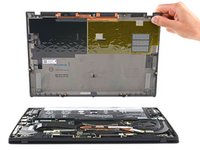
Lift the back cover up and remove it from the chassis.
-
-
-
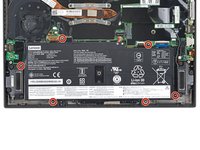
Use a Phillips #0 screwdriver to remove the six 4.9 mm-long screws securing the battery.
-
-
-
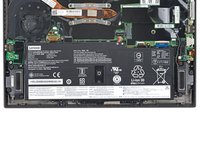
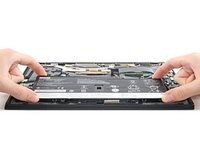
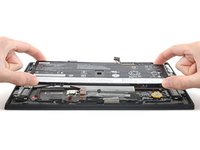
Lift the battery straight out of its recess and remove it.
There is a tab on the side toward the wires. Be sure to lift from the top edge in the picture, and slide the bottom edge (the side with the wires) in first when reconnecting the battery.
-
-
-
-
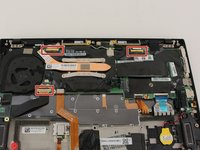
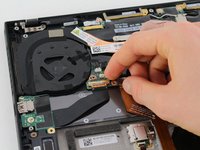
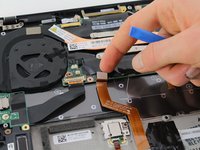
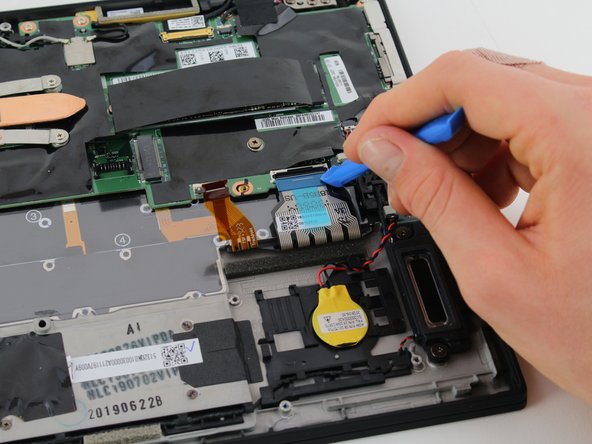
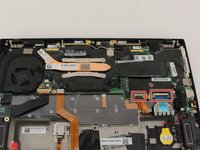
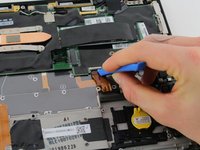
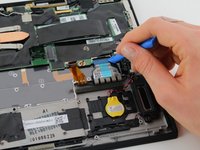
Remove the connectors with bar latches by lifting up on the small bar behind the port and pulling the circuit ribbon away from the port.
-
-
-
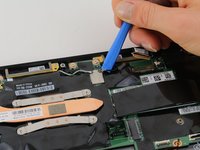
Remove the snap connectors by lifting straight up until the connection pops out.
-
-
-
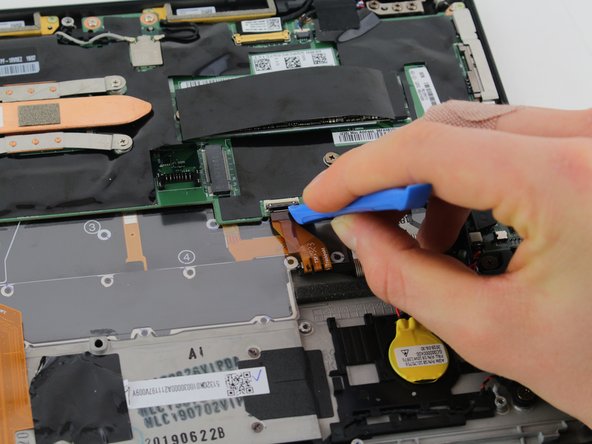
Remove the latch connections by lifting the latch up, releasing the circuit ribbon.
-
-
-
Remove the insert connections by pulling the connector away from the port.
-
-
-
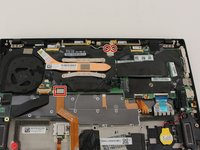
Remove the seven 4 mm Phillips #0 screws that hold the motherboard in place
-
Remove the 3 mm Phillips #0 screw located near the fan.
-
-
-
Lift the motherboard with the fan still connected straight up and out of the device.
You are missing a step here. There is a small USB buddy board on the right that blocks three of the sixty six screws. Loosen two screws, take it out, then go to step twelve.
Don’t forget to take out the SIM card slot/carrier before removing the MB.
-
-
-
Using a Phillips #00 screwdriver, remove sixty-six 0.5 mm screws from the keyboard.
Whilst trying to undo the screws, on my Lenovo Carbon x1 gen 7, there's an additional plastic film on the underside of the original keyboard, glued shut. Any advice on how to proceed?
-
-
-
Lift the keyboard straight up and out of the computer.
-
To reassemble your device, follow these instructions in reverse order.
To reassemble your device, follow these instructions in reverse order.
crwdns2935221:0crwdne2935221:0
crwdns2935229:07crwdne2935229:0
crwdns2947412:04crwdne2947412:0
I did this and the new keyboard only works for 1 minutes be for stopping
Where did you purchase the replacement keyboard from. I got mine from myfixguide and replaced using this tutorial. Worked flawlessly for me.
Does this work if you want to use a keyboard where the key layout is slightly different? I want to change a qwerty keyboard to a qwertz keyboard, where the enter key is shaped differently
Keep in mind that some additional connectors will need to be disconnected if you have a LTE Modem.


