crwdns2915892:0crwdne2915892:0
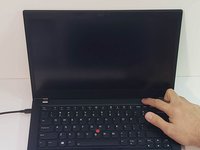
This guide is to replace a broken or full solid-state drive in the Lenovo ThinkPad T480s laptop. A solid-state drive (SSD) is a storage device used to store data for the user and the computer. This device stores data like a USB flash drive. The difference is this device is installed within the computer and is a necessity for the computer to run. If the SSD is not working or not installed ,the computer will not boot. Therefore, if the SSD is not working it must be replaced.
The SSD should also be replaced if it is full. The SSD is full when there is no more space to save files or applications. If the SSD is full the user can save some space by deleting some unwanted items. If space cannot be made, then the SSD needs to be upgraded to one with a larger capacity.
There are several different types of SSDs so it may be difficult to determine which one to buy. For this fix, an SSD of type M.2. is required. This type is referring to a form factor. That just means it’s the shape of the device and how it connects to the computer. Therefore, if the SSD is not type M.2. it will not work for this laptop.
It’s important to back up your current SSD if possible. Make sure you create a back up of your data before starting this fix.
crwdns2942213:0crwdne2942213:0
-
-
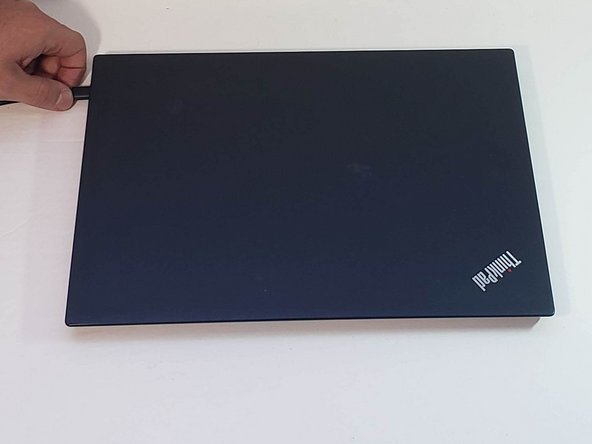
Turn off the laptop and disconnect the power cord.
-
Turn the laptop back on and press the F1 button repeatedly to access the BIOS menu.
-
-
-
Once in the BIOS menu, press the arrow keys to select the desired options from the menu.
-
First, press the right arrow to select the Config menu.
-
Next, press the down arrow to select the Power option.
-
Lastly, press the down arrow to select the Disable Built-in Battery option. The laptop will then shut off.
-
-
-
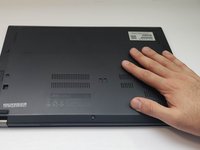
Flip the laptop upside down to access the back panel.
-
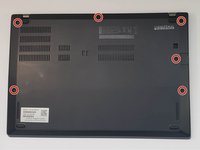
Loosen the six screws using the Phillips #0 screwdriver.
-
-
-
-
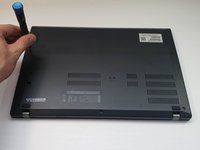
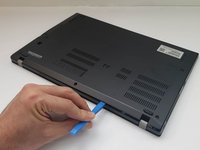
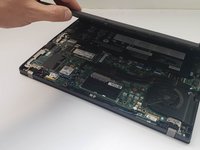
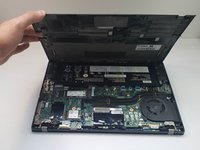
Use an opening tool to gently pry the back panel away from the laptop.
-
Start from either side of the laptop. Work your way around until all sides are loose.
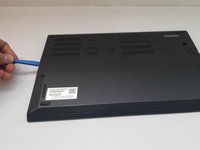
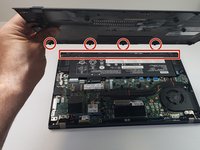
Start from the hinge side. There are clips at the non-hinge side, as shown in the 3rd picture. Don't pry these loose. Instead release the other clips and pull the bottom cover out at 45 degrees, without applying too much force. The photos show this but there is no text mentioning it.
-
-
-
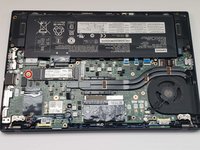
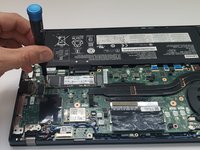
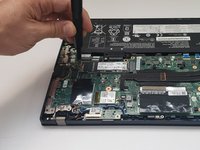
Use a Phillips #0 screwdriver to remove the screw attached to the SSD.
-
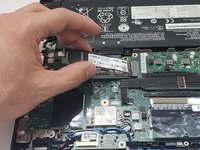
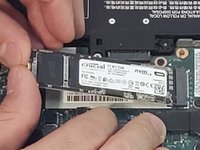
The SSD will pop out at 45 degree angle. Gently tug the SSD and it should come out smoothly.
You should remove the battery first!!! Check the other 'SSD' guide.
-
-
-
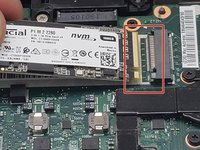
Line up the replacement SSD according to the pin pattern of the slot.
-
Gently push the SSD into the slot. Ensure it is fully inserted.
-
Use the screw from the previous step to secure the SSD to the motherboard.
Remember to check for a cooling strip at the bottom of the old SSD! Mine was dark grey, and it stuck to the bottom of the old SSD, and I forgot to remove it and put it on the new one. I had to open the laptop again to fix this.
-
-
-
Align the back panel with the four hinges towards the battery side. Ensure the hinges are put in first when laying the back panel down.
-
Gently press on all sides so that it clicks into place. Then tighten the six screws with the Phillips #0 screwdriver to secure the back panel.
-
-
-
Flip over the laptop, reconnect the power, cord and turn on the laptop.
-
With the replacement of the SSD complete the computer needs Windows 10 to run. A new version of Windows 10 can be installed or data can be recovered through the backup.
With the replacement of the SSD complete the computer needs Windows 10 to run. A new version of Windows 10 can be installed or data can be recovered through the backup.
crwdns2935221:0crwdne2935221:0
crwdns2935229:07crwdne2935229:0
crwdns2947412:02crwdne2947412:0
Great tutorial -- thanks for posting, I recommend cloning the disk via a thunderbolt enclosure prior to installing, if you buy a Samsung SSD, you can use the SSD clone software for this they provide . Then install the drive -- with any luck it should boot right up.
As a response to the other commenter:
I used Foxclone to clone the disk. It's an ISO that you burn to a USB, then boot it up, and from there clone the drive.


