crwdns2915892:0crwdne2915892:0
Use this guide to replace the SD card reader/audio card from your Lenovo ThinkPad T480s.
If your laptop isn’t producing sound, most likely it’s due to faulty or misconnected cables so be sure to check them. If you know that the speakers have power and the volume is at an audible level, you may need to replace the SD card reader/audio card of your Lenovo ThinkPad T480s. Be sure to troubleshoot any audio issues before attempting to replace it though.
Make sure to disable the internal battery, power down your device, and disconnect from any external power sources before you begin.
crwdns2942213:0crwdne2942213:0
-
-
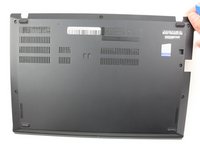
Loosen the six captive screws with a Phillips #1 screwdriver.
-
-
-
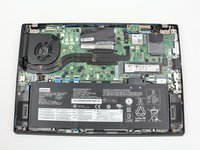
Remove the bottom cover with an opening tool.
-
Start from the top edge near the hinge and work your way along the edge until all of the clips are unsnapped.
-
-
-
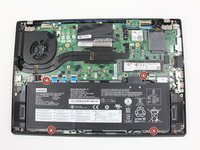
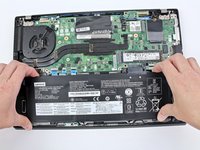
Use the Phillips #1 screwdriver to remove four 4.5mm screws that hold the battery down to the mid frame.
-
-
-
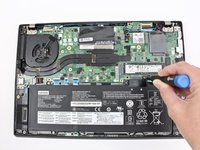
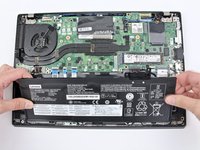
Lift the battery near the connector and remove it from the system.
-
-
-
-
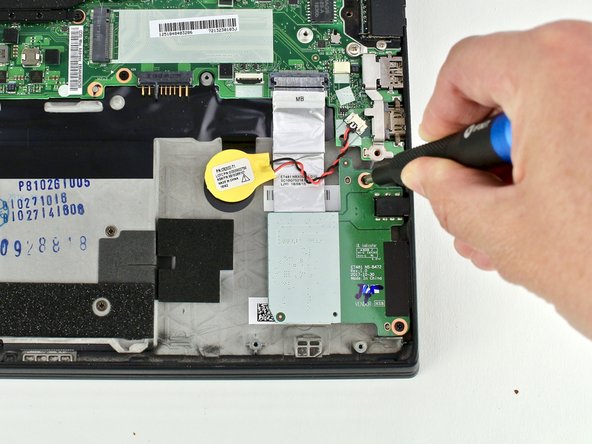
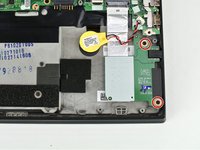
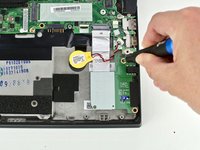
Disconnect the speaker cable from the motherboard using a connector puller or spudger.
-
-
-
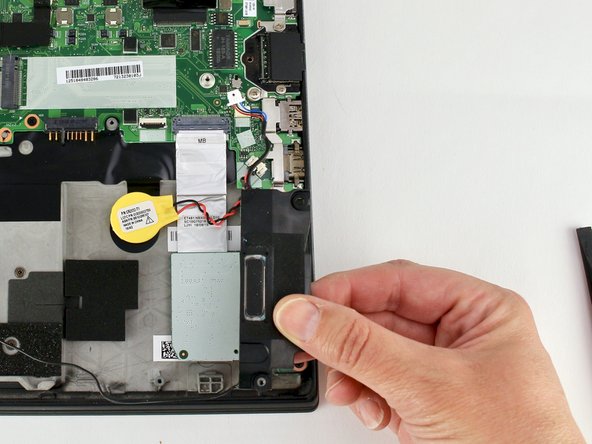
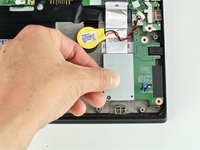
Using a Phillips #1 screwdriver, remove two 4.8 mm screws from the speaker on the right side.
-
-
-
Using a Phillips #1 screwdriver, remove two 4.8 mm screws from the speaker on the left side.
-
-
-
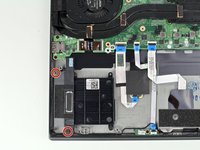
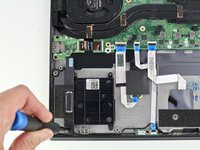
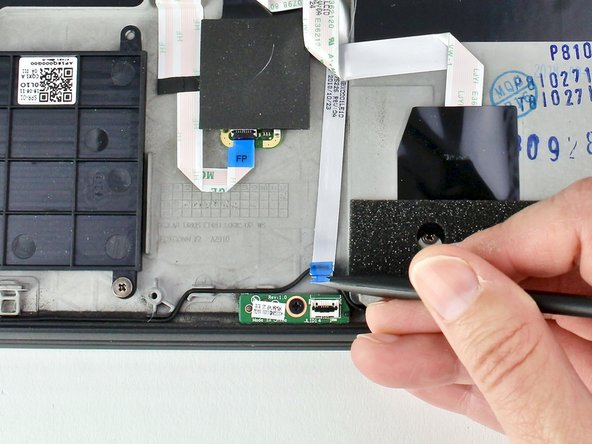
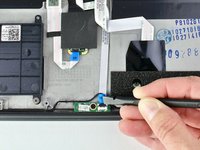
Use the spudger to disconnect the hall sensor connector.
-
-
-
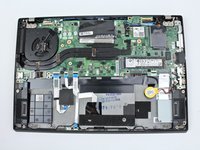
Lift the speakers up.
-
Disconnect the cable speakers from the routing.
-
Remove the speakers from the system.
-
-
-
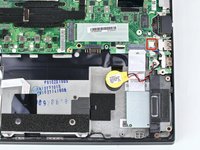
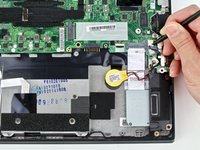
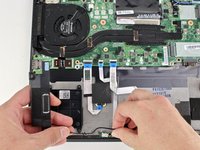
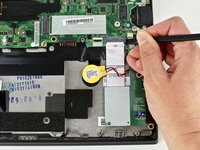
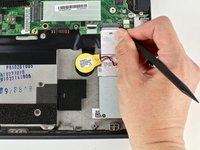
Use a spudger to lift up the retaining flap on the SD card reader/audio card connector.
-
-
-
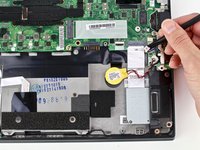
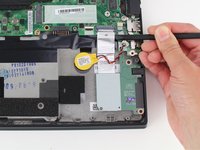
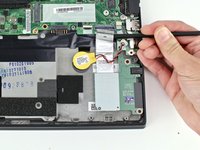
Use the spudger to remove the cable from the connector.
-
-
-
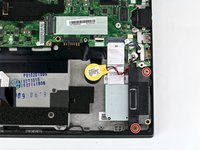
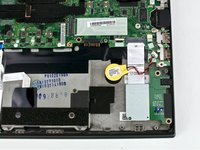
Use the Phillips #1 screwdriver to remove two 3.1 mm screws from the card.
-
-
-
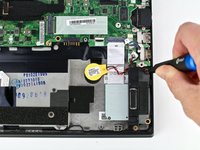
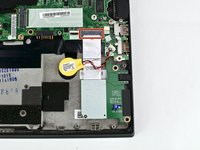
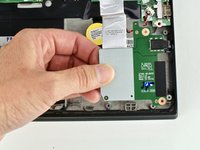
Lift the SD card reader/audio card from the system by sliding it out from the socket.
-


To reassemble your device, follow these instructions in reverse order.
Take your e-waste to an R2 or e-Stewards certified recycler.
Repair didn’t go as planned? Try some basic troubleshooting, or ask our Answers community for help.
To reassemble your device, follow these instructions in reverse order.
Take your e-waste to an R2 or e-Stewards certified recycler.
Repair didn’t go as planned? Try some basic troubleshooting, or ask our Answers community for help.


crwdns2947410:01crwdne2947410:0
It is not necessary to do steps 8 & 9.