crwdns2933423:0crwdne2933423:0

Lenovo ThinkPad T16 Gen 3 Keyboard Replacement

crwdns2942213:0crwdne2942213:0

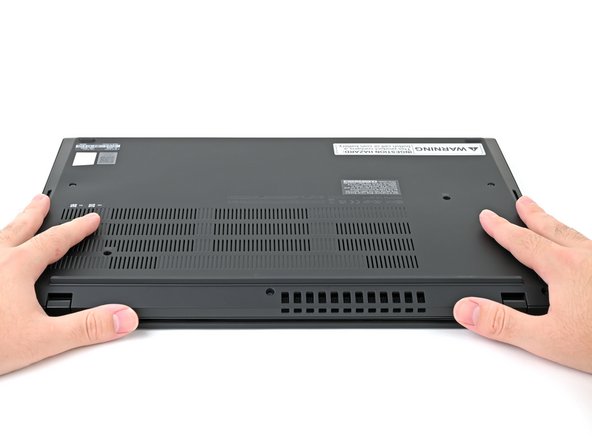
  1. Lenovo ThinkPad T16 Gen 3 Keyboard Replacement, Prepare your laptop: crwdns2935265:01crwdnd2935265:01crwdnd2935265:03crwdne2935265:0 Lenovo ThinkPad T16 Gen 3 Keyboard Replacement, Prepare your laptop: crwdns2935265:01crwdnd2935265:02crwdnd2935265:03crwdne2935265:0 Lenovo ThinkPad T16 Gen 3 Keyboard Replacement, Prepare your laptop: crwdns2935265:01crwdnd2935265:03crwdnd2935265:03crwdne2935265:0
    • Completely shut down your laptop (don't just put it in sleep mode) and disconnect all cables.

    • Flip the laptop upside-down, and rotate it so the screen hinge faces towards you.

  2. Lenovo ThinkPad T16 Gen 3 Keyboard Replacement, Loosen the keyboard screws: crwdns2935265:02crwdnd2935265:01crwdnd2935265:02crwdne2935265:0 Lenovo ThinkPad T16 Gen 3 Keyboard Replacement, Loosen the keyboard screws: crwdns2935265:02crwdnd2935265:02crwdnd2935265:02crwdne2935265:0
    • Use a Phillips screwdriver to fully loosen the two captive screws securing the keyboard to the laptop.

    • The two keyboard screws are labeled with a keyboard icon.

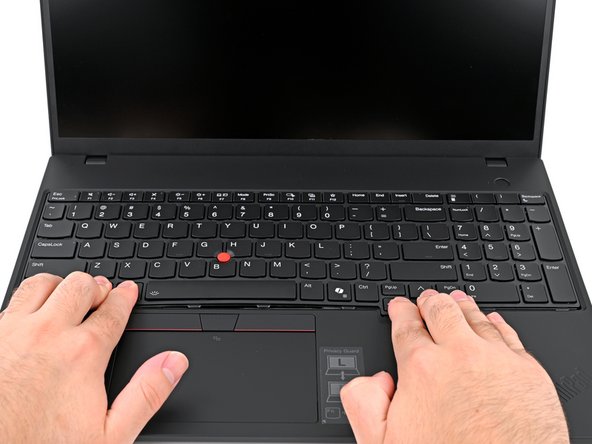
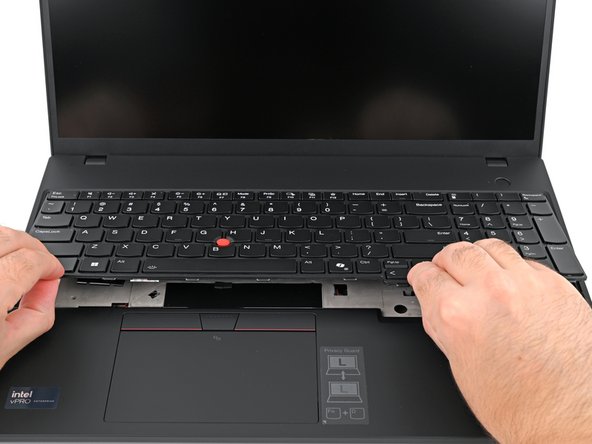
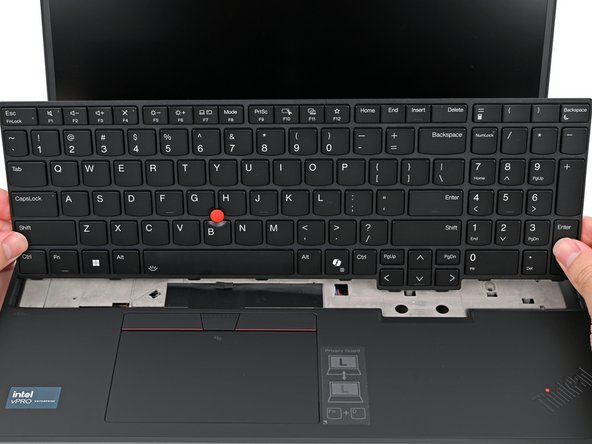
  3. Lenovo ThinkPad T16 Gen 3 Keyboard Replacement, Detach the keyboard: crwdns2935265:03crwdnd2935265:01crwdnd2935265:03crwdne2935265:0 Lenovo ThinkPad T16 Gen 3 Keyboard Replacement, Detach the keyboard: crwdns2935265:03crwdnd2935265:02crwdnd2935265:03crwdne2935265:0 Lenovo ThinkPad T16 Gen 3 Keyboard Replacement, Detach the keyboard: crwdns2935265:03crwdnd2935265:03crwdnd2935265:03crwdne2935265:0
    • Place your fingers on the bottom edge of the keyboard.

    • Push the keyboard towards the screen until you can lift the bottom edge.

    • Lift the bottom edge of the keyboard slightly off your laptop.

    • Don't try to remove the keyboard yet—two ribbon cables still connect it to the laptop.

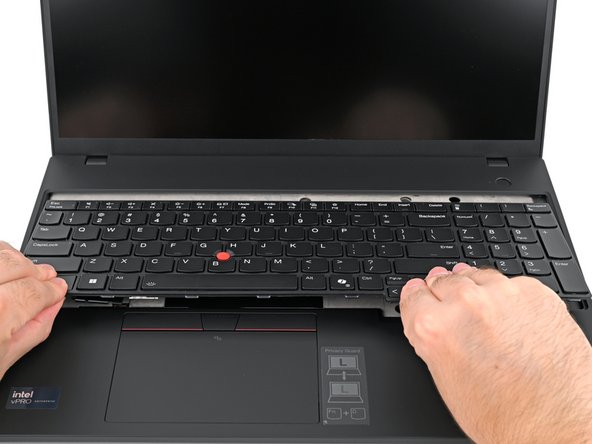
  4. Lenovo ThinkPad T16 Gen 3 Keyboard Replacement: crwdns2935265:04crwdnd2935265:01crwdnd2935265:03crwdne2935265:0 Lenovo ThinkPad T16 Gen 3 Keyboard Replacement: crwdns2935265:04crwdnd2935265:02crwdnd2935265:03crwdne2935265:0 Lenovo ThinkPad T16 Gen 3 Keyboard Replacement: crwdns2935265:04crwdnd2935265:03crwdnd2935265:03crwdne2935265:0
    • With the bottom edge lifted, pull the keyboard away from the screen until it's free from the chassis.

    • While disconnecting the cables in the next two steps, hold the keyboard upright or gently flip it over onto the trackpad. Be very careful not to strain the cables.

    • During reassembly, ensure both cables are laying completely flat to avoid bulging the keyboard or damaging components.

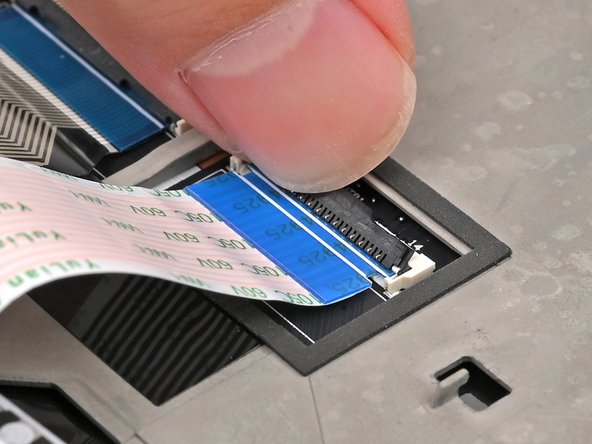
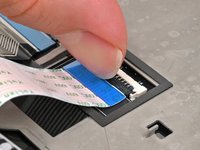
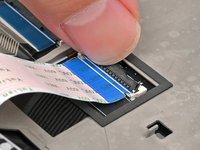
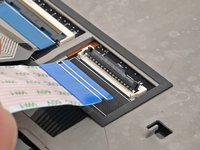
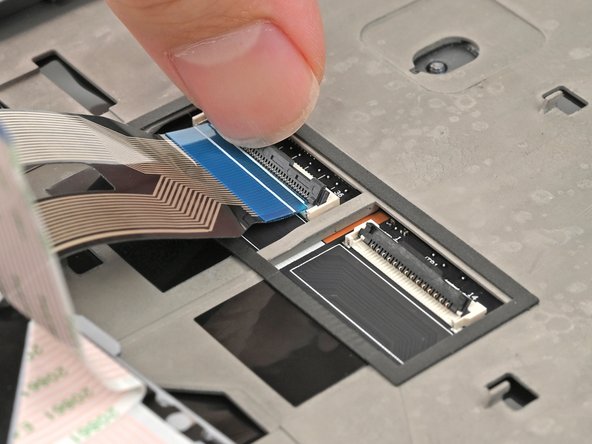
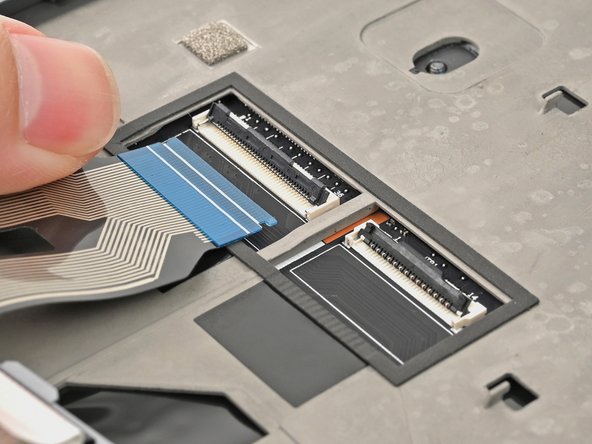
  5. Lenovo ThinkPad T16 Gen 3 Keyboard Replacement, Disconnect the TrackPoint: crwdns2935265:05crwdnd2935265:01crwdnd2935265:03crwdne2935265:0 Lenovo ThinkPad T16 Gen 3 Keyboard Replacement, Disconnect the TrackPoint: crwdns2935265:05crwdnd2935265:02crwdnd2935265:03crwdne2935265:0 Lenovo ThinkPad T16 Gen 3 Keyboard Replacement, Disconnect the TrackPoint: crwdns2935265:05crwdnd2935265:03crwdnd2935265:03crwdne2935265:0
    • Use your fingernail or the flat end of a spudger to flip up the locking flap on the TrackPoint cable ZIF connector.

    • Use your fingers or tweezers to gently pull the cable out of its socket.

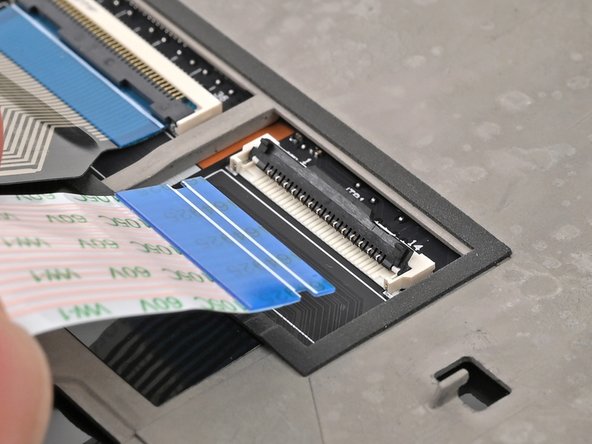
  6. Lenovo ThinkPad T16 Gen 3 Keyboard Replacement, Disconnect the keyboard: crwdns2935265:06crwdnd2935265:01crwdnd2935265:03crwdne2935265:0 Lenovo ThinkPad T16 Gen 3 Keyboard Replacement, Disconnect the keyboard: crwdns2935265:06crwdnd2935265:02crwdnd2935265:03crwdne2935265:0 Lenovo ThinkPad T16 Gen 3 Keyboard Replacement, Disconnect the keyboard: crwdns2935265:06crwdnd2935265:03crwdnd2935265:03crwdne2935265:0
    • Repeat the process to disconnect the keyboard cable.

  7. Lenovo ThinkPad T16 Gen 3 Keyboard Replacement, Remove the keyboard: crwdns2935265:07crwdnd2935265:01crwdnd2935265:01crwdne2935265:0
    • Remove the keyboard from your laptop.

crwdns2915888:0crwdne2915888:0

Compare your new replacement part to the original part—you may need to transfer remaining components or remove adhesive backings from the new part before you install it.

To reassemble your device, follow these instructions in reverse order.

Take your e-waste to an R2 or e-Stewards certified recycler.

Repair didn’t go as planned? Try some basic troubleshooting, or ask our Answers community for help.

Nick Schultz

crwdns2935283:003/24/24crwdne2935283:0

19,612 crwdns2915208:0crwdne2915208:0

crwdns2935297:0114crwdne2935297:0

crwdns2915084:0crwdne2915084:0

iFixit crwdns2935289:0iFixitcrwdne2935289:0

Staff

crwdns2931471:0120crwdne2931471:0

crwdns2935297:020,068crwdne2935297:0

crwdns2947412:00crwdne2947412:0

crwdns2917038:0crwdne2917038:0

crwdns2936625:0crwdne2936625:0:

crwdns2936751:024crwdne2936751:0 5

crwdns2936753:07crwdne2936753:0 18

crwdns2936753:030crwdne2936753:0 59

crwdns2942667:0crwdne2942667:0 542