crwdns2915892:0crwdne2915892:0
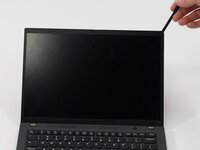
In this guide, we will be replacing the screen on the Lenovo ThinkPad T14 Gen 3. This guide is suitable if you have a broken LCD, a cracked screen, or other issues.
Before you begin this guide, power off and unplug your laptop.
crwdns2942213:0crwdne2942213:0
-
-
Use a JIS #1 screwdriver to loosen the seven screws from the back panel.
-
Turn each screw counter-clockwise at least 3 turns and move on to the next step.
-
Place the end of a spudger or opening tool into the seam to gently separate the back cover from the rest of the device.
-
Slide the opening tool around the perimeter of the device to release the clips that hold the back panel to the device.
-
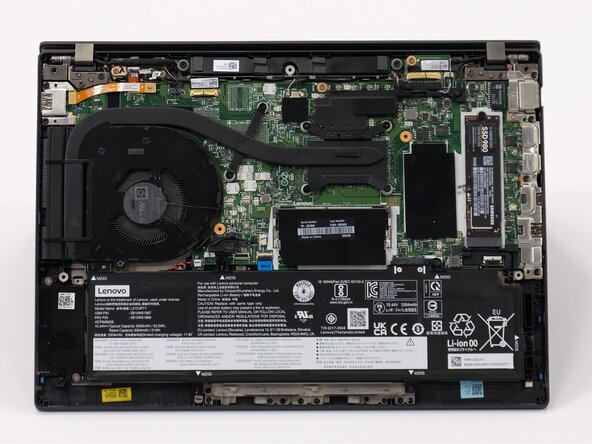
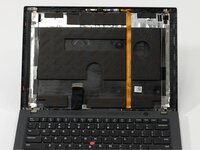
Remove the back panel.
-
-
-
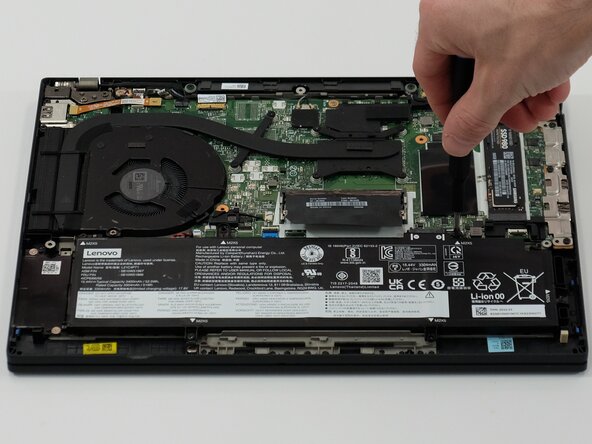
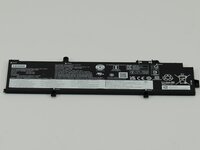
Use a JIS #1 screwdriver to remove six M2 x 5 mm screws that hold the battery in place.
-
-
-
-
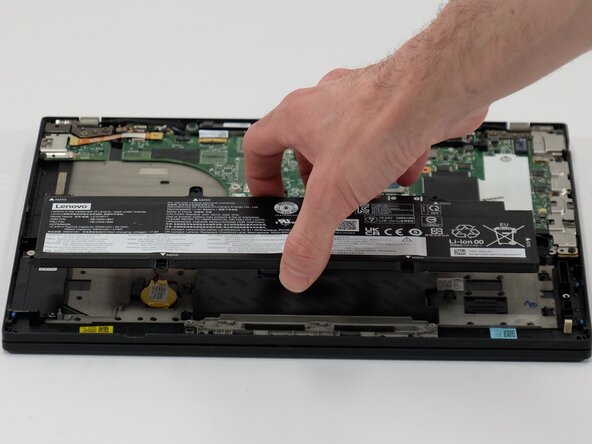
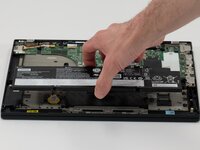
Slide the battery from the battery connector and remove it.
-
-
-
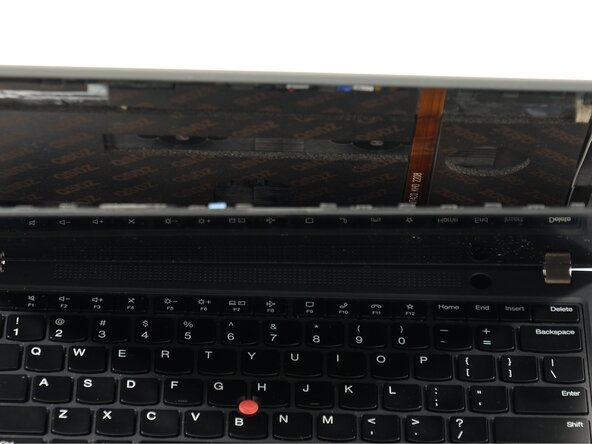
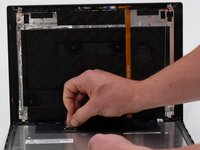
Use the spudger to gently pry the edges of the bezel, carefully removing it. Then, gently remove it and set it aside.
-
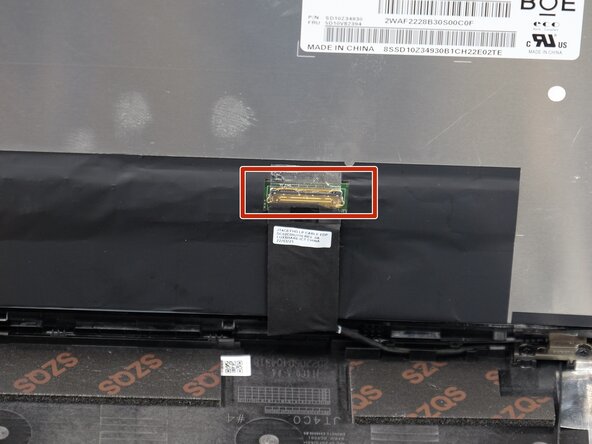
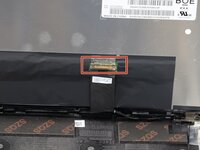
Flip the screen over to reveal the display connector.
-
-
-
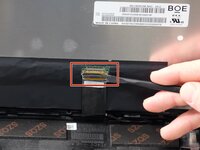
With a spudger, disconnect the screen from the connector.
-
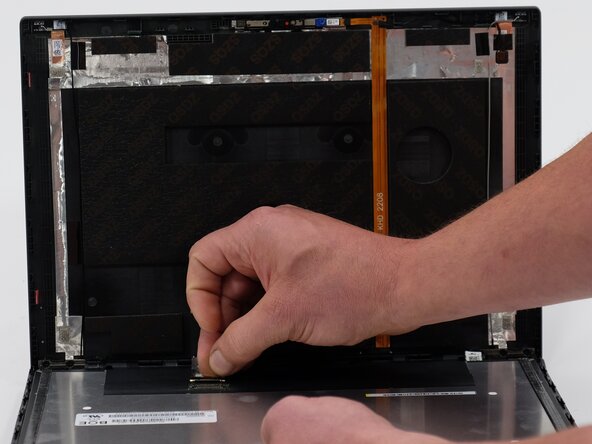
Gently push the tip of a spudger under the metal buckle to unclip it, then swing it over the socket.
-
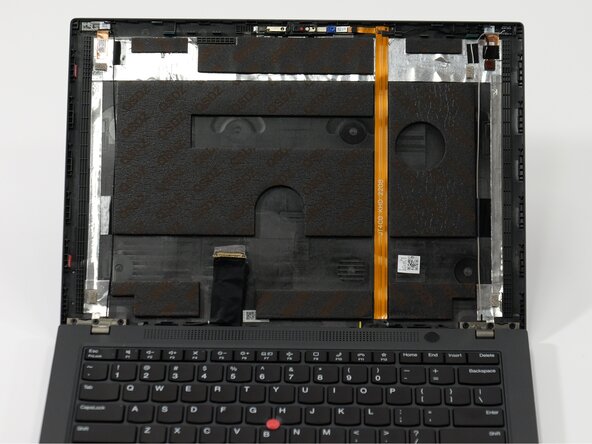
Lift screen up and away from device to remove fully
-


To reassemble your device, follow these instructions in reverse order. Take your e-waste to an R2 or e-Stewards certified recycler.
To reassemble your device, follow these instructions in reverse order. Take your e-waste to an R2 or e-Stewards certified recycler.
crwdns2935221:0crwdne2935221:0
crwdns2935227:0crwdne2935227:0

crwdns2915084:0crwdne2915084:0

Linn Benton Community College, Team 1-2, Karnes Spring 2025 crwdns2935289:0Linn Benton Community College, Team 1-2, Karnes Spring 2025crwdne2935289:0
LBCC-KARNES-S25S1G2
crwdns2931471:03crwdne2931471:0
crwdns2935297:09crwdne2935297:0