crwdns2915892:0crwdne2915892:0
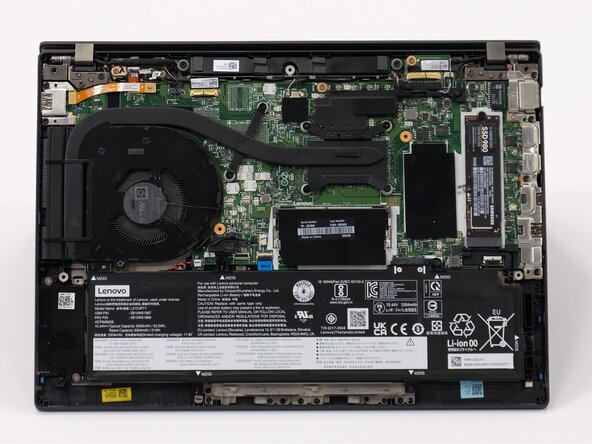
Lenovo ThinkPad T14 Gen 3
- Alternate names: 21CF, 21GF
- What is being accomplished by the guide: This guide will help guide the user replace a faulty cooling fan and/or heat sink assembly.
- These parts are responsible for keeping the device running cool and efficiently. This is critical for proper operation and longevity.
- If you're unsure if your culprit for hot operation and poor performance is the cooling fan assembly, follow my troubleshooting steps here: Lenovo ThinkPad T14 Gen 3 Feels Hot
- Symptoms of a hot device include:
- Accessories stop working and/or have a significant delay or lag
- Error messages involving heat-related issues and/or sudden shutdowns
- Device feels abnormally hot, or smells like something is burning
- Laptop doesn't last as long on battery power as it had in the past
- Symptoms of a hot device include:
- Watch out for large capacitors and be careful with plastic and delicate components. ESD safe tools and precautions should be followed. Additional steps and concerns could be found here:
- More detailed information can be found here:
Before you begin this repair, make sure to power off and unplug your laptop.
It's a good idea to replace the thermal paste before you replace the fan assembly. Follow this guide for tips on how to replace thermal paste.
crwdns2942213:0crwdne2942213:0
-
-
Use a JIS #1 screwdriver to loosen the seven screws from the back panel.
-
Turn each screw counter-clockwise at least 3 turns and move on to the next step.
-
Place the end of a spudger or opening tool into the seam to gently separate the back cover from the rest of the device.
-
Slide the opening tool around the perimeter of the device to release the clips that hold the back panel to the device.
-
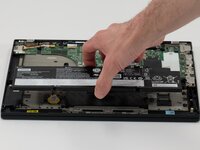
Remove the back panel.
-
-
-
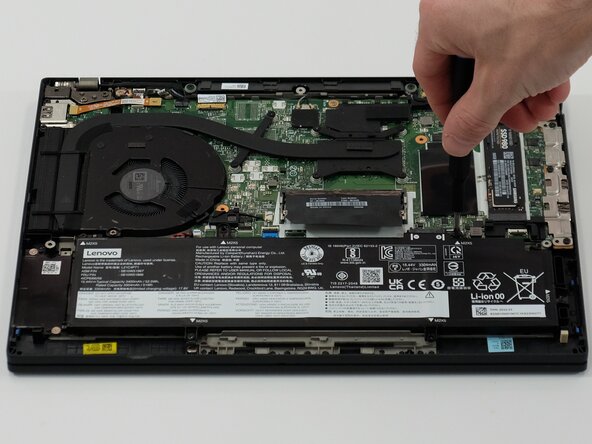
Use a JIS #1 screwdriver to remove six M2 x 5 mm screws that hold the battery in place.
-
-
-
-
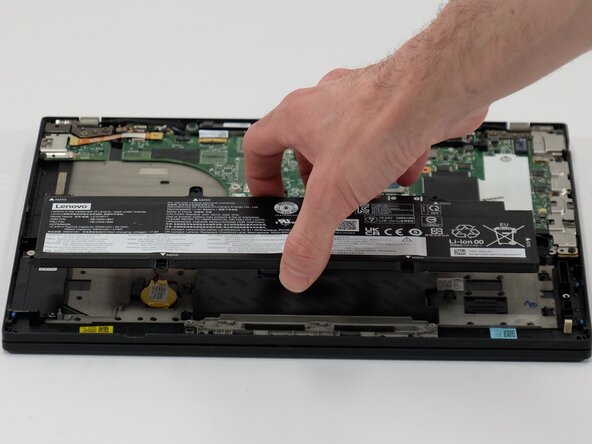
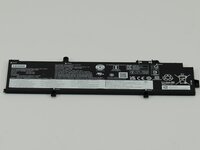
Slide the battery from the battery connector and remove it.
-
-
-
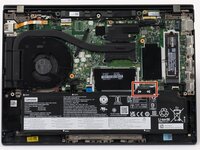
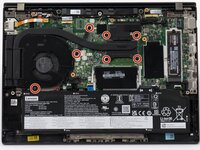
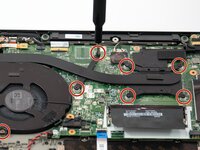
Use a Phillips #1 screwdriver to remove the seven 11 mm screws from the heat sink and fan.
-
-
-
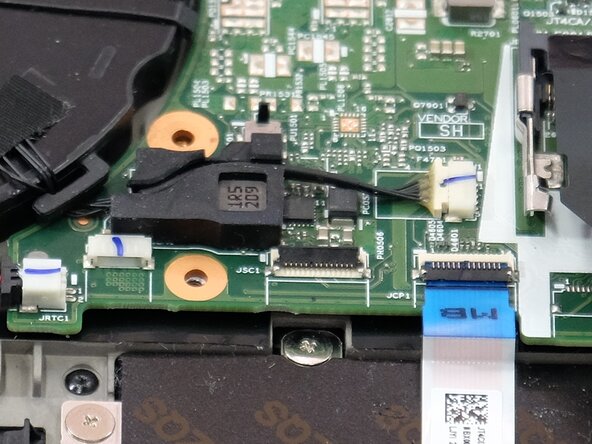
Use the point of a spudger to push on alternating sides of the fan connector to "walk" it out of its socket.
-
To reconnect the cable, align the connector and use a spudger or clean fingernail to push it fully into the socket.
-
-
-
Remove the fan and heatsink from the laptop.
-
The heat sink for the CPU can be tough to remove. Use an opening tool to help you pry it from the board.
-
Remove the old thermal paste from the CPU using isopropyl alcohol.
-


To reassemble your device, follow these instructions in reverse order. Take your e-waste to an R2 or e-Stewards certified recycler.
To reassemble your device, follow these instructions in reverse order. Take your e-waste to an R2 or e-Stewards certified recycler.
crwdns2935221:0crwdne2935221:0
crwdns2935229:03crwdne2935229:0

crwdns2915084:0crwdne2915084:0

Linn Benton Community College, Team 1-2, Karnes Spring 2025 crwdns2935289:0Linn Benton Community College, Team 1-2, Karnes Spring 2025crwdne2935289:0
LBCC-KARNES-S25S1G2
crwdns2931471:03crwdne2931471:0
crwdns2935297:09crwdne2935297:0