crwdns2915892:0crwdne2915892:0
Use this guide to replace a broken or cracked screen on your Lenovo ThinkPad P1 Gen 7 laptop.
For your safety, discharge your battery below 25% before disassembling your device. This reduces the risk of a dangerous fire if the battery is accidentally damaged during the repair. If your battery is swollen, take appropriate precautions.
crwdns2942213:0crwdne2942213:0
-
-
Shut down your laptop (don't just put it in sleep mode) and disconnect all cables.
-
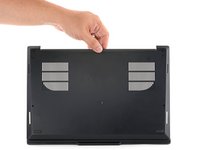
Flip the laptop upside-down, and rotate it so the screen hinge faces towards you.
-
-
-
Use a Phillips screwdriver to loosen the six captive screws securing the base cover.
-
-
-
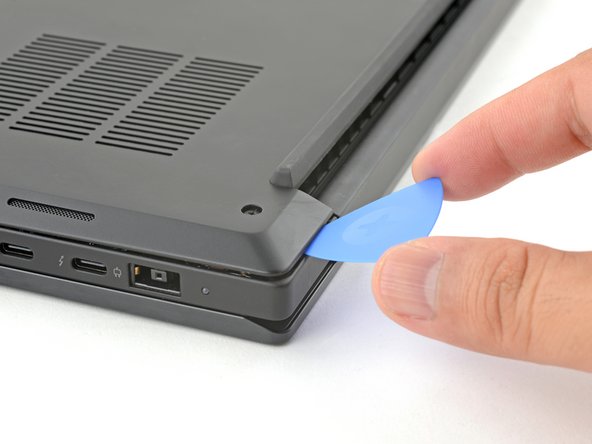
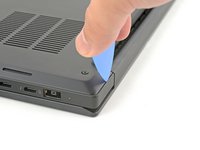
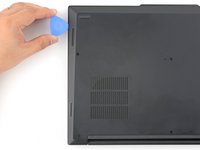
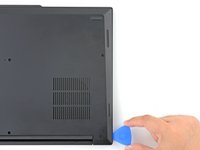
Press the tip of an opening pick into the seam between the base cover and the bottom-left corner of the frame (near the screen hinge).
-
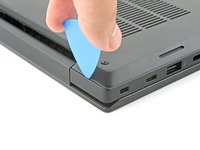
Pivot the pick down and slide it around the corner to release the clips.
-
-
-
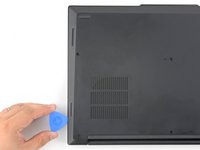
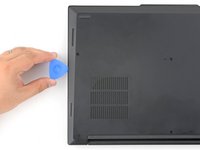
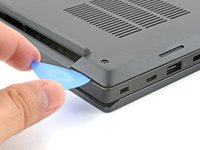
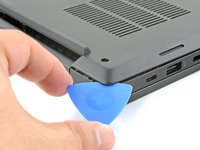
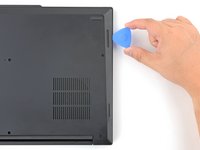
Slide the opening pick along the left edge to release the clips securing the cover.
-
-
-
Press the tip of an opening pick into the seam between the base cover and the bottom-right corner of the frame (near the screen hinge).
-
Pivot the pick down and slide it around the corner to release the clips.
-
-
-
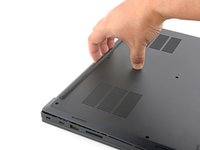
Slide the opening pick along the right edge to release the clips securing the cover.
-
-
-
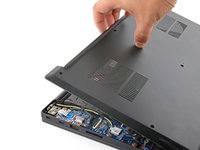
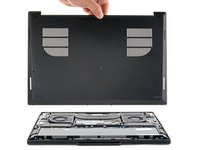
Grasp the base cover along the screen hinge edge and pull up to loosen the cover.
-
-
-
-
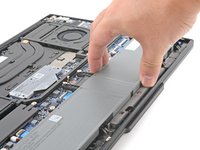
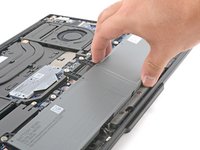
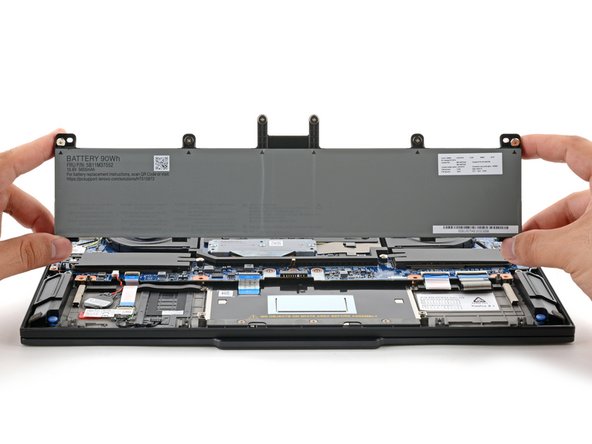
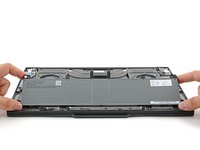
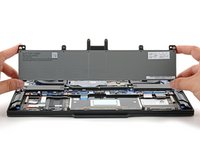
Use a Phillips screwdriver to loosen the six captive screws securing the battery.
-
-
-
Grasp the top edge of the battery and lift to disconnect it.
-
-
-
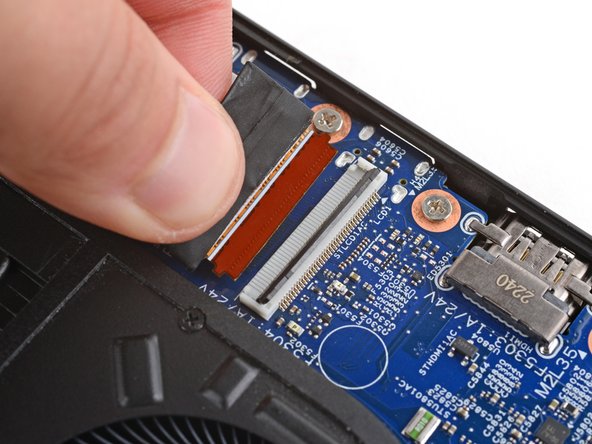
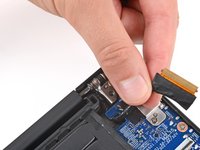
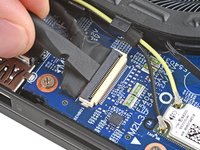
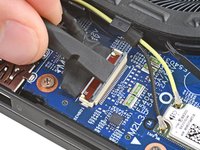
Use the flat end of a spudger to lift the locking flap on the screen cable ZIF connector near the right edge of your laptop.
-
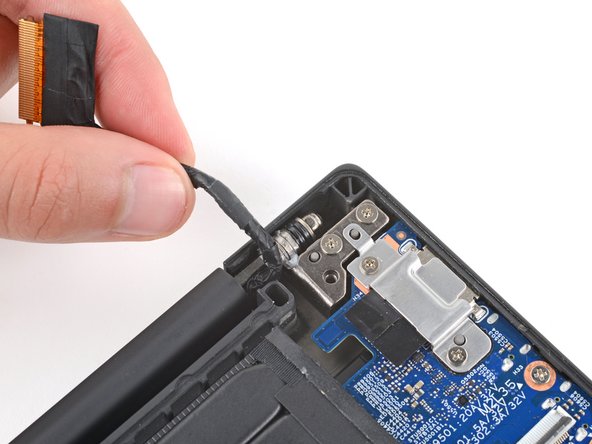
Use your fingers to grip the screen cable and gently pull the connector out of its socket.
-
-
-
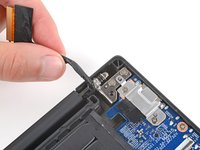
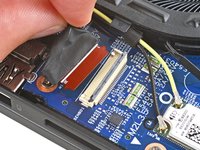
Carefully guide the right screen-cable out from under its cutout in the motherboard, near the right hinge.
-
-
-
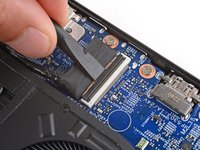
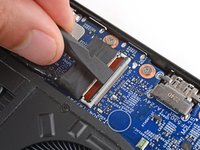
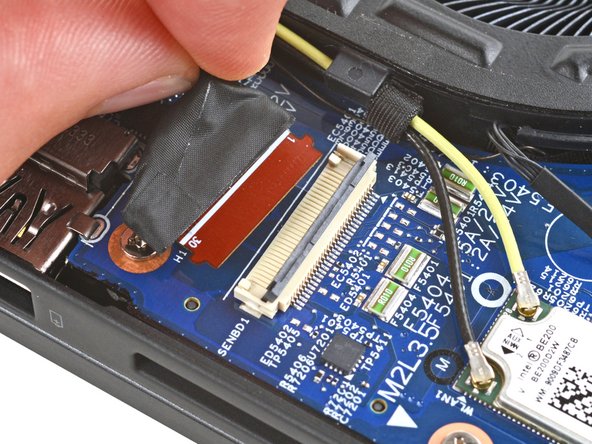
Use the flat end of a spudger to lift the locking flap on the screen cable ZIF connector near the left edge of your laptop.
-
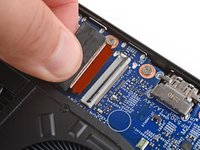
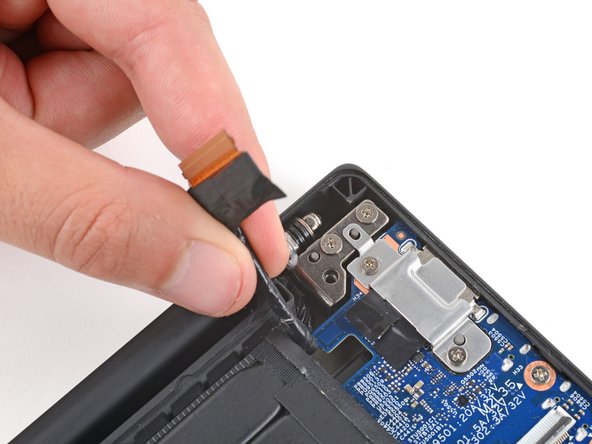
Use your fingers to grip the screen cable and gently pull the connector out of its socket.
-
-
-
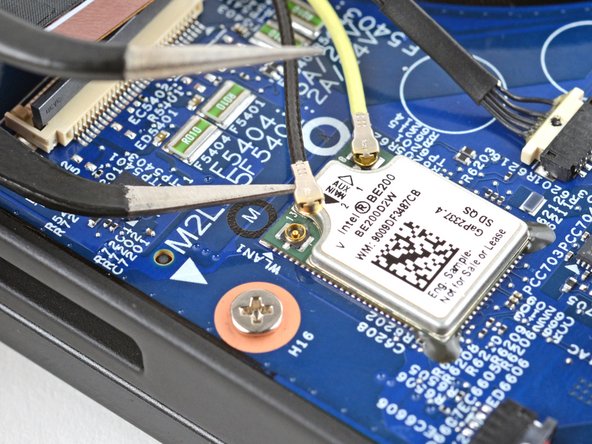
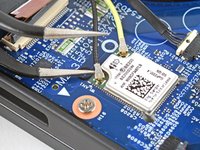
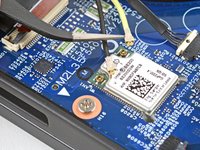
Slide an arm of a pair of angled tweezers under the metal neck of one of the Wi‑Fi card coaxial connectors, just below the left screen-cable.
-
Lift straight up to disconnect the cable.
-
Repeat the process to disconnect the other Wi‑Fi card cable.
-
-
-
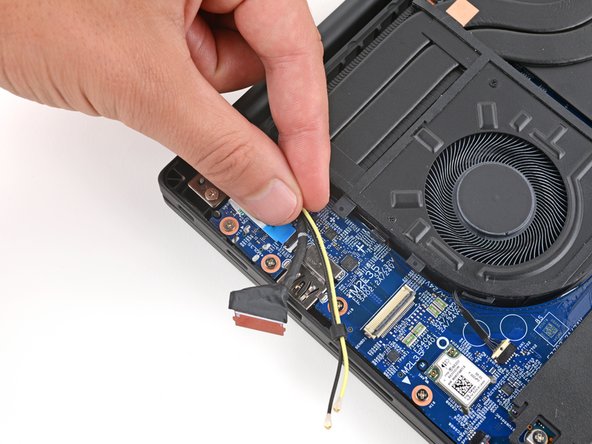
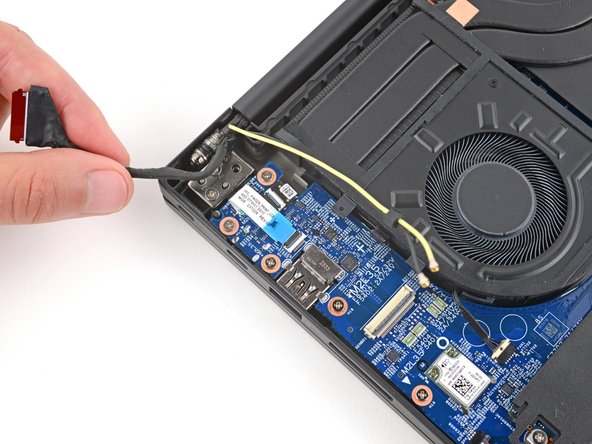
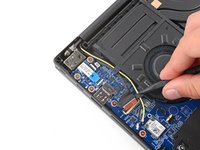
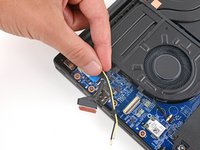
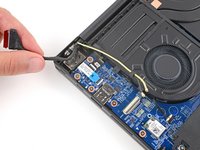
Use a spudger or your fingers to gently guide the two thinner cables (black and yellow) and the screen cable out of their clips on the edge of the left fan.
-
-
-
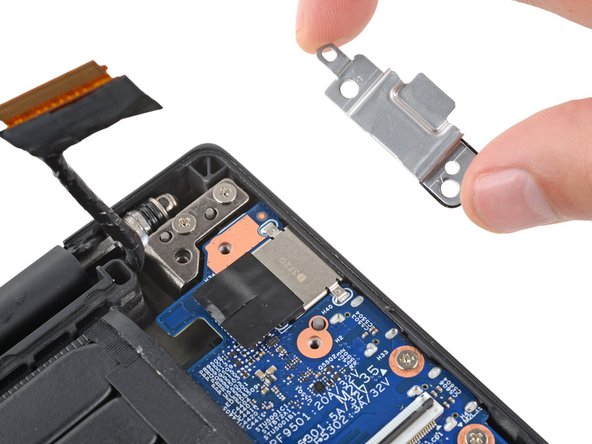
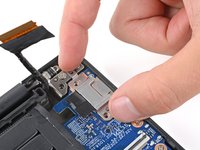
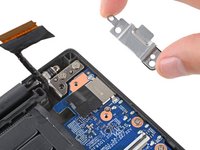
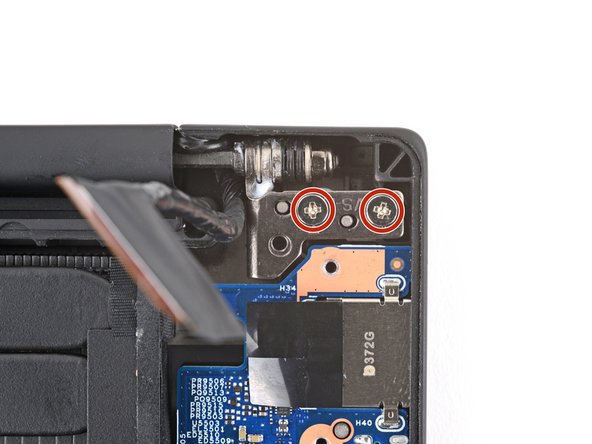
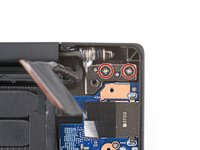
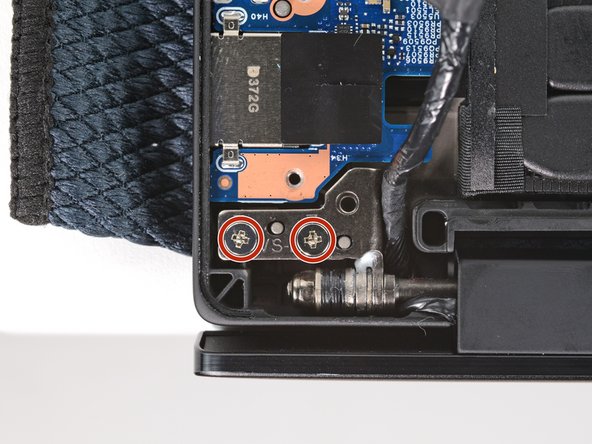
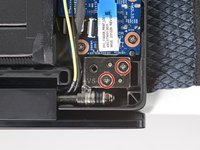
Use a Phillips screwdriver to remove the two 4.6 mm‑long screws securing the charging port bracket.
-
-
-
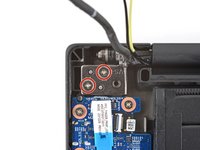
Use a Phillips screwdriver to loosen (not remove) all four hinge screws.
-
-
-
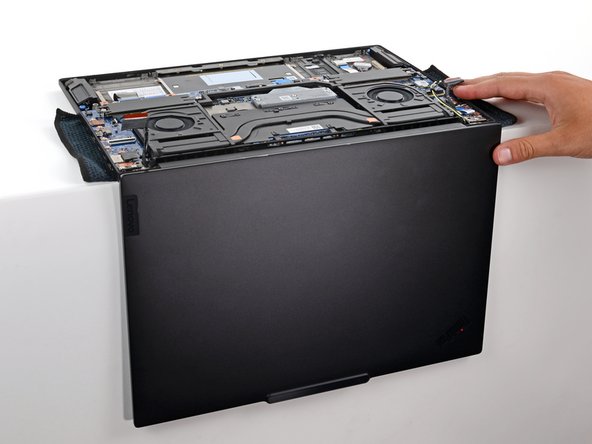
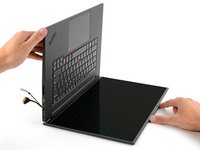
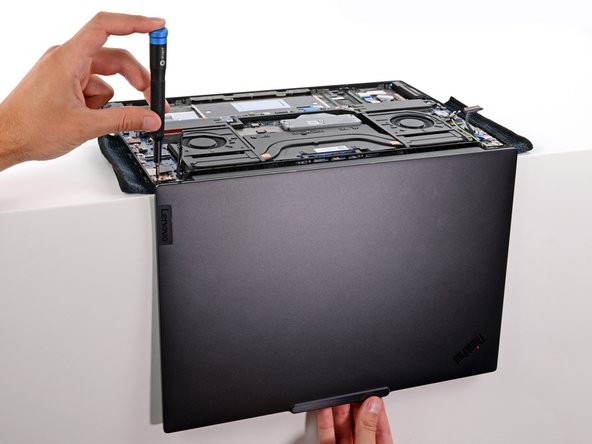
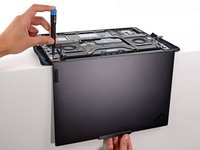
Open your laptop 90 degrees and gently place it keyboard side down on a table, so the screen hangs over the edge.
-
-
-
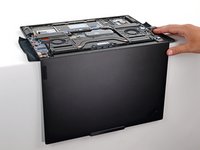
Support the screen with one hand and use your free hand to remove the four 4.4 mm–long Phillips screws securing the hinges.
-
-
-
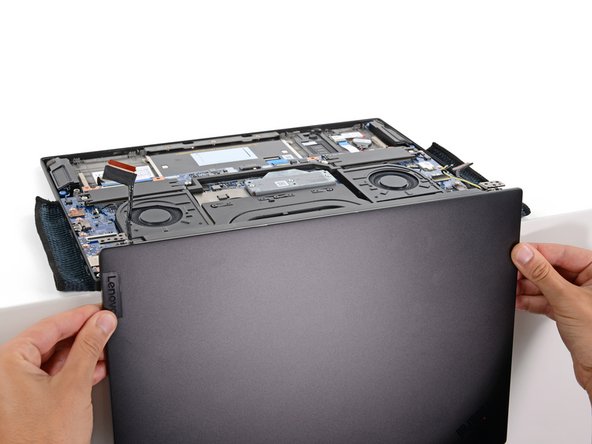
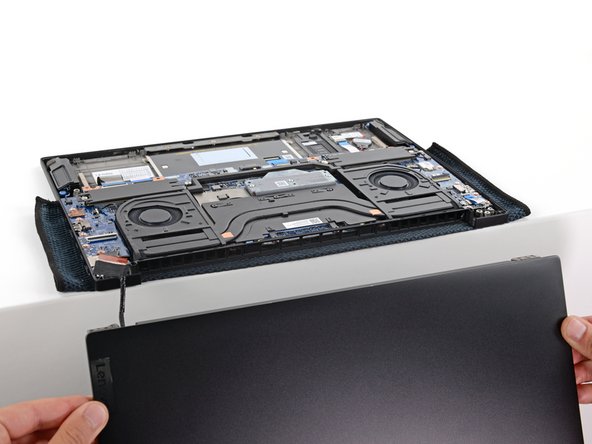
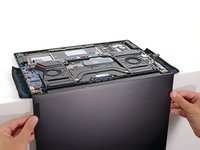
Hold the screen with both hands and lift the hinges out of their recesses to remove the screen.
-
Make sure the screen hinges are open 90 degrees and guide them into their recesses in the frame.
-
Install and partially tighten the four hinge screws.
-
Close your laptop and make sure the screen is properly aligned. If it clicks or snaps, readjust the alignment.
-
Fully tighten the hinge screws.
-


To reassemble your device, follow these instructions in reverse order.
Take your e-waste to an R2 or e-Stewards certified recycler.
Repair didn’t go as planned? Try some basic troubleshooting, or ask our Answers community for help.

