crwdns2933423:0crwdne2933423:0

Lenovo Ideapad 320-17IKB RAM Replacement

crwdns2942213:0crwdne2942213:0

  1. Lenovo Ideapad 320-17IKB RAM Replacement, Back Panel: crwdns2935265:01crwdnd2935265:01crwdnd2935265:01crwdne2935265:0
    • Turn off and unplug the computer.

    • Flip the laptop over so that the back panel is facing upwards.

  2. Lenovo Ideapad 320-17IKB RAM Replacement: crwdns2935265:02crwdnd2935265:01crwdnd2935265:02crwdne2935265:0 Lenovo Ideapad 320-17IKB RAM Replacement: crwdns2935265:02crwdnd2935265:02crwdnd2935265:02crwdne2935265:0
    • Remove fourteen 7mm Phillips #00 screws from the back panel.

  3. Lenovo Ideapad 320-17IKB RAM Replacement: crwdns2935265:03crwdnd2935265:01crwdnd2935265:01crwdne2935265:0
    • Carefully remove the optical drive by pulling the bezel away from the laptop.

  4. Lenovo Ideapad 320-17IKB RAM Replacement: crwdns2935265:04crwdnd2935265:01crwdnd2935265:02crwdne2935265:0 Lenovo Ideapad 320-17IKB RAM Replacement: crwdns2935265:04crwdnd2935265:02crwdnd2935265:02crwdne2935265:0
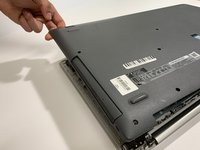
    • Use your fingers or an opening tool to gently remove the back panel from the bottom of the laptop.

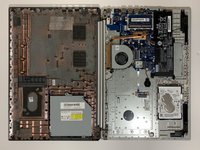
    • Lay both sides of the laptop next to each other.

  5. Lenovo Ideapad 320-17IKB RAM Replacement, RAM: crwdns2935265:05crwdnd2935265:01crwdnd2935265:01crwdne2935265:0
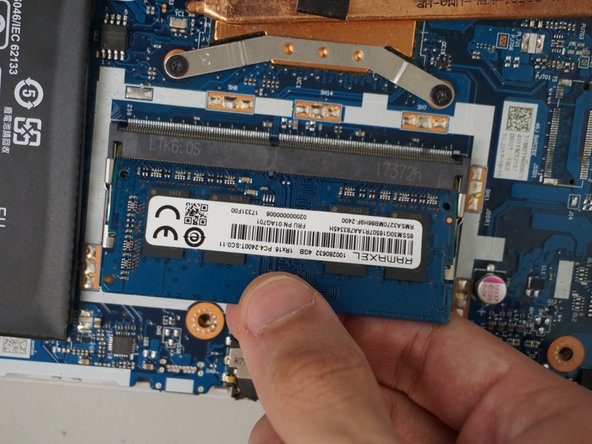
    • The RAM is located on the right side of the motherboard above the battery.

  6. Lenovo Ideapad 320-17IKB RAM Replacement: crwdns2935265:06crwdnd2935265:01crwdnd2935265:02crwdne2935265:0 Lenovo Ideapad 320-17IKB RAM Replacement: crwdns2935265:06crwdnd2935265:02crwdnd2935265:02crwdne2935265:0
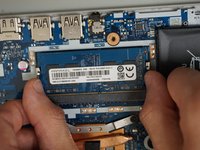
    • Using your fingers, pull the metal arms (located on both sides of the RAM stick) slightly away from it to release the RAM stick.

    • The RAM stick will pop up by a few millimeters.

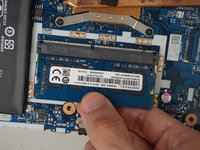
    • Remove it at an angle and not straight up so you don't damage the socket.

    • Slide the RAM stick out from the memory module slot.

    • When installing new RAM, slide it into the port at the same angle it was removed and press down until it clicks into place.

crwdns2915888:0crwdne2915888:0

To reassemble your device, follow these instructions in reverse order. Take your e-waste to an R2 or e-Stewards certified recycler.

crwdns2935227:0crwdne2935227:0
Gabriella Maeli Vazquez

crwdns2935283:002/08/24crwdne2935283:0

106 crwdns2915208:0crwdne2915208:0

crwdns2935295:0crwdne2935295:0

crwdns2915084:0crwdne2915084:0

University of North Texas, Team 1-3, Coppersmith Spring 2024 crwdns2935289:0University of North Texas, Team 1-3, Coppersmith Spring 2024crwdne2935289:0

UNT-COPPERSMITH-S24S1G3

crwdns2931471:04crwdne2931471:0

crwdns2935297:04crwdne2935297:0

crwdns2947412:00crwdne2947412:0

crwdns2917038:0crwdne2917038:0

crwdns2936625:0crwdne2936625:0:

crwdns2936751:024crwdne2936751:0 0

crwdns2936753:07crwdne2936753:0 1

crwdns2936753:030crwdne2936753:0 10

crwdns2942667:0crwdne2942667:0 149