crwdns2915892:0crwdne2915892:0
The CMOS (Complementary Metal Oxide Semiconductor) battery powers the BIOS firmware in a computer. The CMOS battery is a chip that is typically found in laptops rather than desktops. When you unplug your laptop from its power source, the BIOS relies on the CMOS battery for power. Most CMOS batteries in laptops will last 2 to 10 years from the date they were manufactured.
Common CMOS battery failure symptoms include the following:
- Constant beeping noise coming from the motherboard
- Date and time of the computer have been reset
- Hardware drivers are missing or have disappeared
- Can’t connect to the Internet
- Laptop won’t boot up
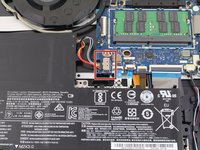
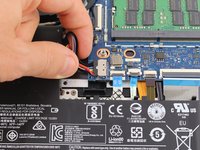
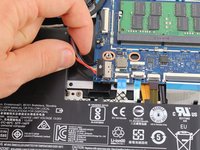
If your device is experiencing any of the above symptoms, it may be time to replace the CMOS battery. Follow the instructions below to remove and replace the CMOS battery in the Lenovo IdeaPad Flex 5-1570 laptop.
crwdns2942213:0crwdne2942213:0
-
-
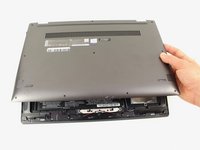
Remove the ten 5 mm Phillips #00 screws that are holding the back panel on.
-
-
-
Use a spudger to pry open the back case at the two hinge cutouts.
-
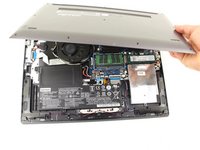
Gently use the plastic opening tool around the edges of the laptop to pry up the clips holding the rest of the back panel.
-
-
-
Once all the clips have been disengaged, lift off the back cover.
-
-
-
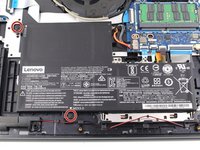
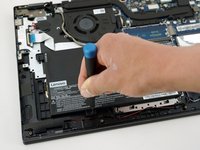
Remove the two 5 mm Phillips #00 screws that secure the battery in place.
-
-
-
-
Using your fingers, grasp the entire bundle of wires to pull the battery cable from its connector. This will cut off power to the motherboard.
-
Remove the battery from the device.
-
-
-
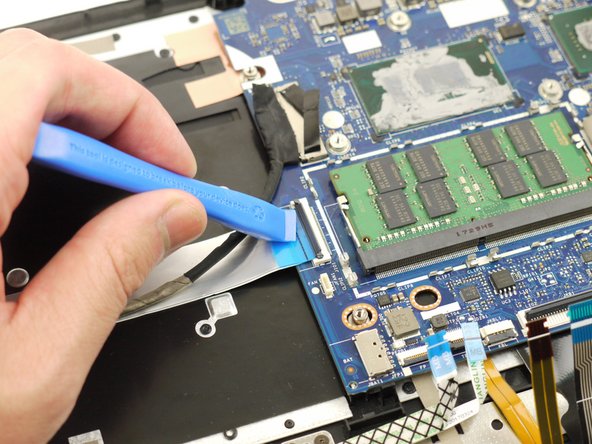
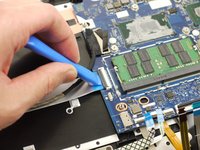
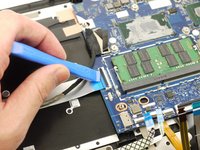
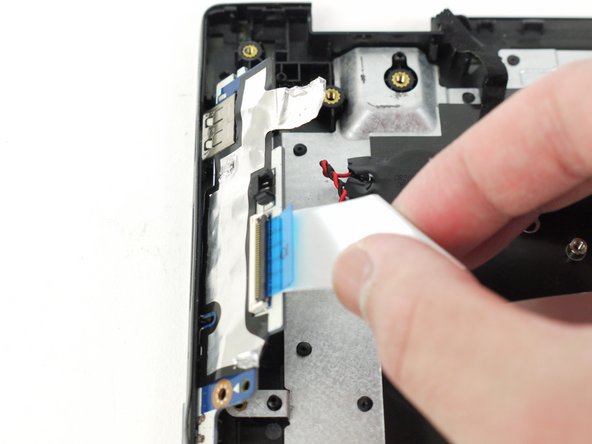
Using the plastic opening tool, unlock the connector for the side ports panel and disconnect the cable from the motherboard.
-
-
-
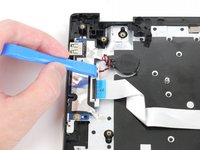
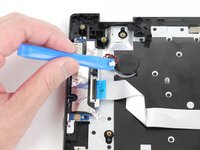
Using the plastic opening tool, disconnect the CMOS battery from the daughterboard by pushing it out towards the direction of the CMOS battery.
-
-
-
Using the Phillips #00 screwdriver, remove the single 5 mm screw.
-
-
-
Using the iFixit Opening tool, remove the silver piece of tape from the device.
-
-
-
Lift the daughterboard up and out of the device.
-
-
-
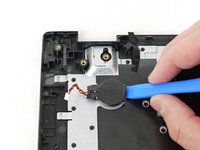
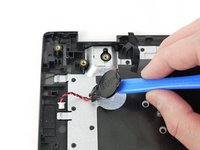
Using a plastic opening tool, pry the CMOS battery up and remove it from the device.
-
To reassemble your device, follow these instructions in reverse order.
Take your e-waste to an R2 or e-Stewards certified recycler.
To reassemble your device, follow these instructions in reverse order.
Take your e-waste to an R2 or e-Stewards certified recycler.
crwdns2947410:01crwdne2947410:0
What is the point of disconnecting and removing the daughter board when you've already disconnected the CMOS battery? It seems like there are unnecessary extra steps added.


